I. cannot. believe. it! Our sweet baby boy just turned one. Where has the year gone? While it seems impossible that the time has passed so quickly, it is easy to see how much he has grown and changed. He really is turning into a little boy! And, a mighty cute one at that, although I’ll admit to some mommy bias. Newborns are precious with all of their newness, but they don’t DO much – except eat, sleep and poop. It is so fun to watch a little personality emerge in a little human. It’s also incredible to think that I (with the help of his Daddy 😉 ) created this life. Babies really are miracles in their own right. So, while I continue to reminisce about the day (after the LONG night) that he came into our lives, let me share some pictures from his 1st Birthday; It sure was a Hole in ONE!
We live in Georgia (Home of the Masters), and Hubby loves to golf. I came across the golf theme (on Pinterest, of course!), loved the play on words, and thought it was very appropriate for our little man. Hope Munchkin ends up liking to play because his daddy will be dragging him along to the course under the guise of father/son time whether he likes it or not!
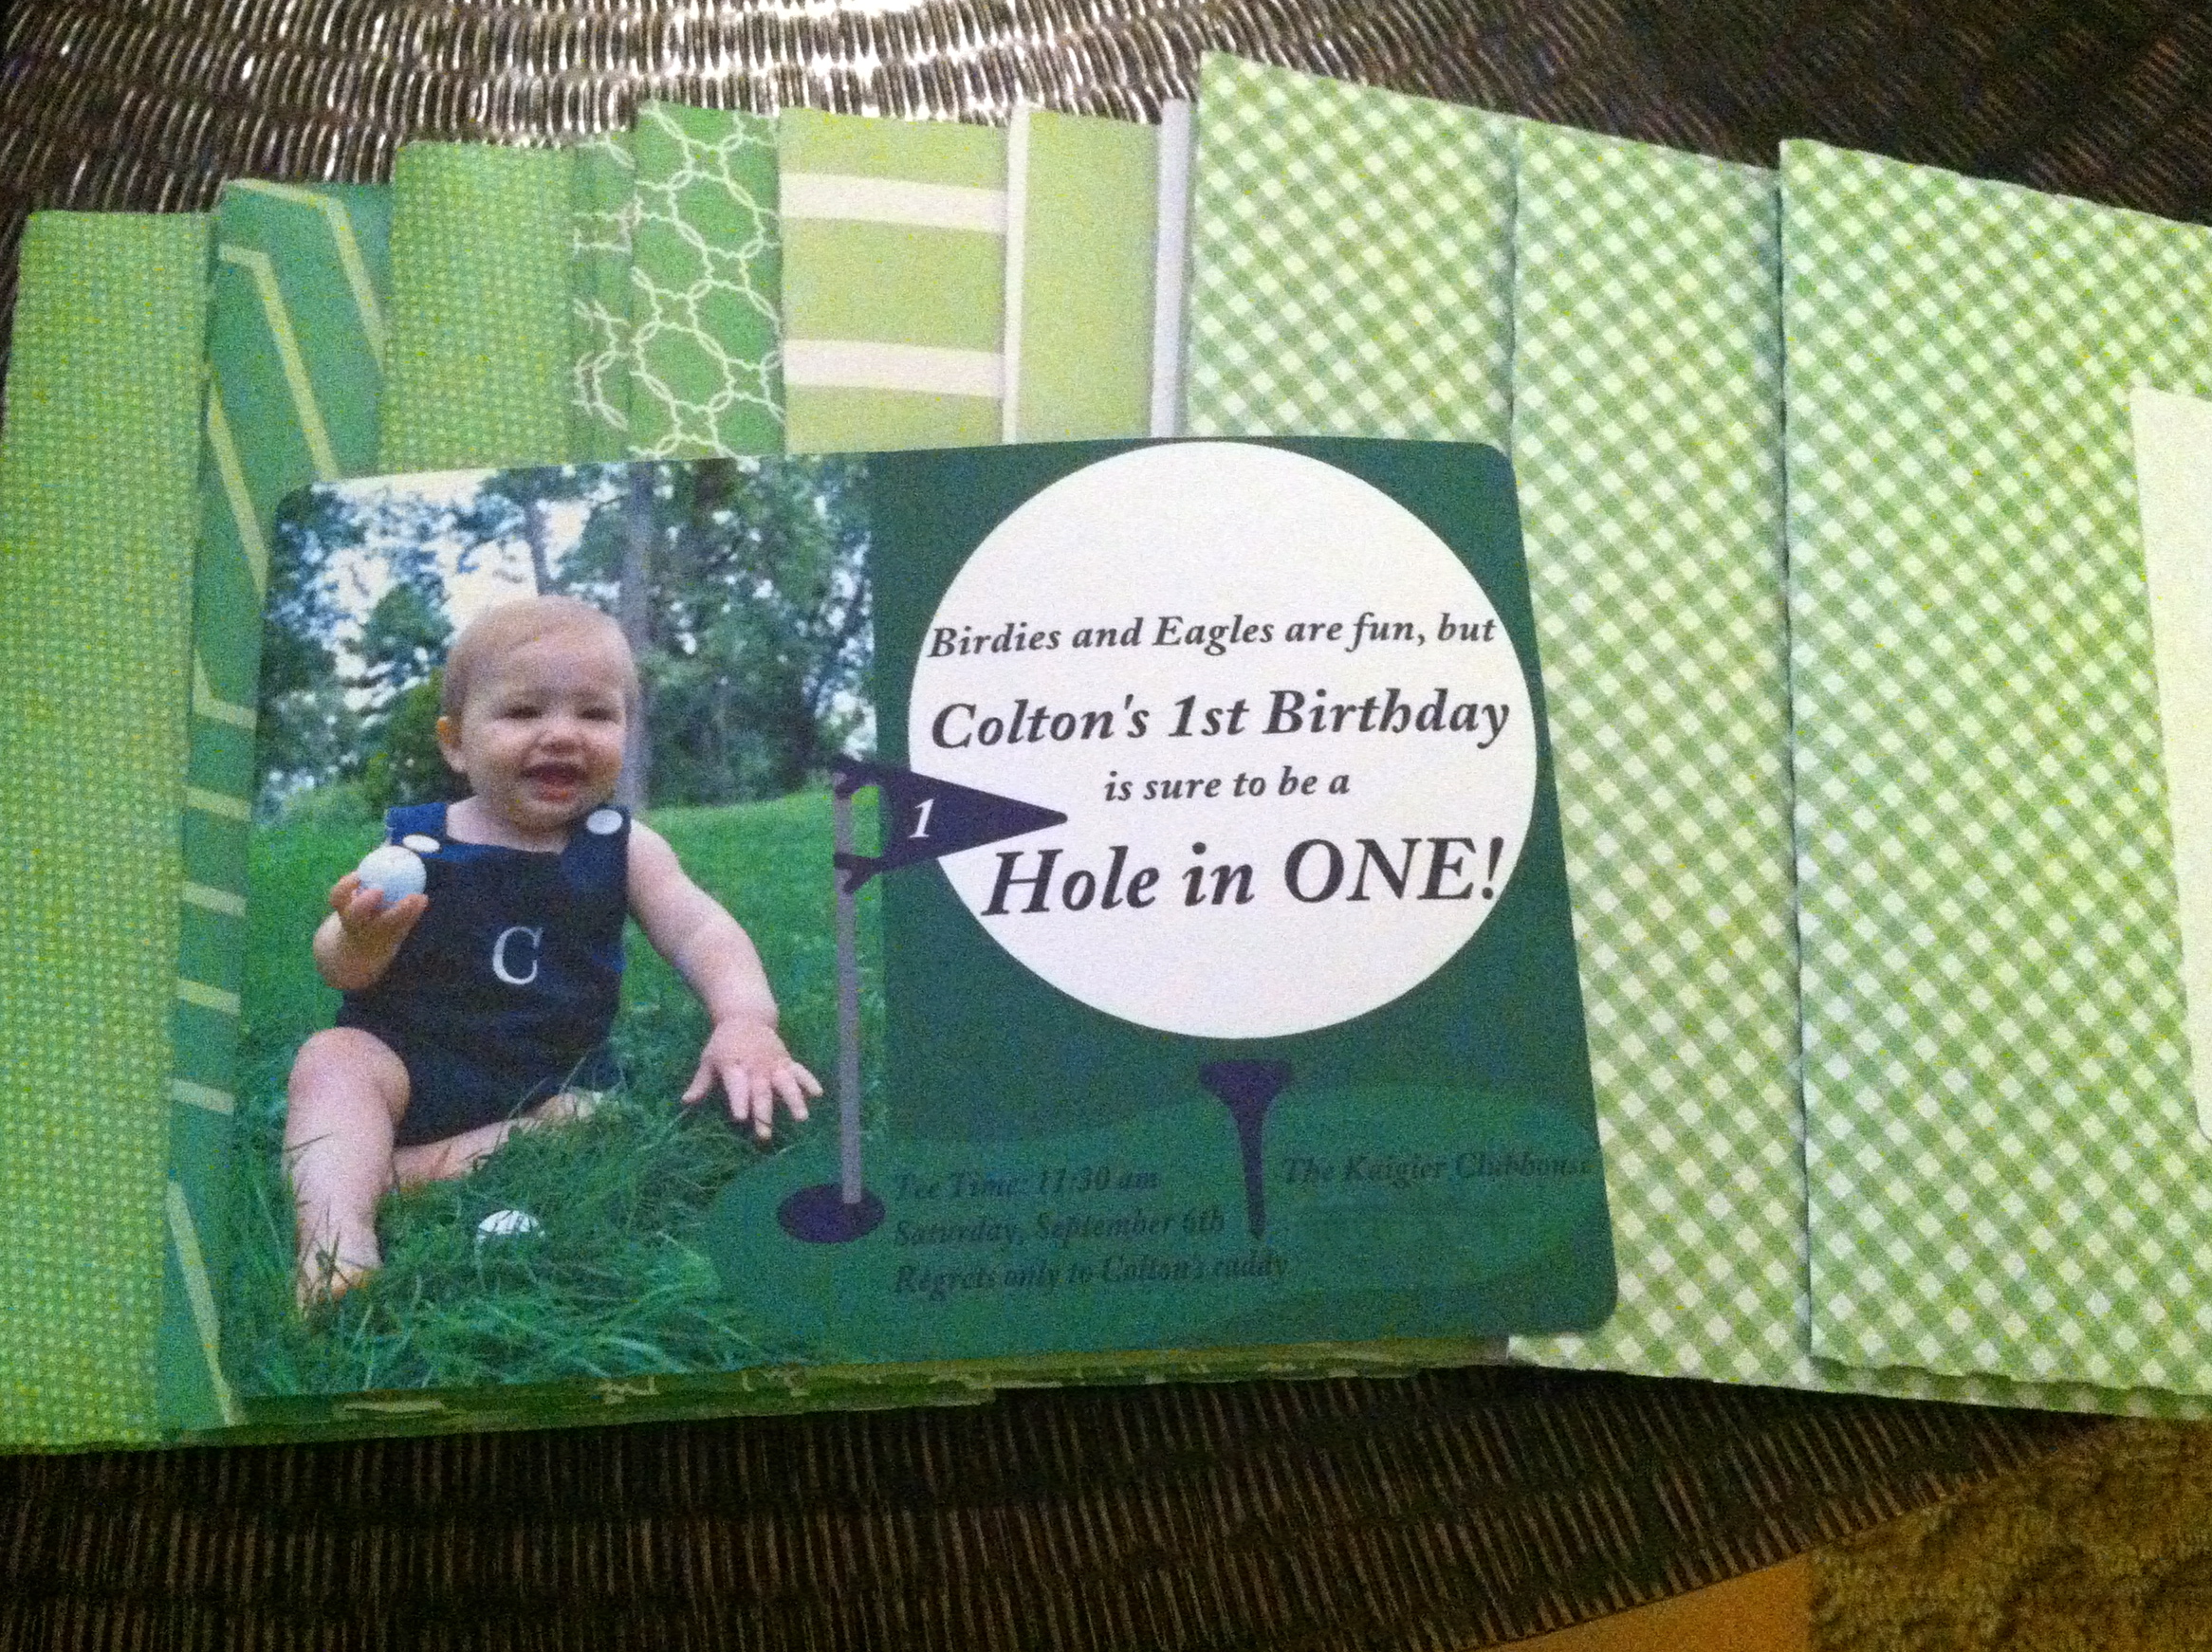
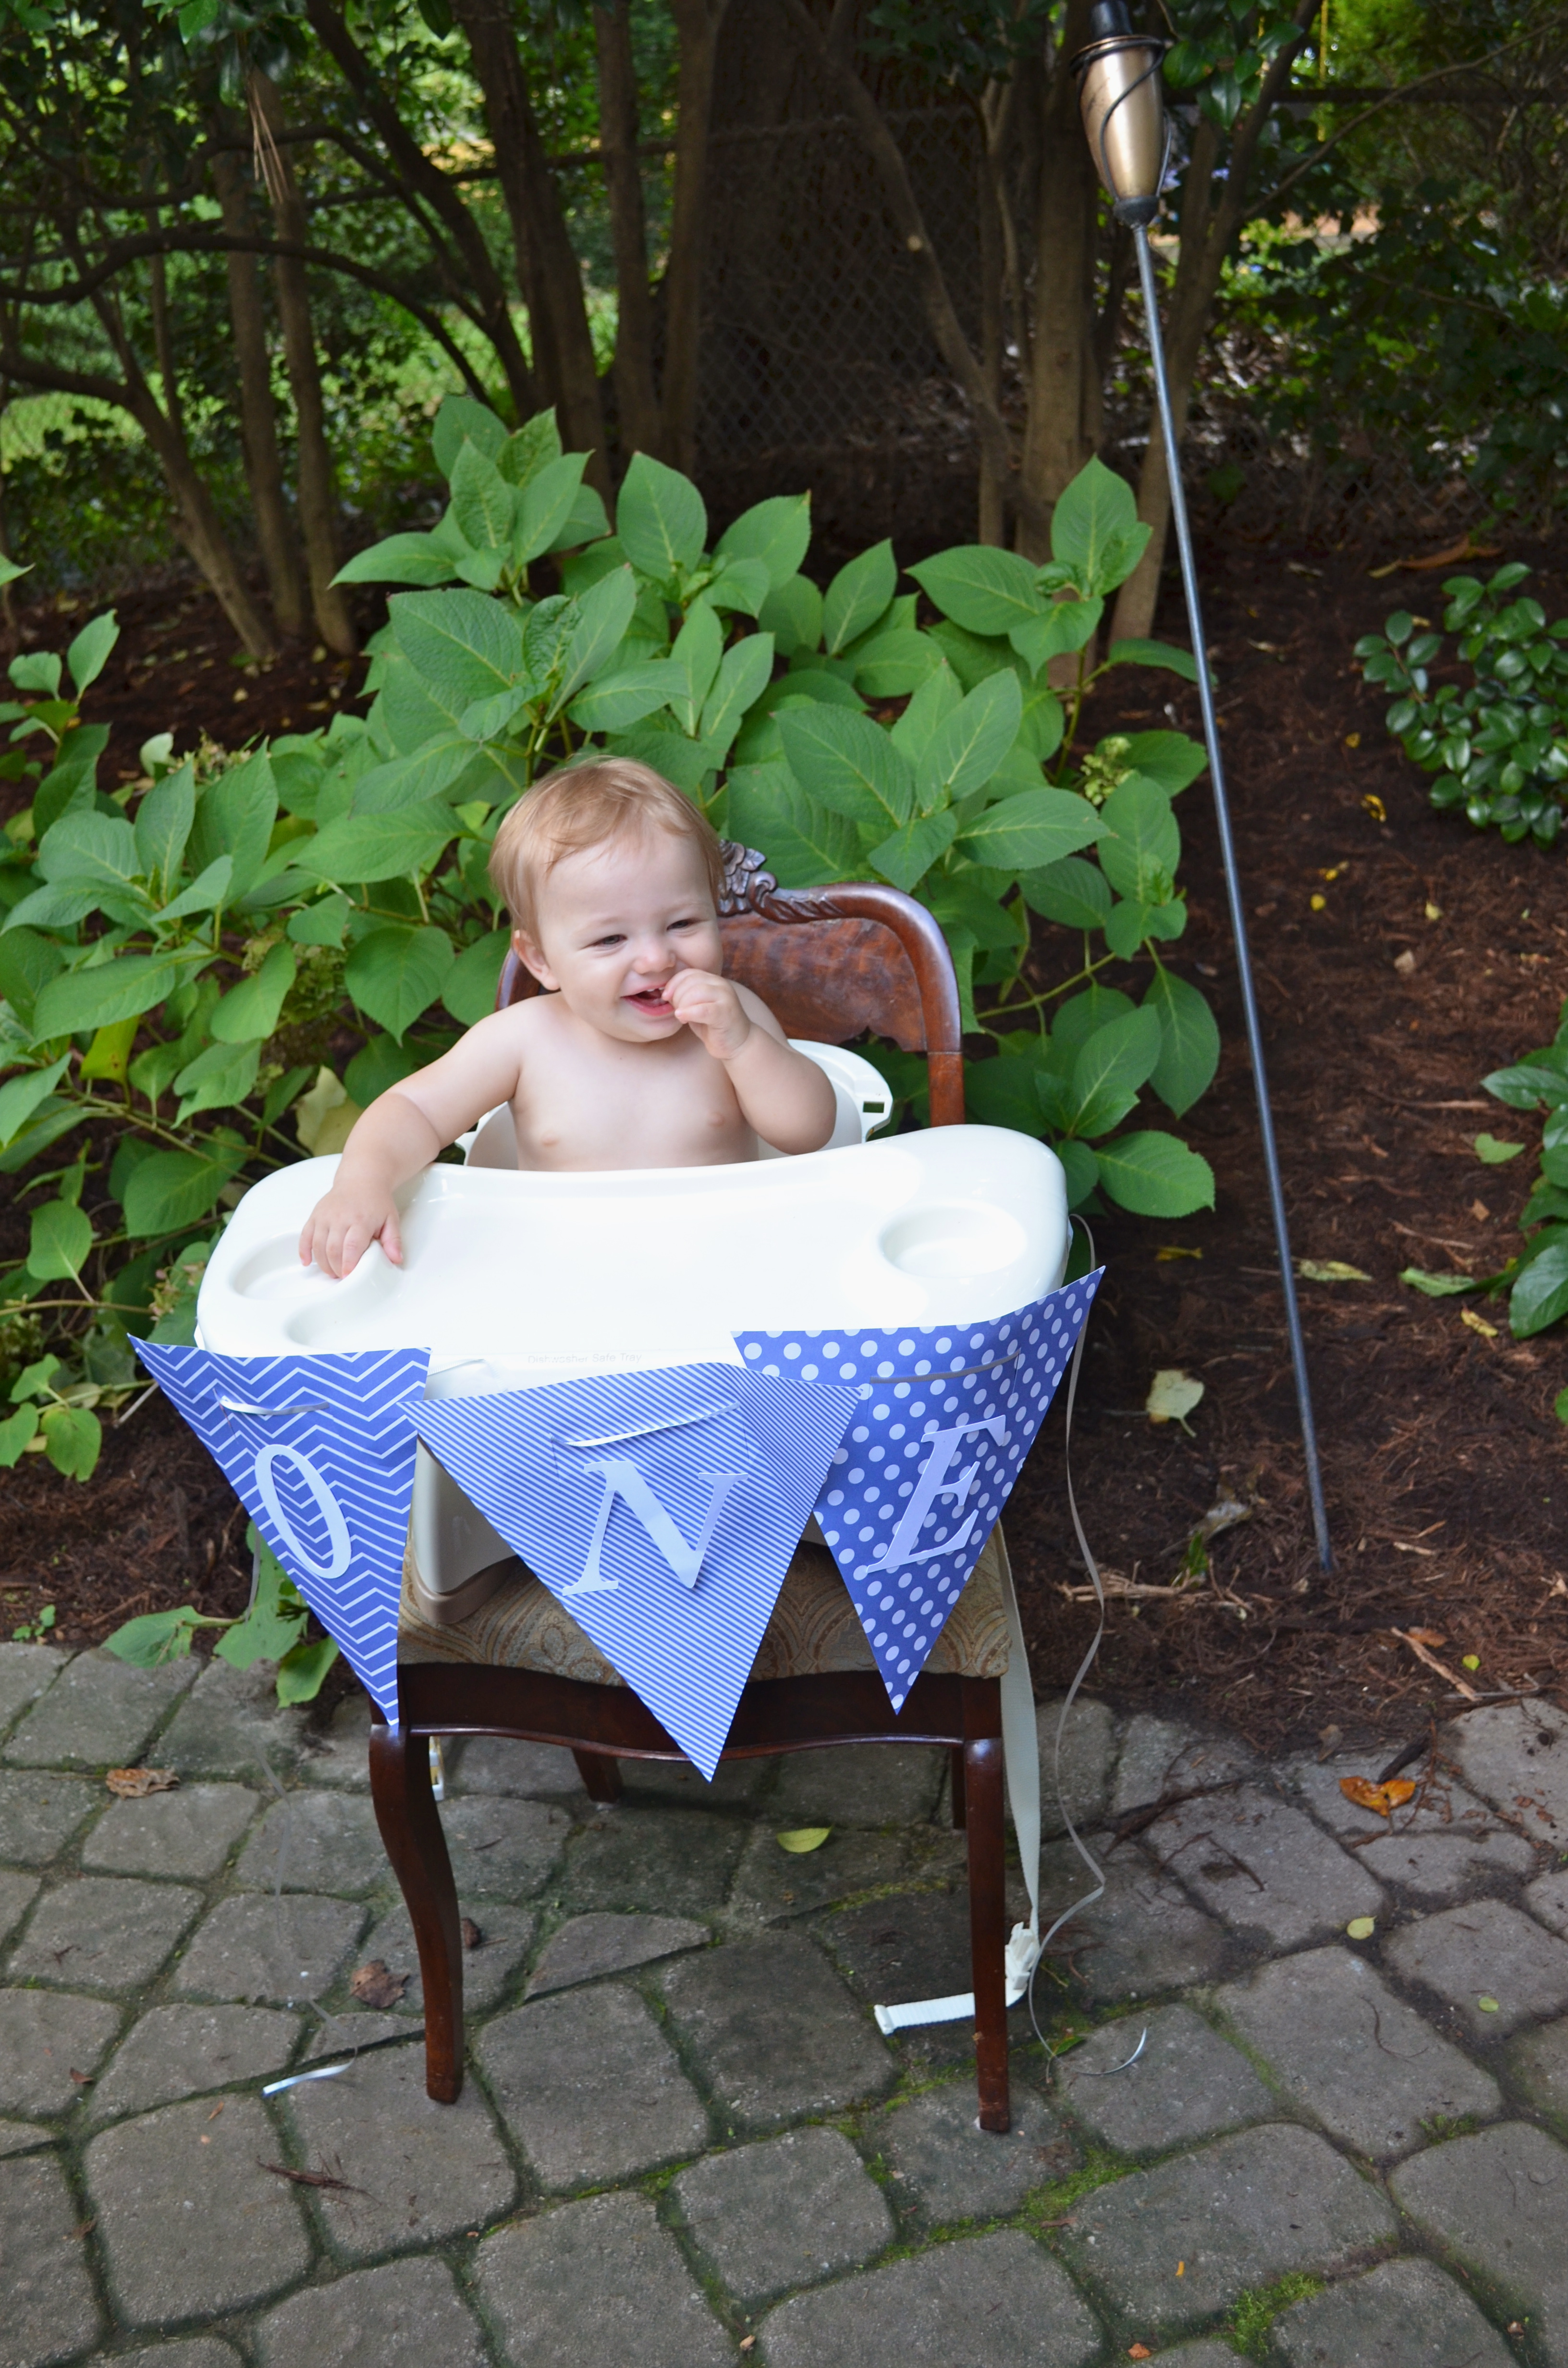
Birdies and Eagles are fun, but Colton’s 1st Birthday is sure to be a Hole in ONE!
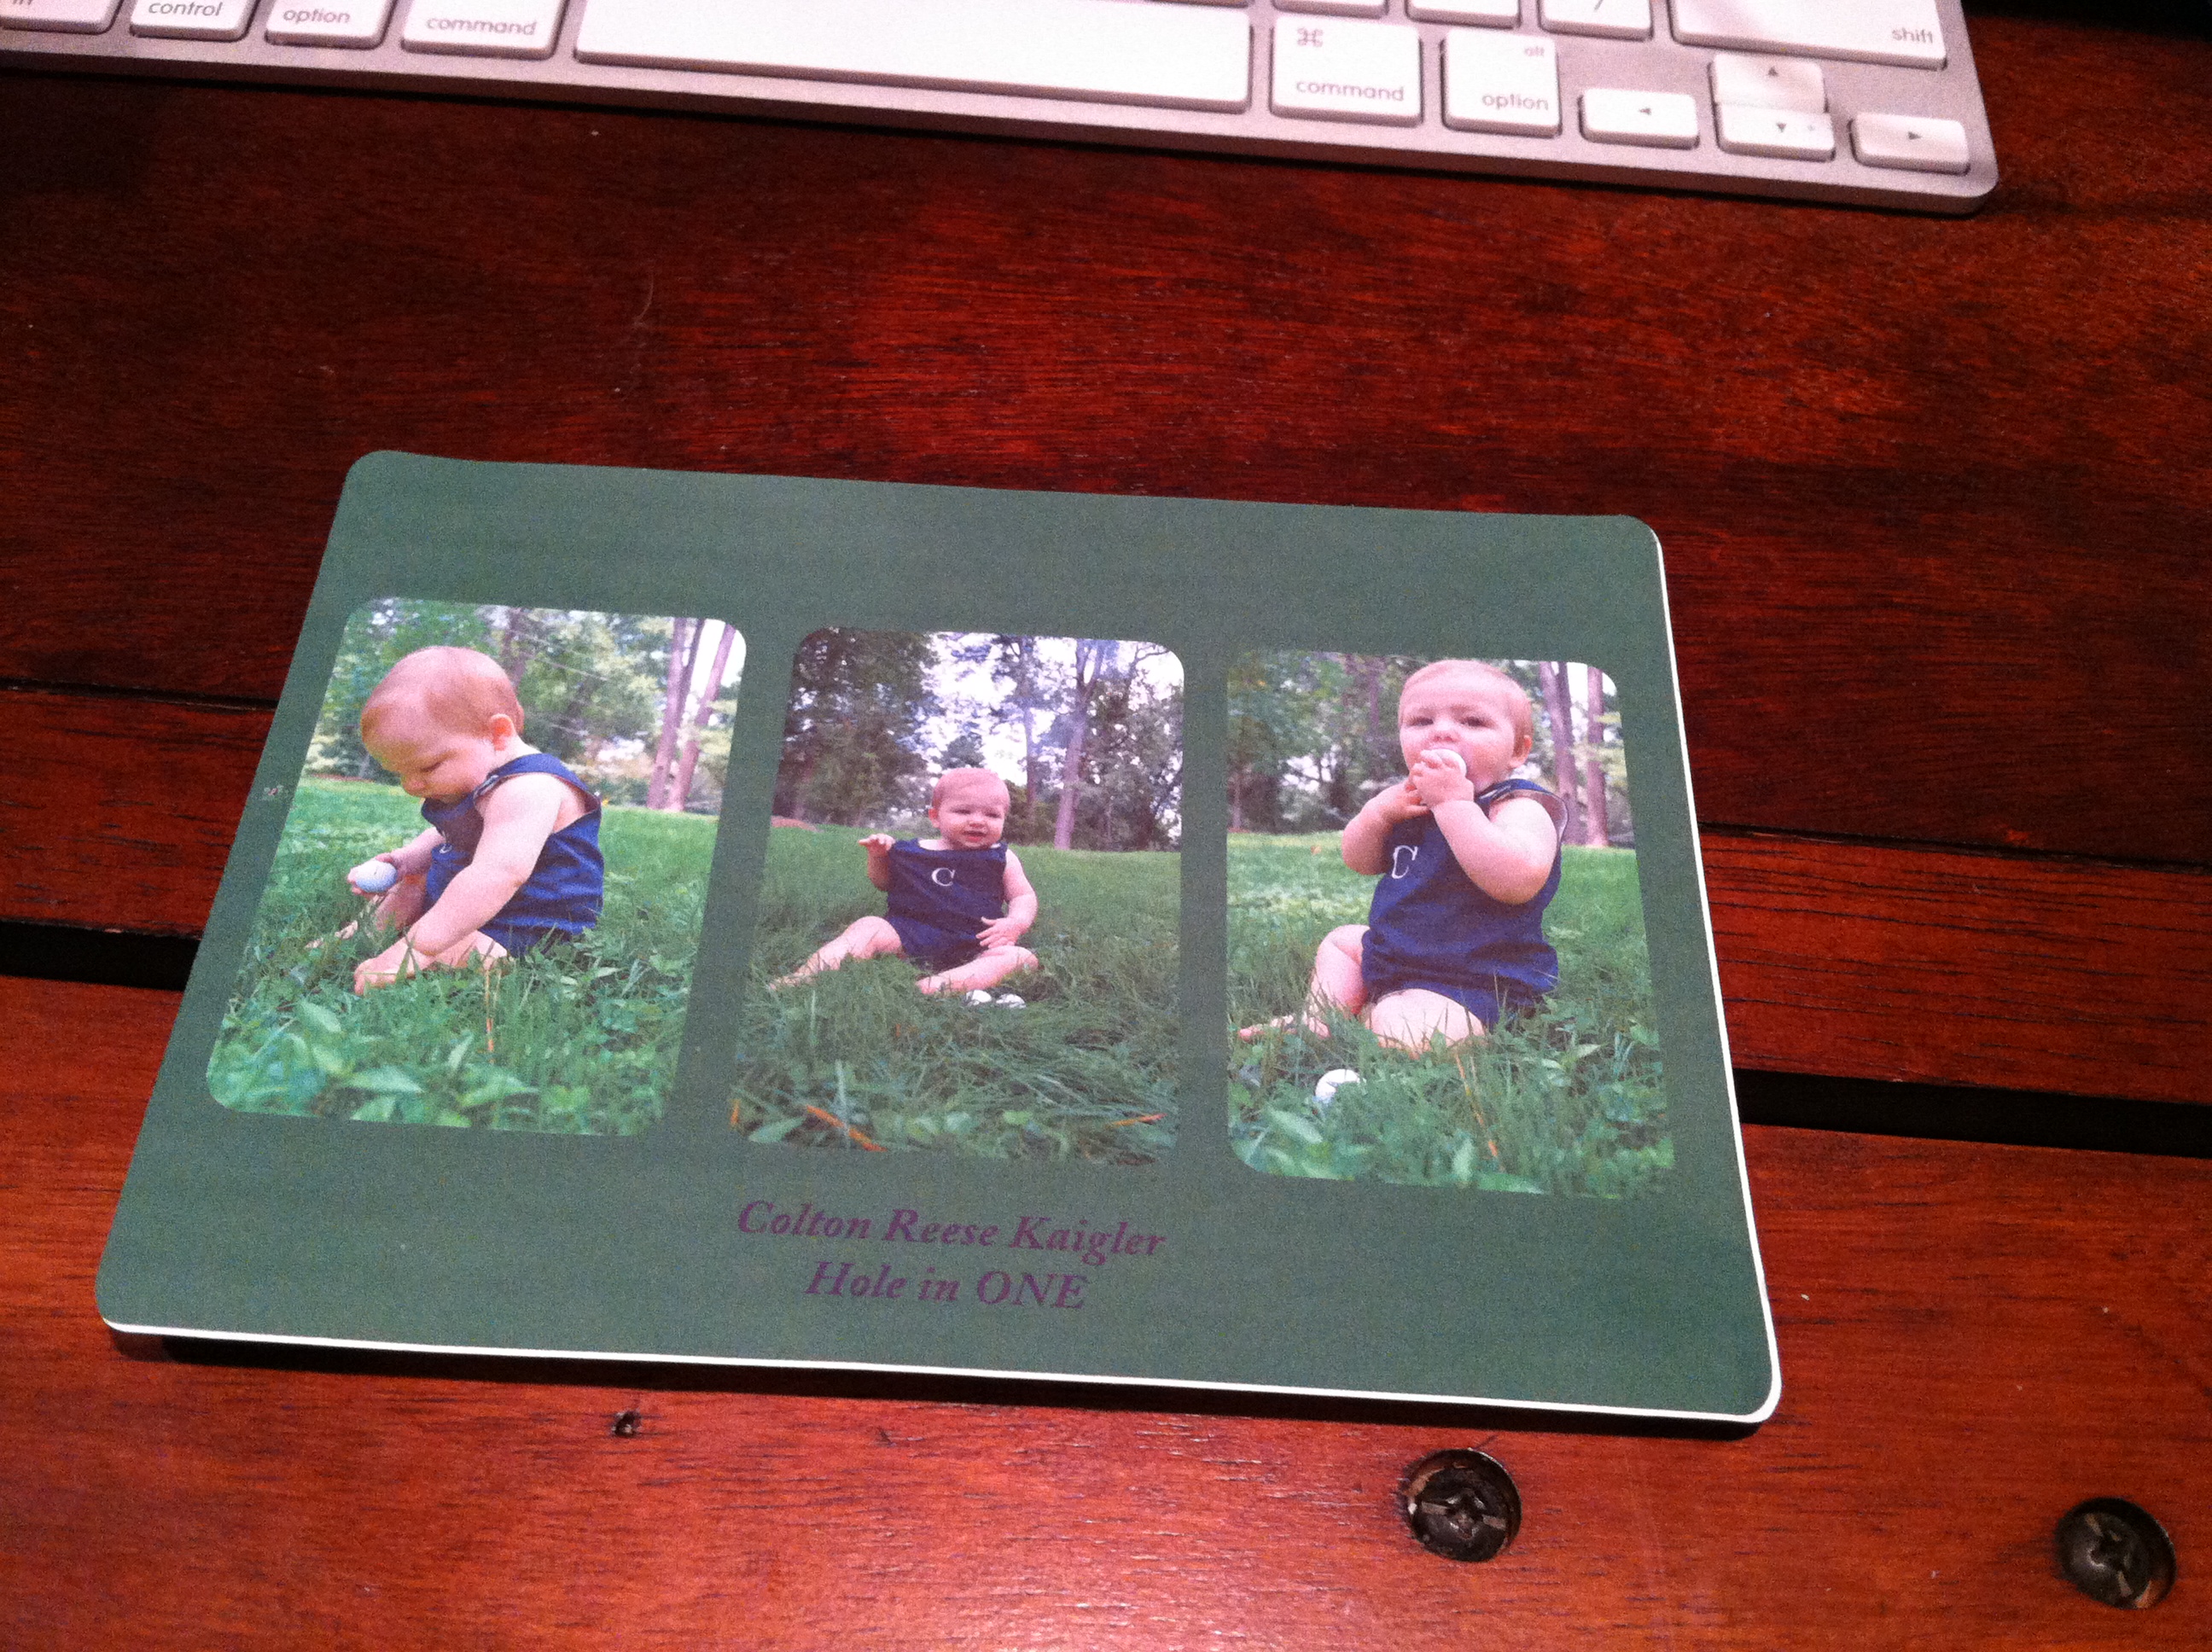
Back View
I used this invitation as my layout inspiration and then created my own using my (relatively) new silhouette machine. I knew I wouldn’t be able to get a picture of Colton standing with a golf club since he is barely standing on his own. Then, I came across this invitation and came up with a great idea for a photo shoot. First, I made him a little John John to coordinate with the invitation. Then, Colton and I headed to the park loaded with some golf balls. The golf balls I used for the photo shoot were actually a Sip & See gift (Thanks, Uncle Bob, for Colton’s first golf balls)!
I am very new to the Silhouette machine. I received it as a Christmas gift from my MIL, but I didn’t get the nerve to sit down to use it until the 4th of July. (I’ll have to do a separate post on my Independence Day crafts!) This project required a lot of research on my part. I was able to download a putting green design and a tee and ball design from the Silhouette Online Store. I was researching “print and cut” tutorials when I stumbled upon this video, which featured a double-sided card. New idea! I had so many great pictures from our photo shoot that I would have liked to use. How about putting a few “extras” on the back? Of course, my brilliant idea also created a lot more work. The end result wasn’t perfect (Note the white space), and I’d like to experiment with some other techniques on my next project, but I think it came out pretty well for a first-timer. Since I designed, printed, and cut the invitations myself, I decided to craft coordinating envelopes out of scrapbook paper using this tutorial. I think they look great shown all together. (I always wish you could see the whole package when sending out coordinating stationery. I have a couple sets of note cards that are different shapes and colors that look so cute as a package but really aren’t that exciting individually.)
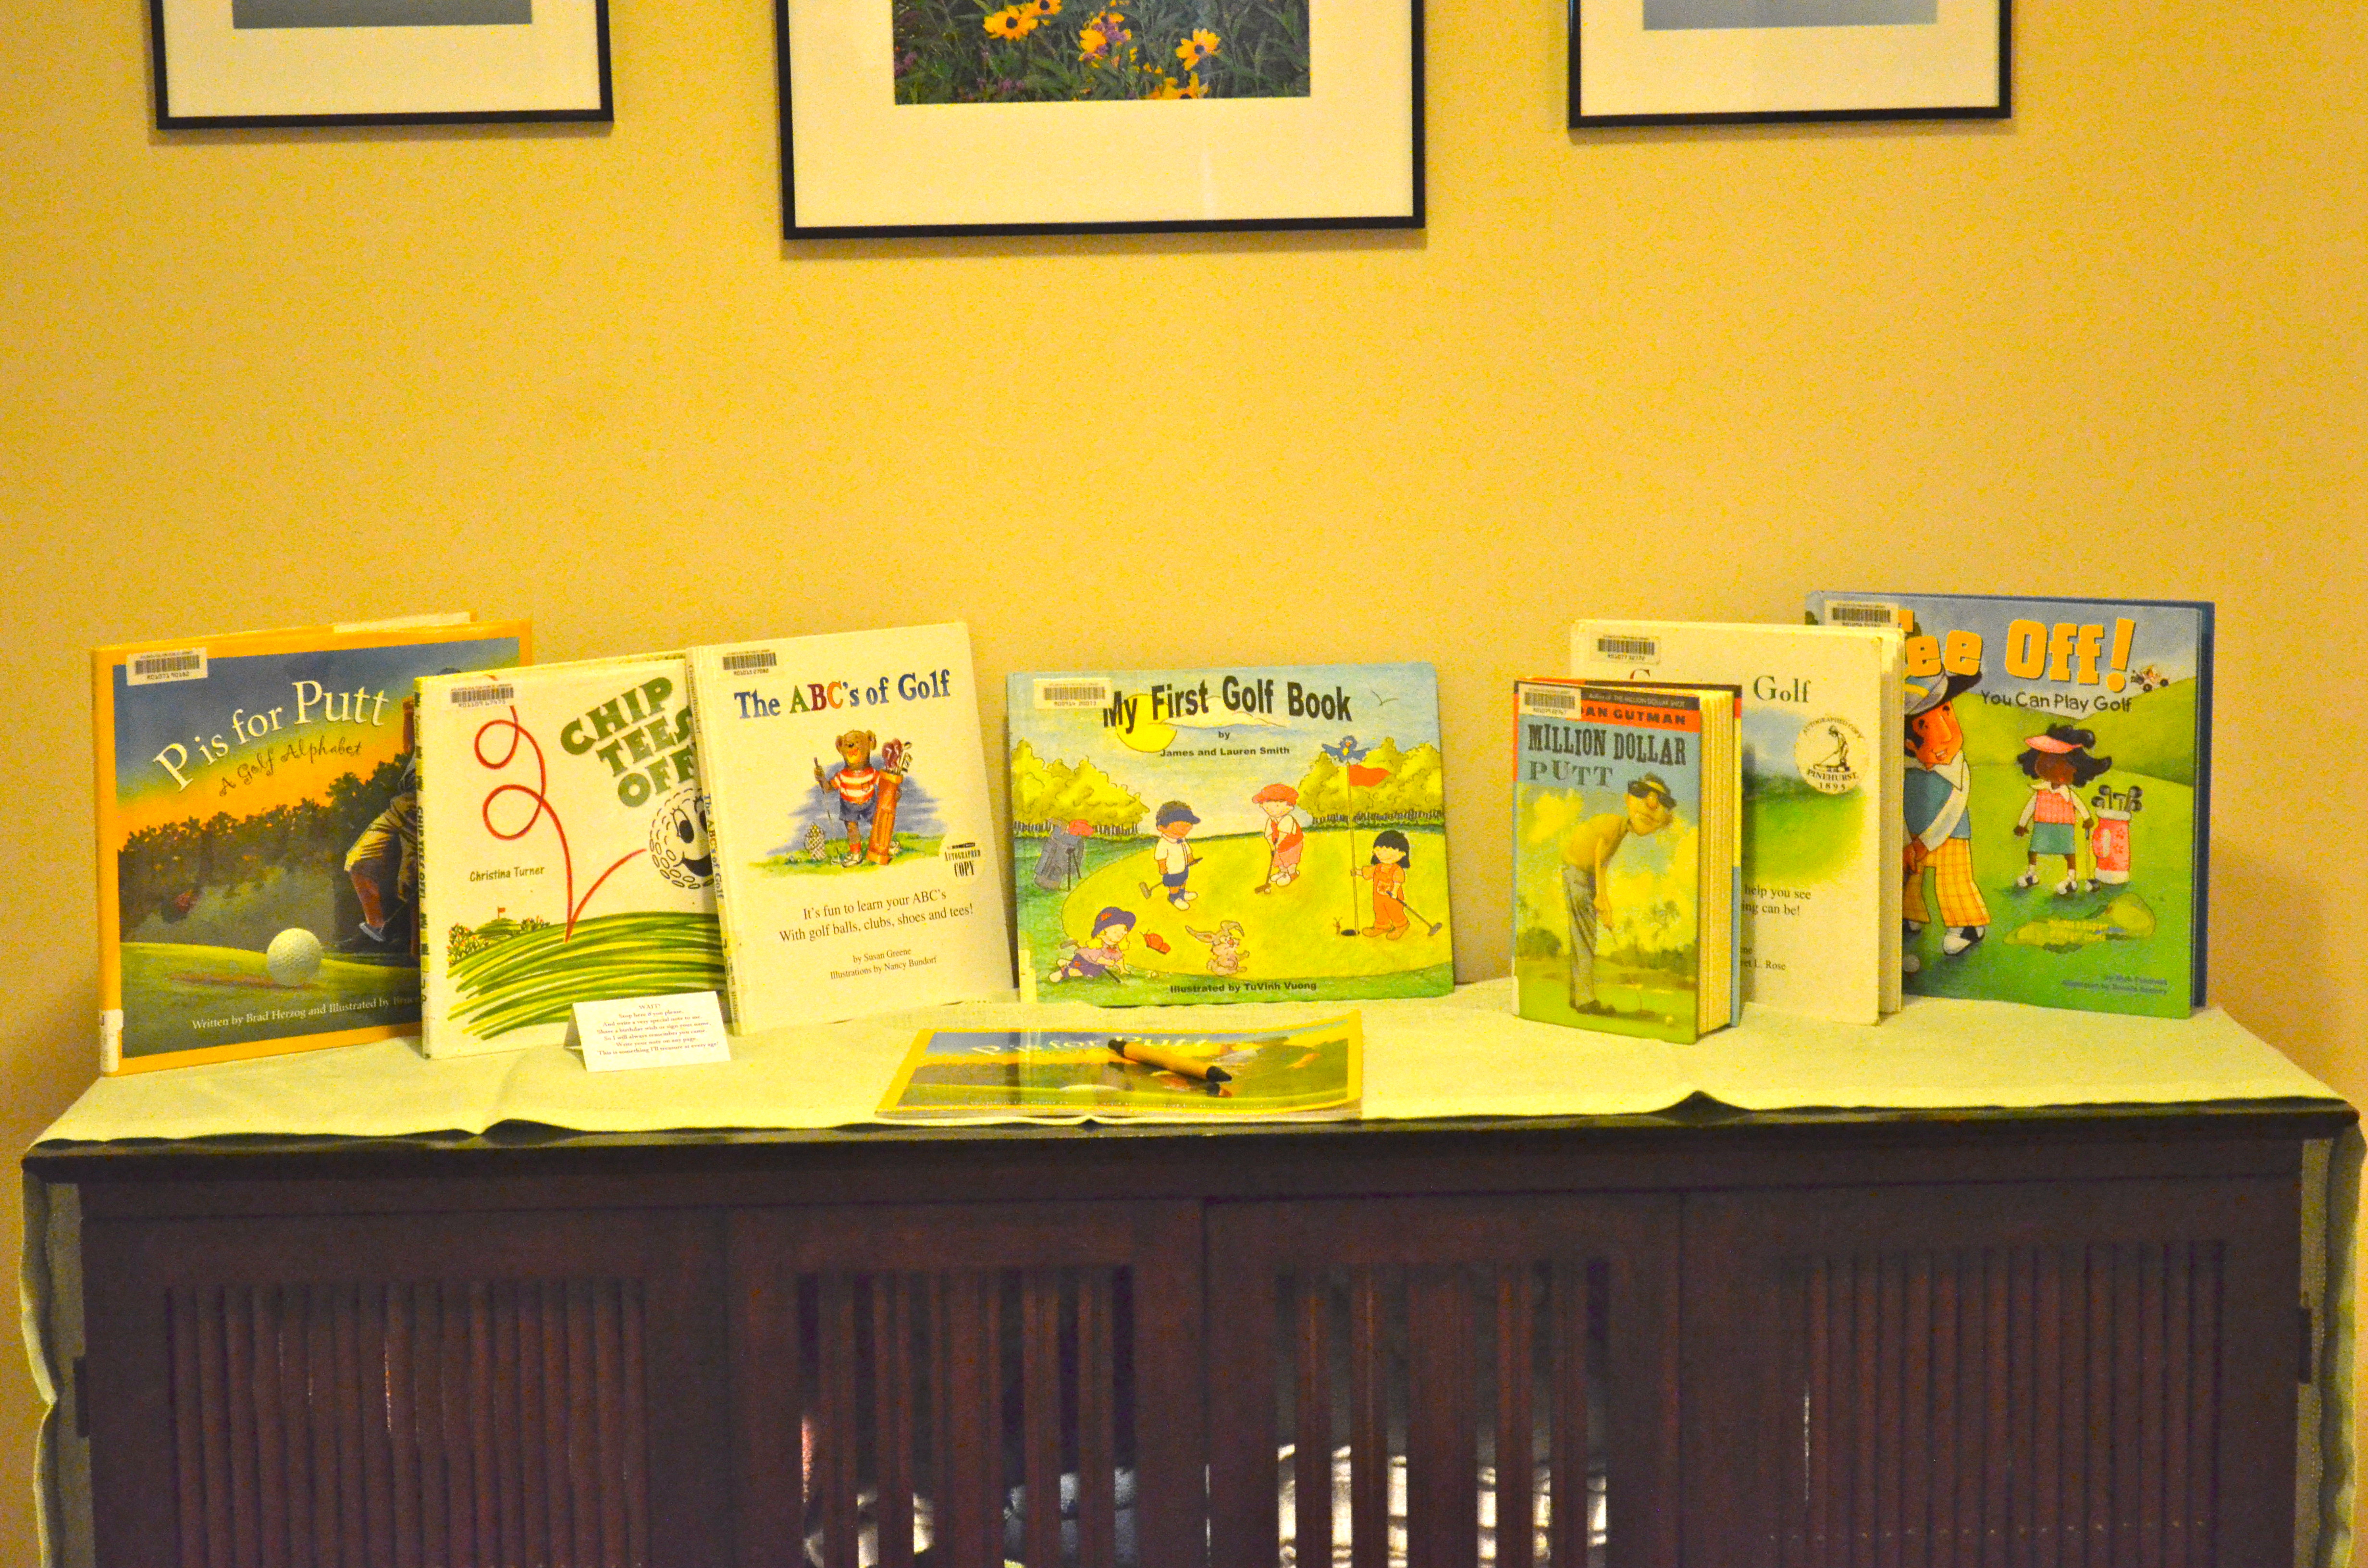
Book and Guest Book Table
I checked out some golf-themed children’s books from our local branch of the Atlanta library. I LOVE the library, especially being able to put books on hold. I can search the library’s catalog online and request the copy be sent to my local branch. If the books are not currently checked out, it usually only takes a day or two.
Guest Book
I originally had the idea to combine all of Colton’s monthly photos into a book to display at his birthday party and ask guests to sign. I had grand plans to take his 12-month photos on his actual birthday (more difficult than it seems and didn’t always happen in the early months!), collect his 12-month-pediatrician-visit stats, combine all of my monthly notes to him, and throw all of this together in time to be printed for his birthday party 3 days later. Thursday before his Saturday party, I was trying to figure out the cheapest and fastest option. However, most of the online photo coupons are not good in stores. After realizing the time (and money) that this “little” project was going to take, I decided to shelve it for a Christmas present instead. Plus, I think it will be a better keepsake just coming from Mommy without other notes competing. Hopefully, I’ll remember to start it up again more than 2 days before Christmas! 😀
I had previously come up with the book idea. I wasn’t sure how I was going to display them, but I figured I could use them somehow for decor. I also liked the idea of giving Colton his own party favor – a golf book to add to his library. I did have the forethought to order one from Amazon. After I nixed the photo book idea, I was thinking of other ways to incorporate a guest book. I had seen a time capsule idea but had decided against adding that to his invitation. Then, I remembered back to my travel-themed baby shower (Oh, I should definitely write a post on that!). My hostesses had all of my guests sign a copy of Oh, The Places You’ll Go. It made a wonderful keepsake that Hubby and I still enjoy looking at and reading to Munchkin. Another Pinterest search came up with this idea and this one. I combined them, along with some tweaking of my own. I think it turned out great!
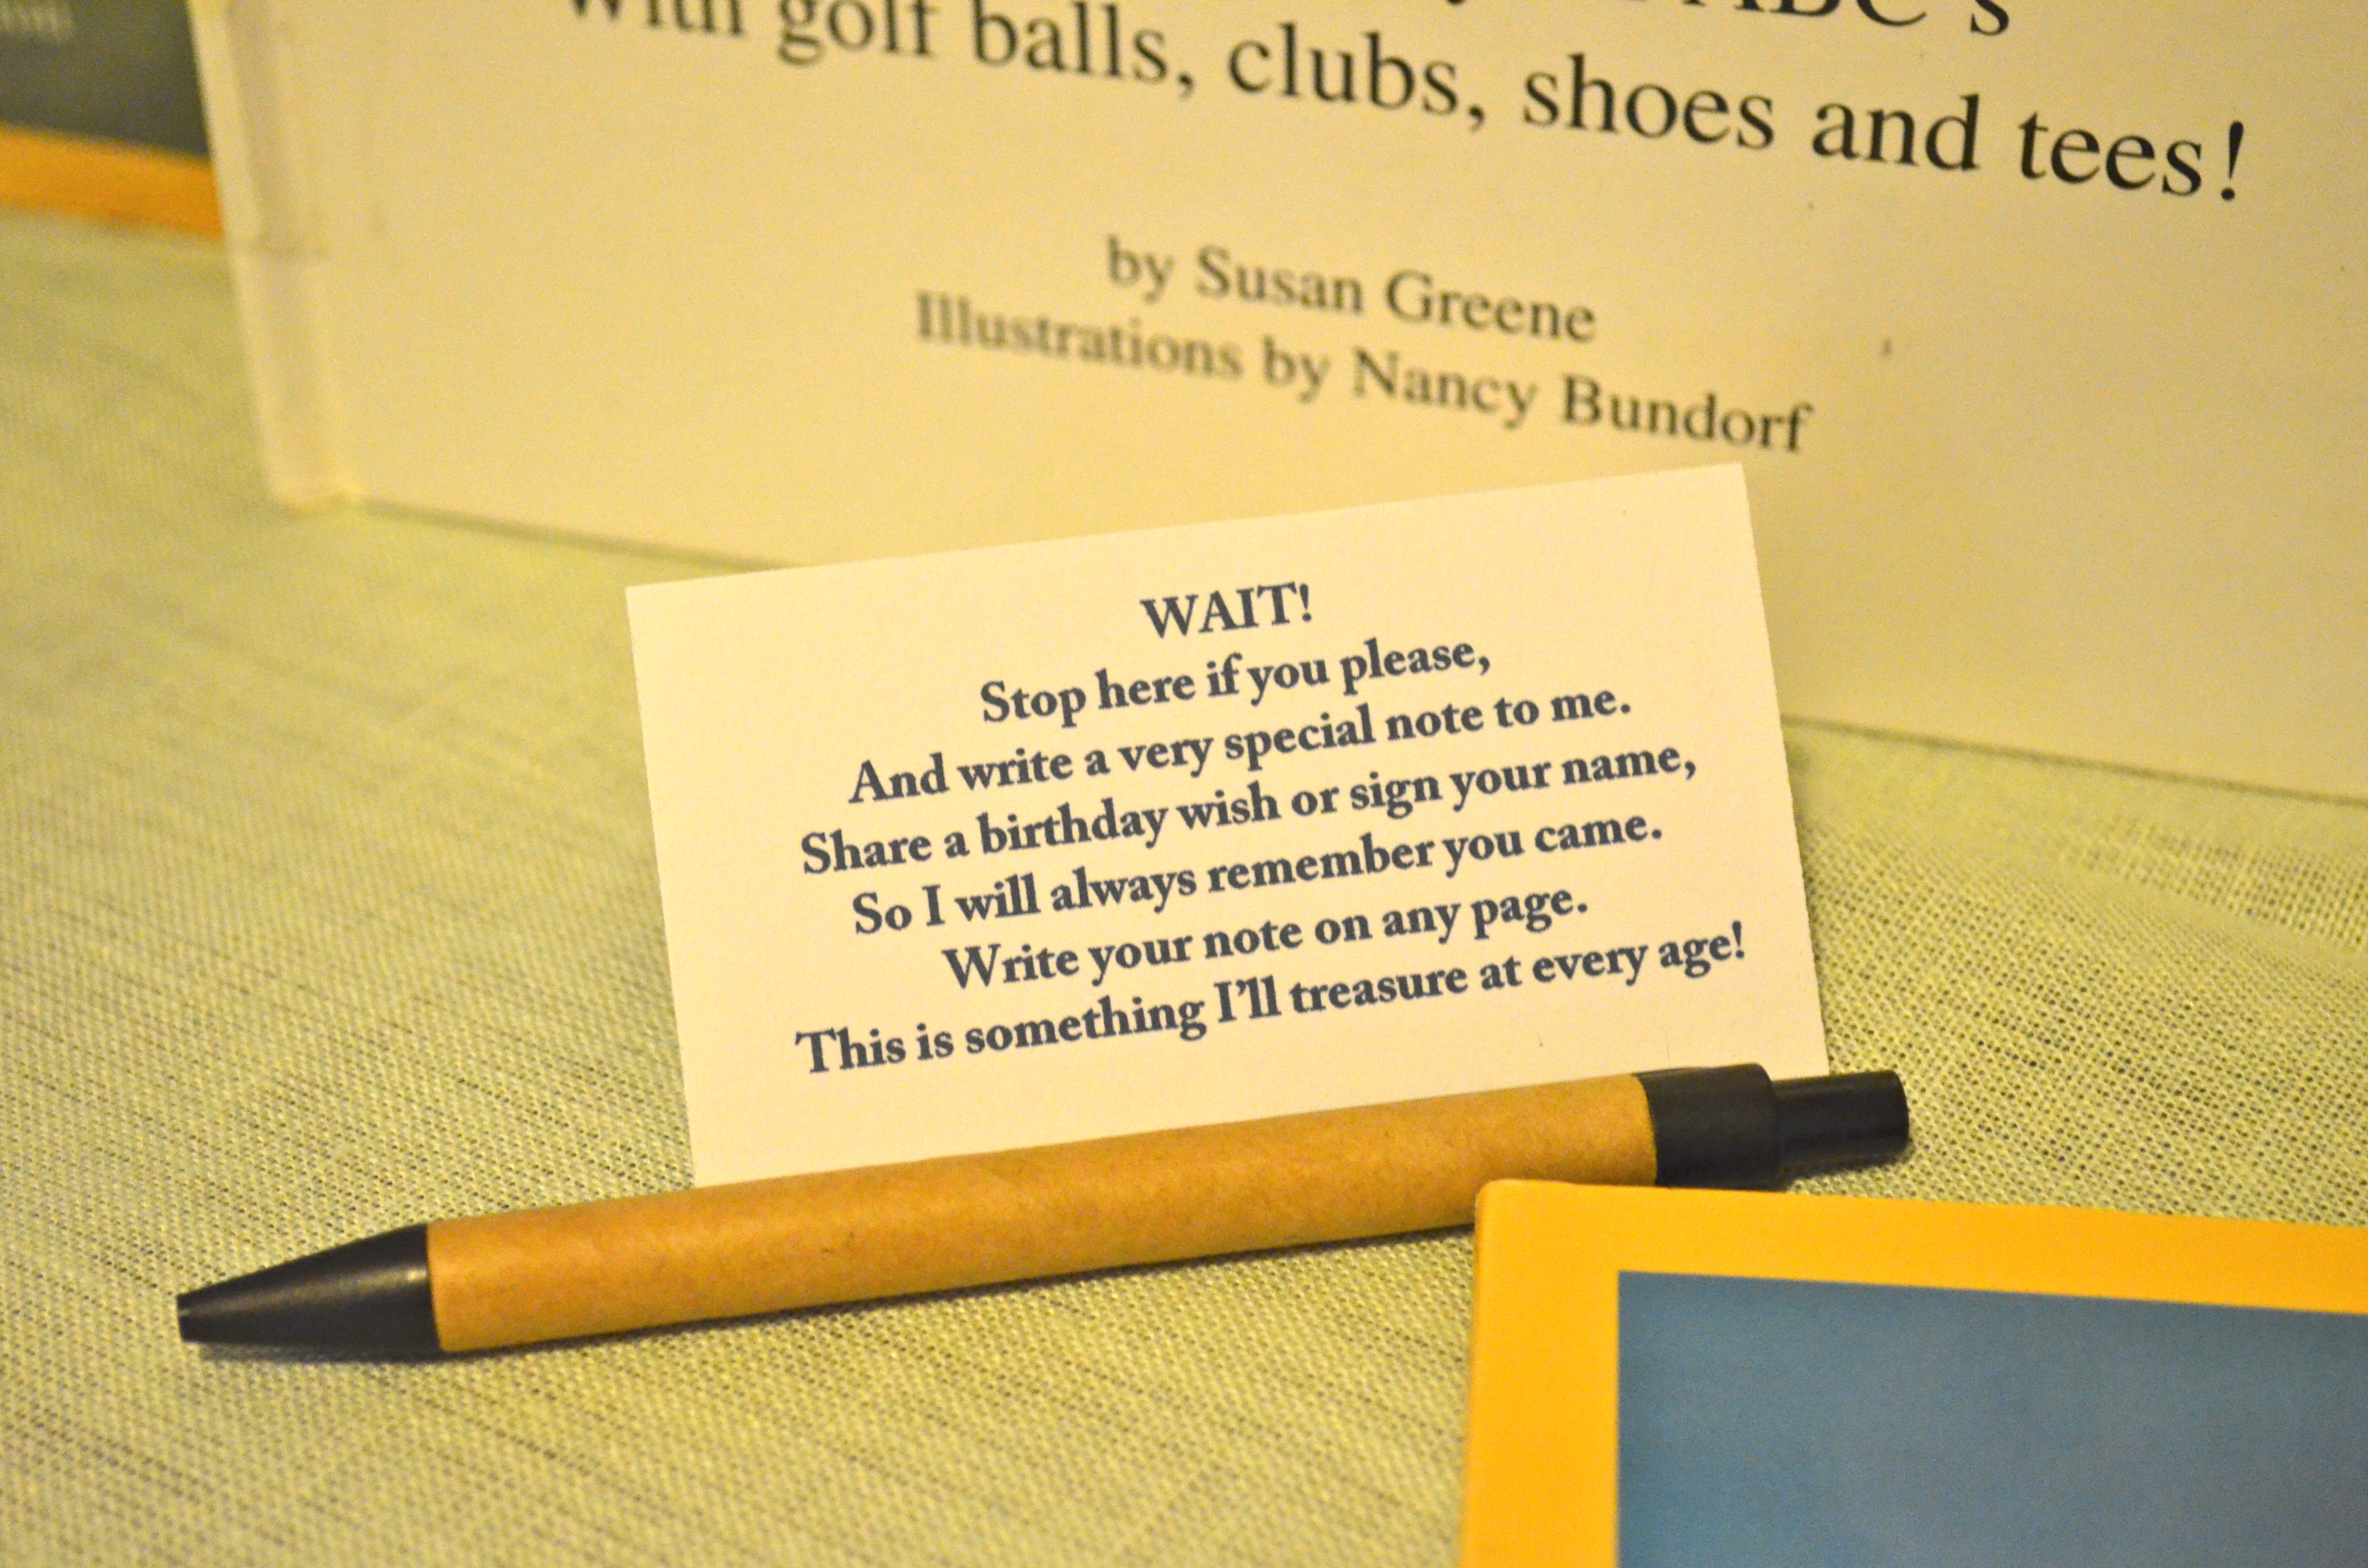
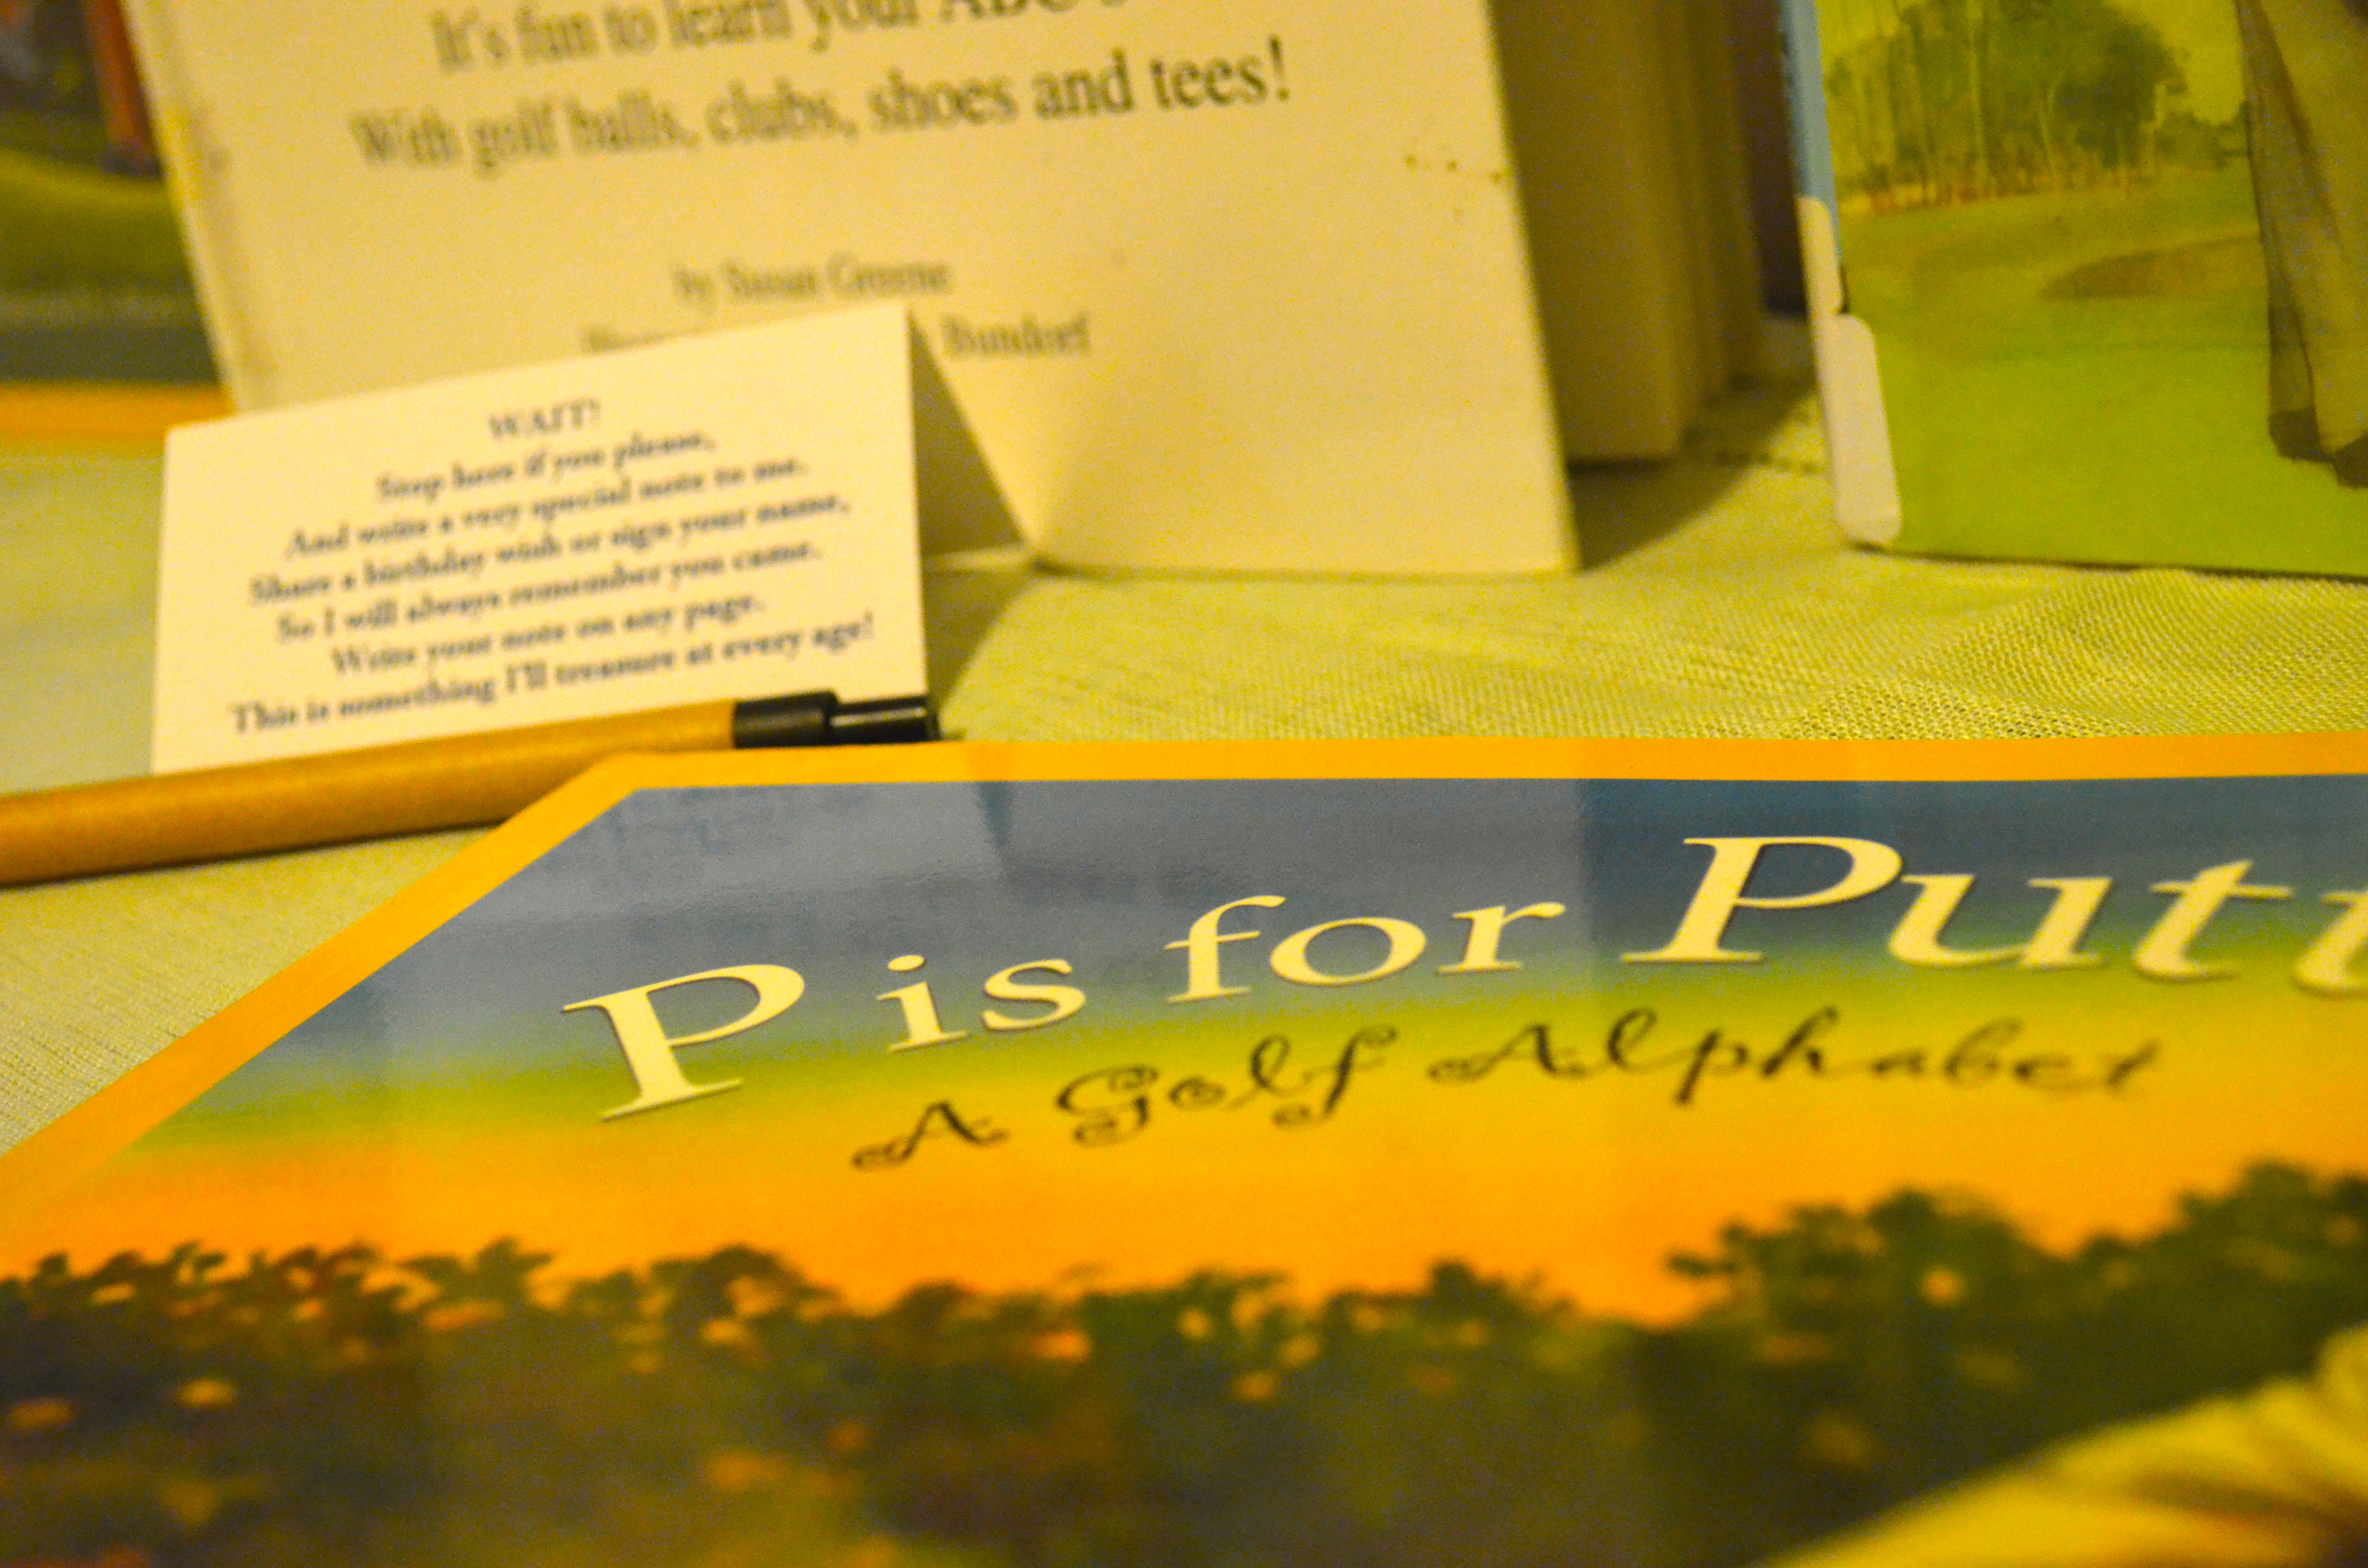
Guest Book Sign
“Wait! Stop here if you please, And write a very special note to me. Share a birthday wish or sign your name, So I will always remember you came. Write your note on any page. This is something I’ll treasure at every age!”
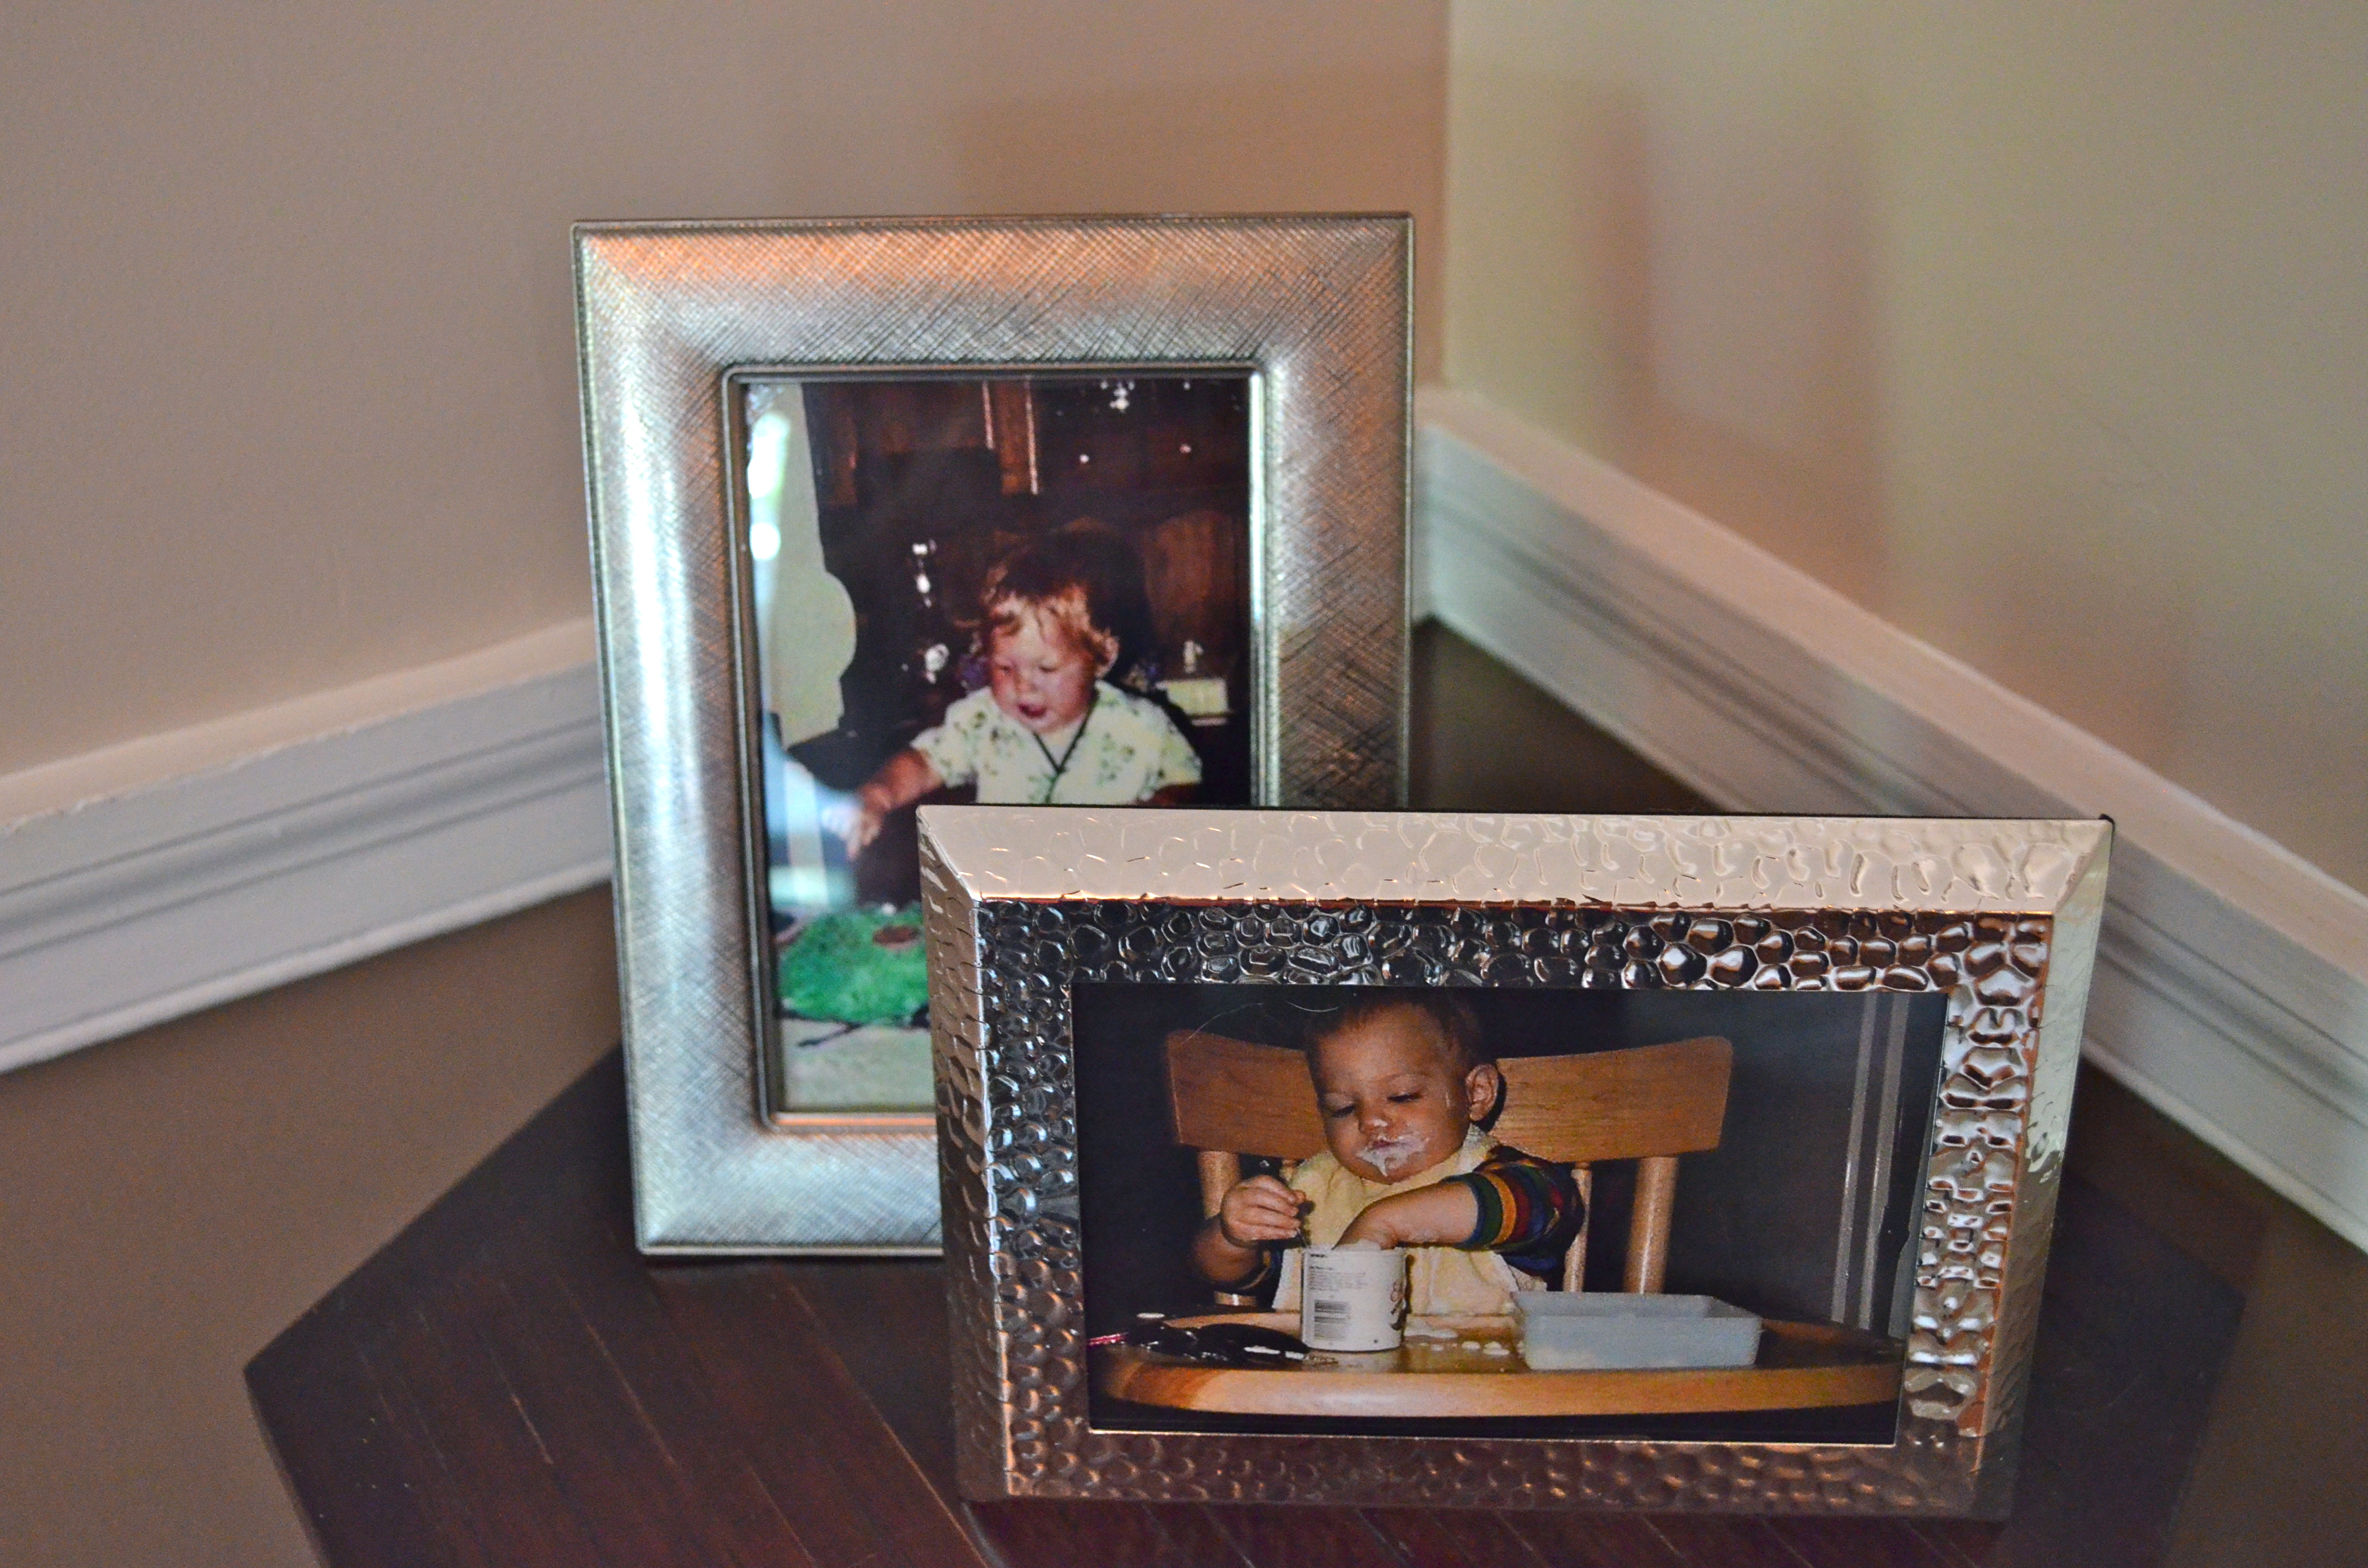
Mommy and Daddy on our 1 year birthdays
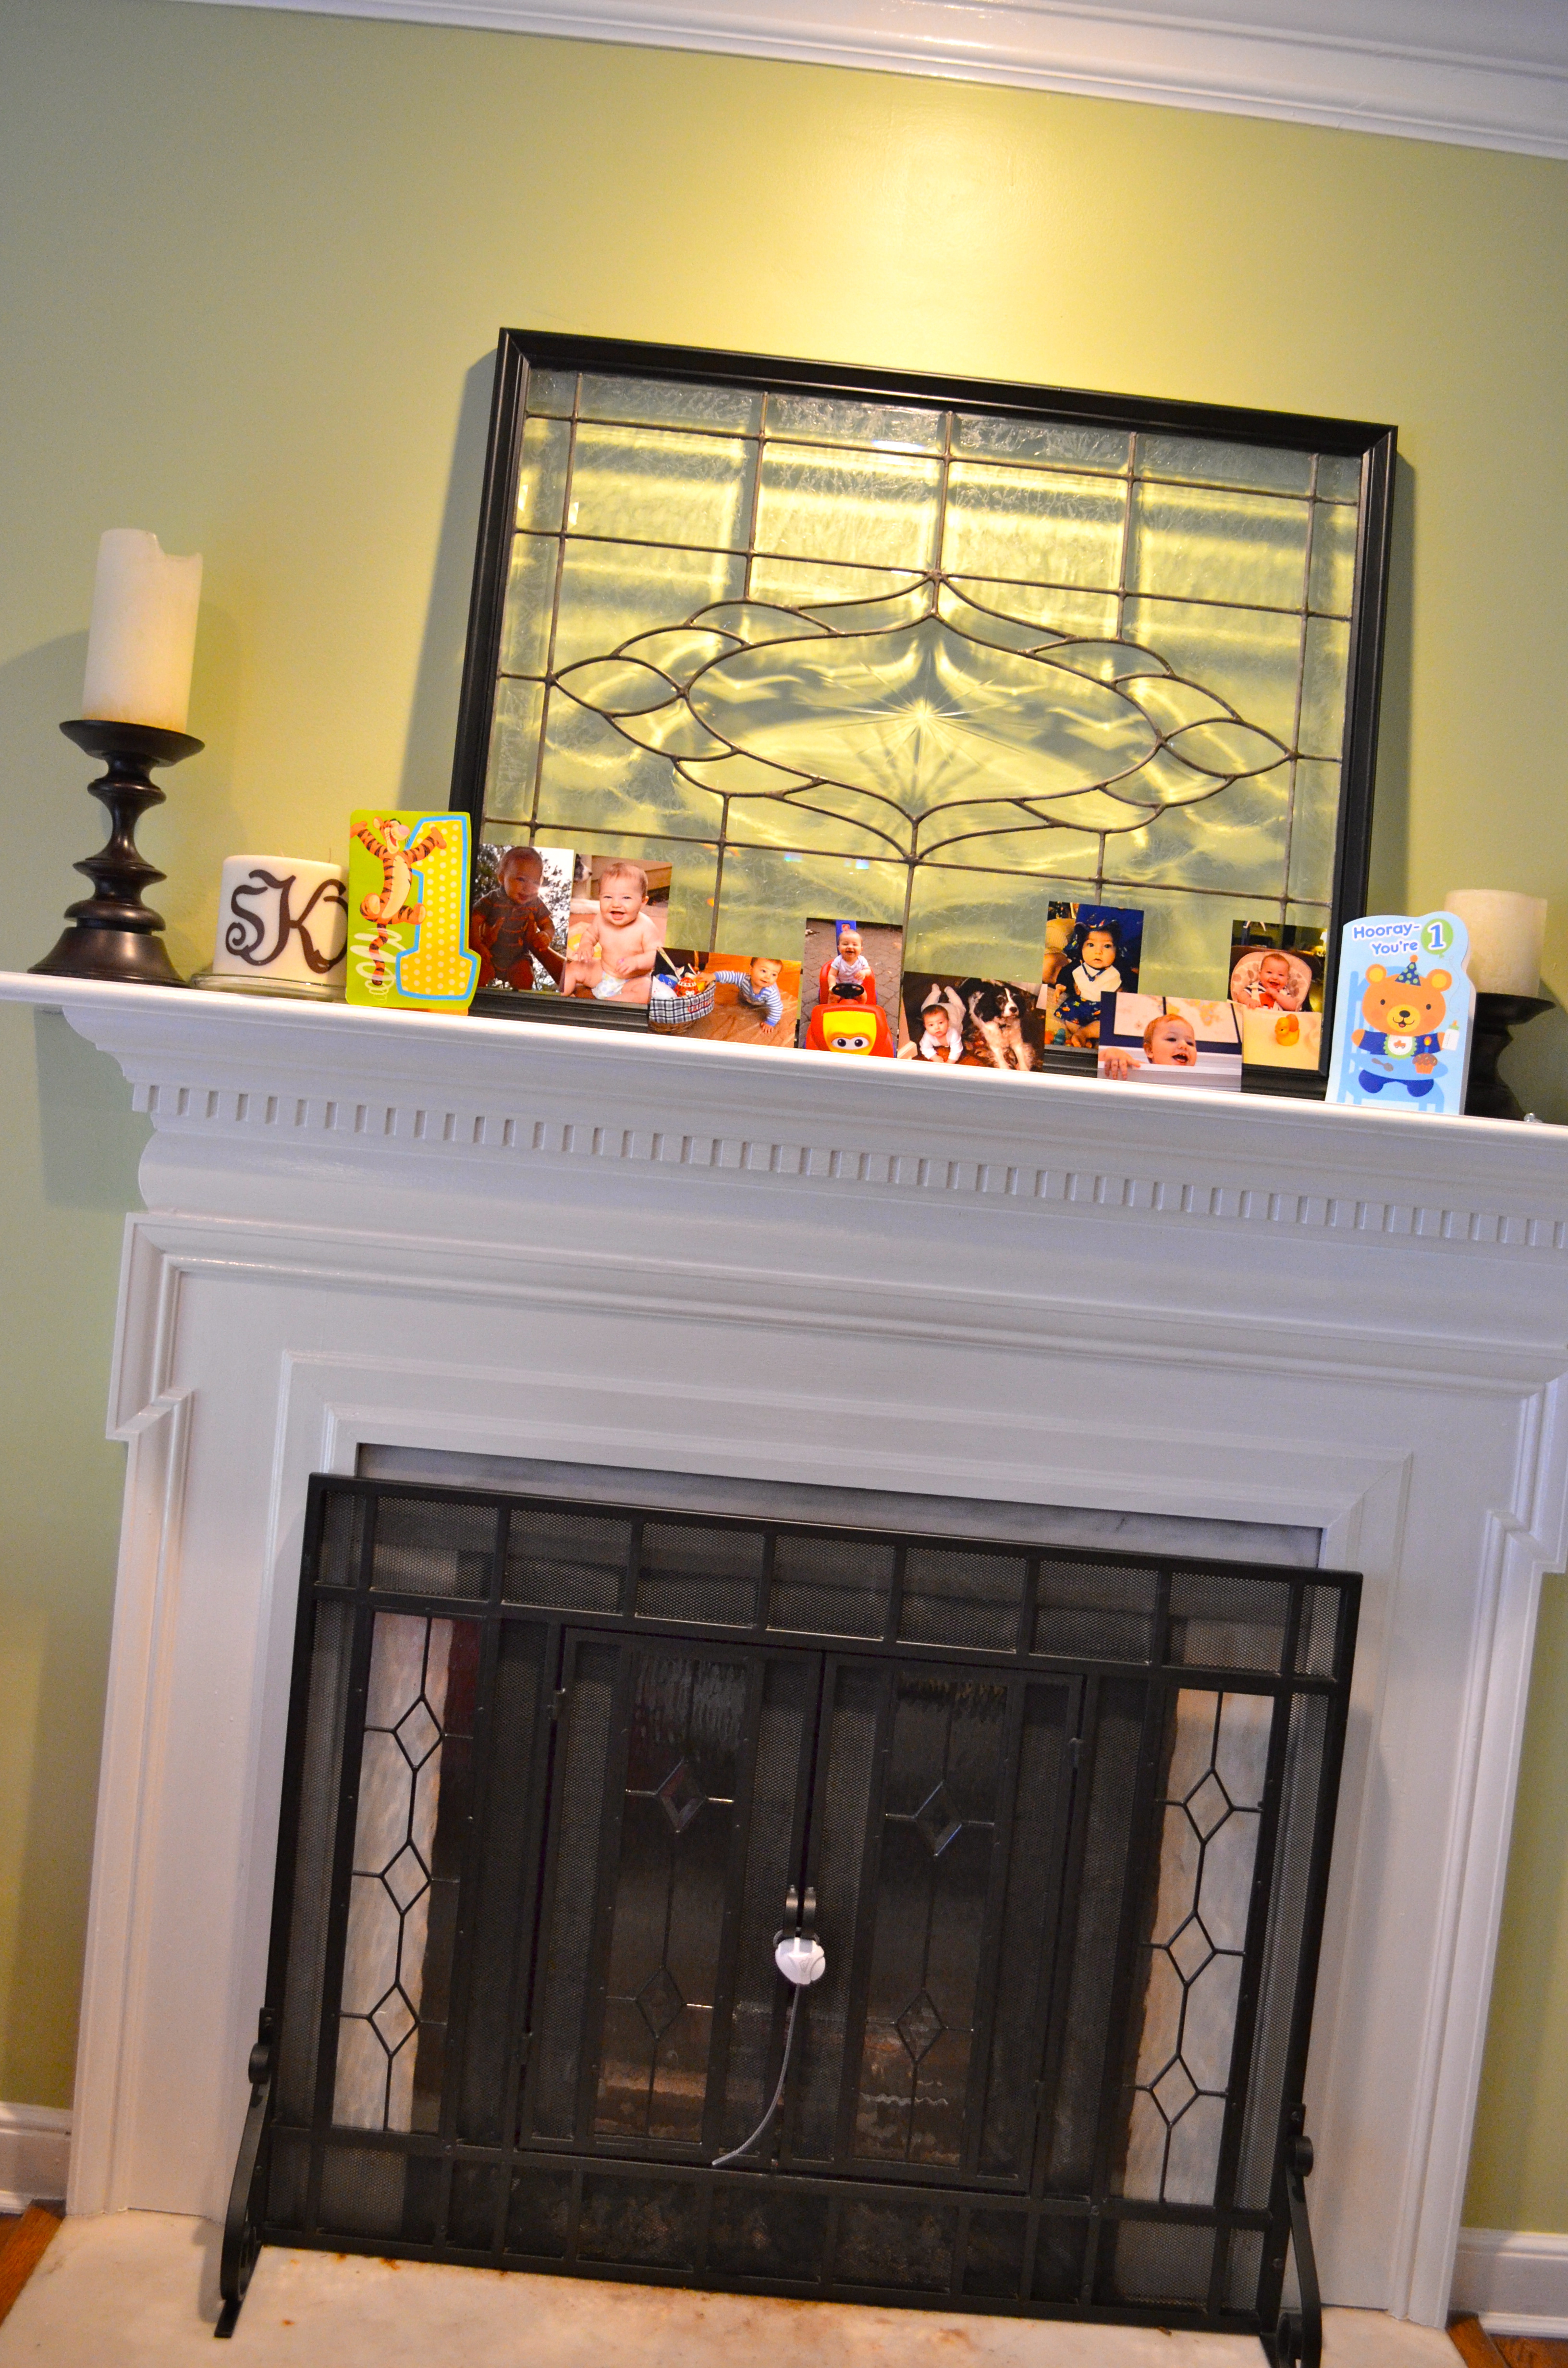
Who do you think Colton resembles most?! This was actually a last-minute addition. I was flipping through iPhoto looking for pictures to print for a closet project and came upon our wedding slideshow section. I found several birthday photos of Hubby and thought this one might be his 1 year. I asked my MIL for confirmation, which turned into a back and forth of more Hubby birthday photos 🙂 , and we concluded that this must be his 1st birthday. I then asked my mom for a 1-year-old picture. She sent me the picture that must have followed this one in sequence – me with a yogurt-covered hand in my mouth – but the quality wasn’t great, and I already had this one. I decided to print them both out and display them somehow. I thought I would put them on the cake table, but after it was set up, I decided it would be too distracting. I had just thrown away a dead fern on a side table in the dining room and that ended up being the perfect spot – right next to the cake table!
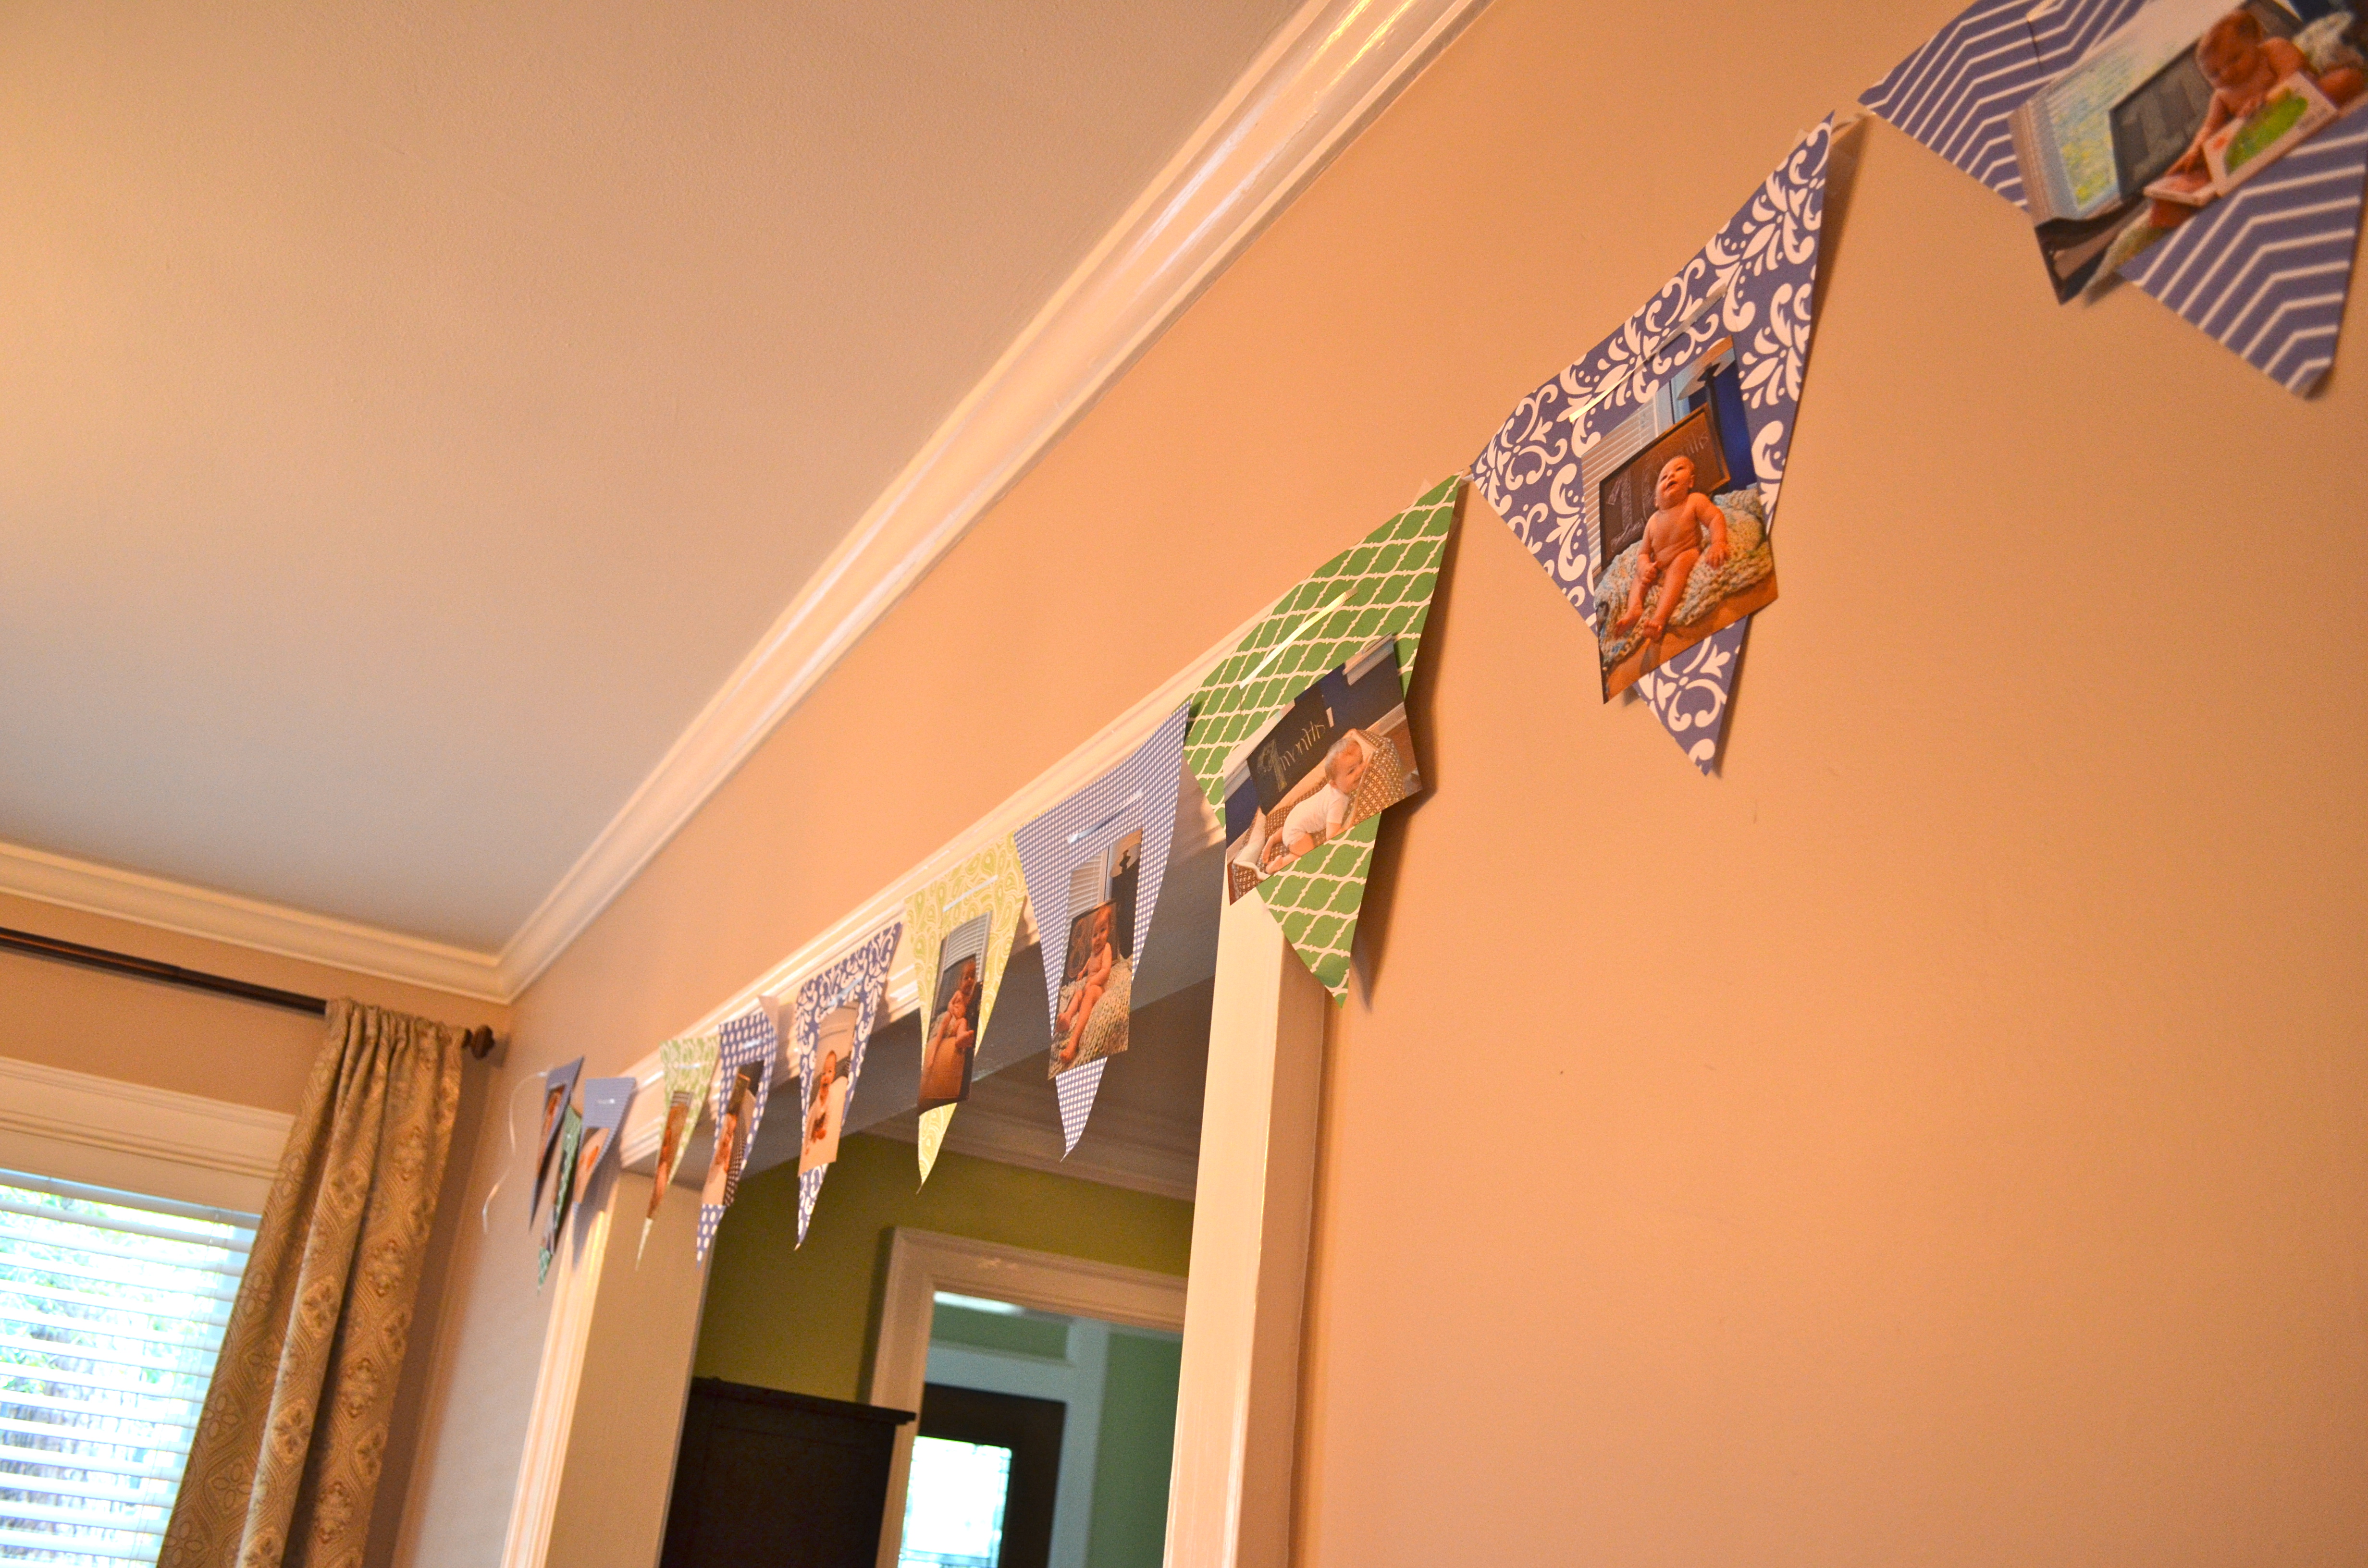
Birthday Banner
The banner includes each month from his monthly photo sessions. I had printed so many pictures from his first year and ran out of time to do something creative with them. I ended up just spreading them around some empty tables. We’re in the process of doing some redecorating (otherwise known as childproofing!) and have some end tables that still need some work. Not to mention that it’s been a year since we rearranged our living room, and we JUST hung photos above the couch this week!
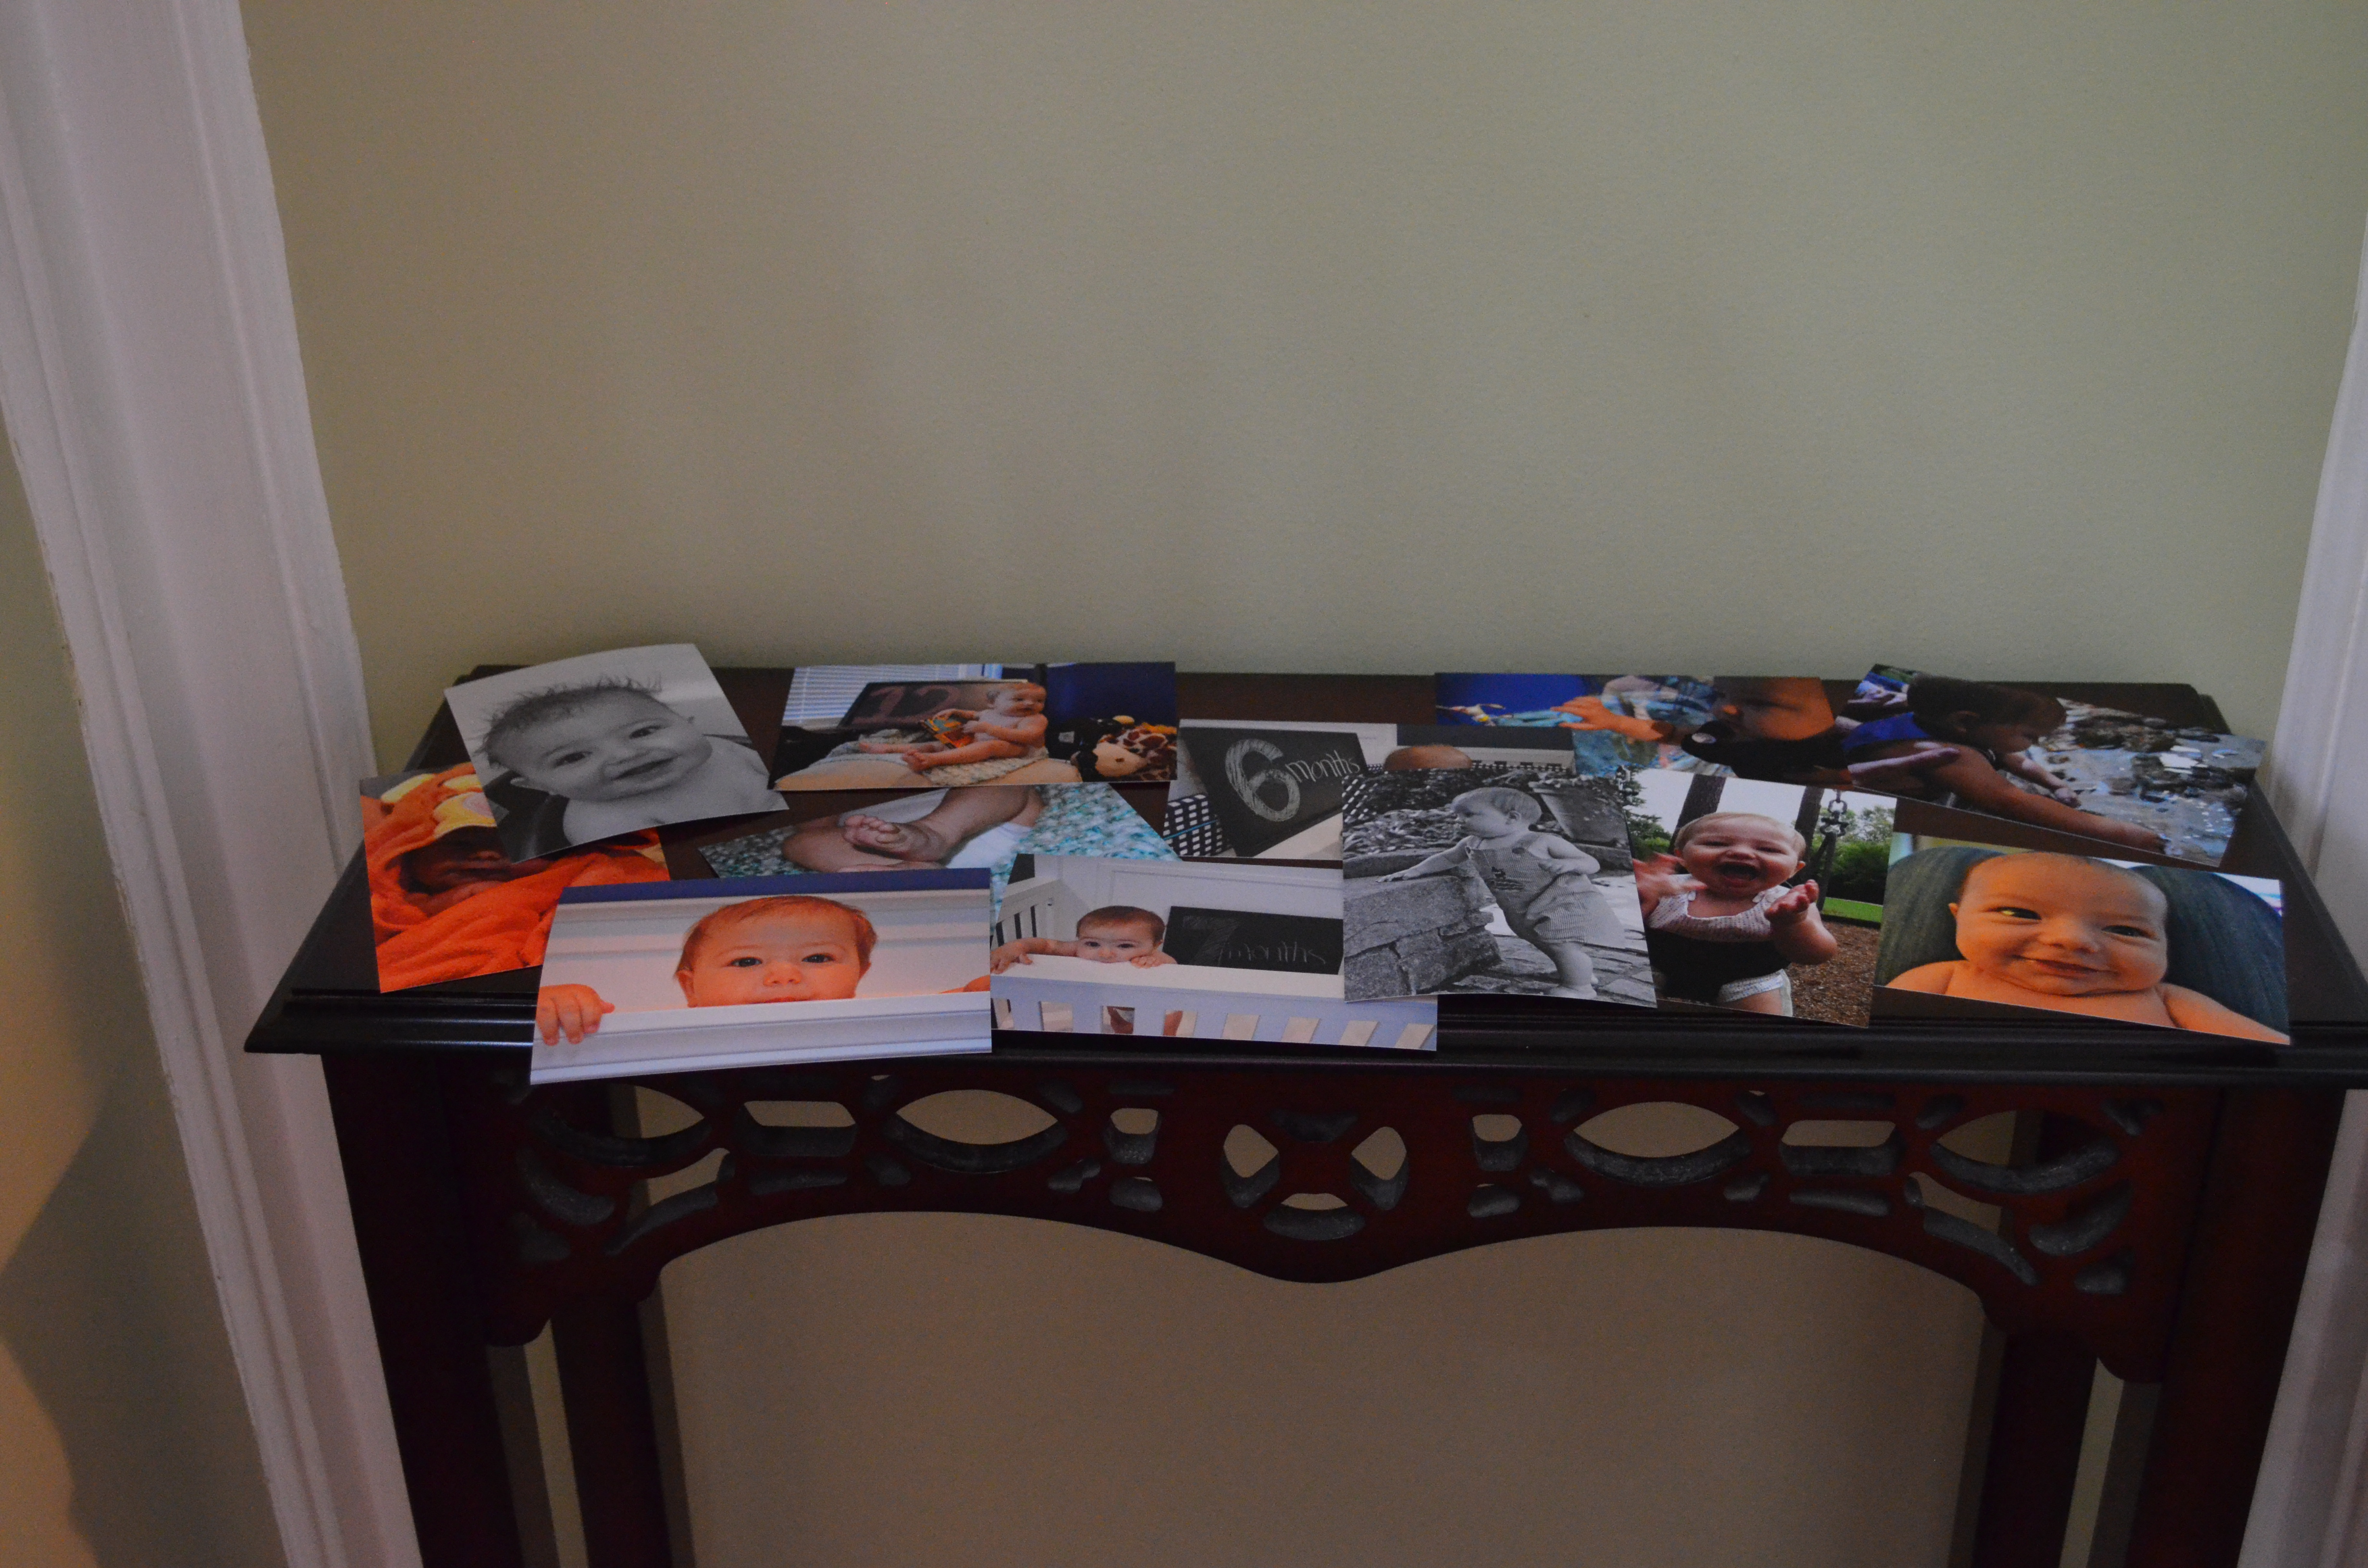
Photos,
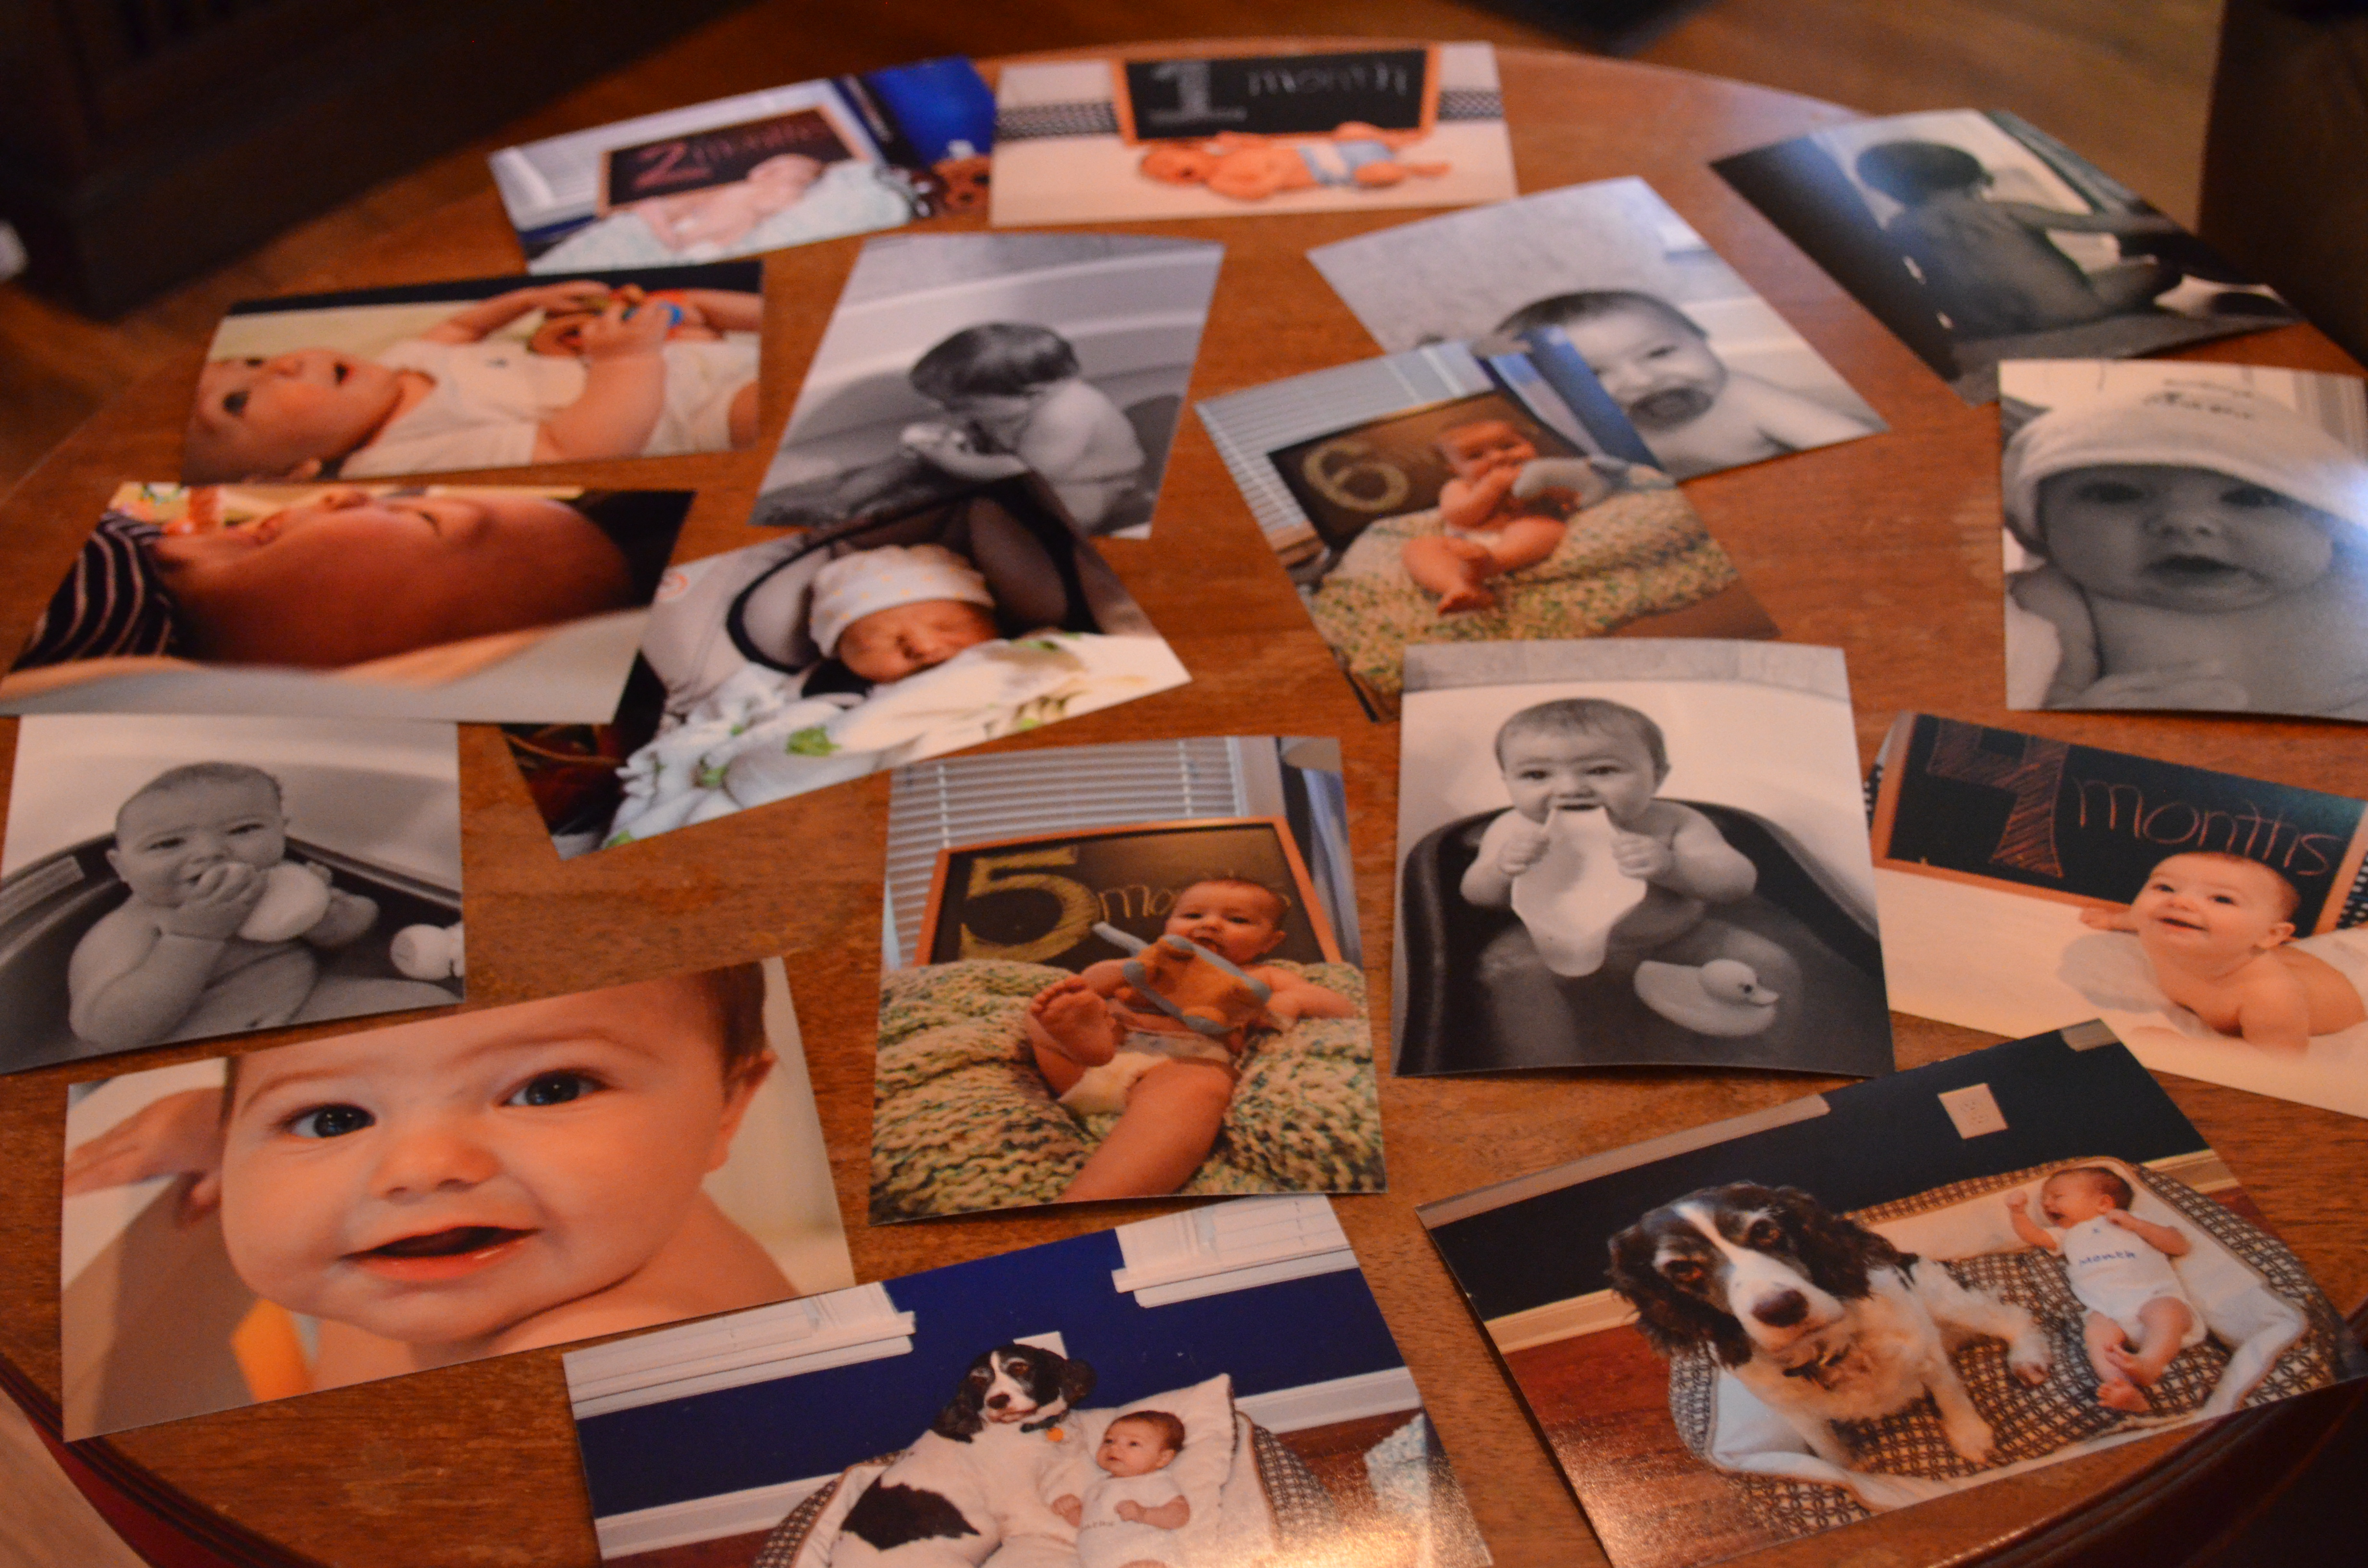
Photos,
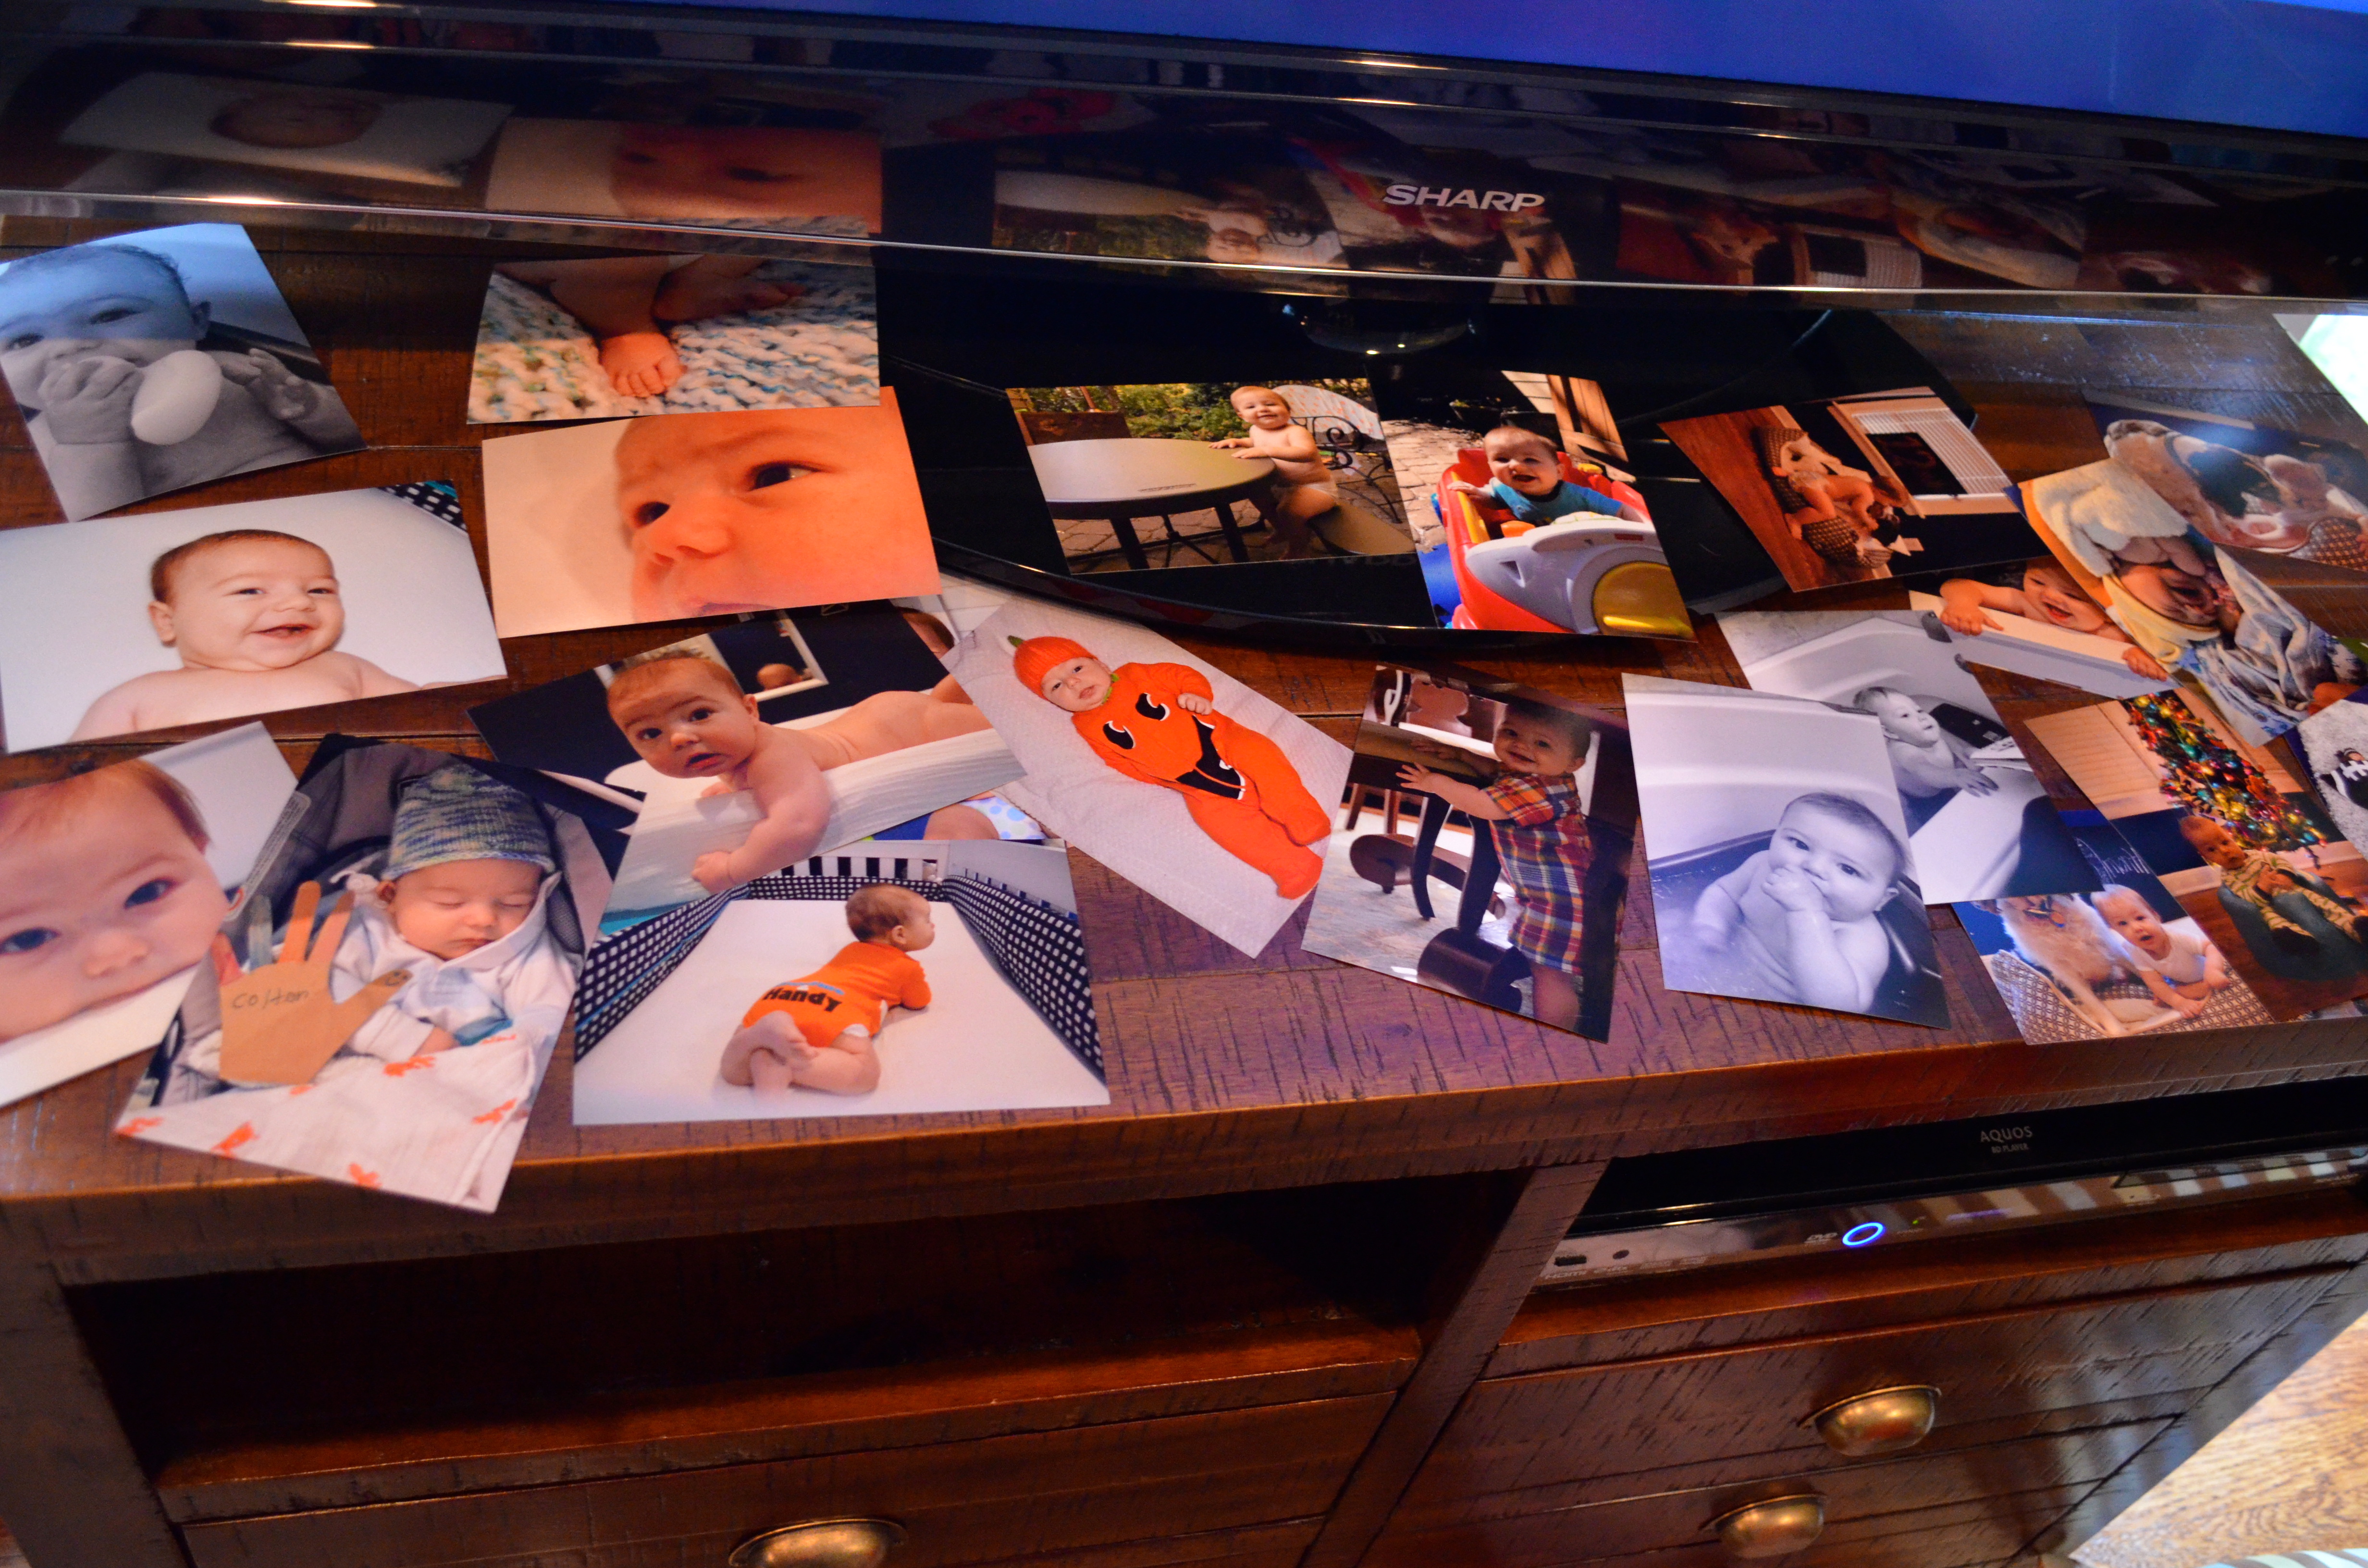
Photos,
and more photos!
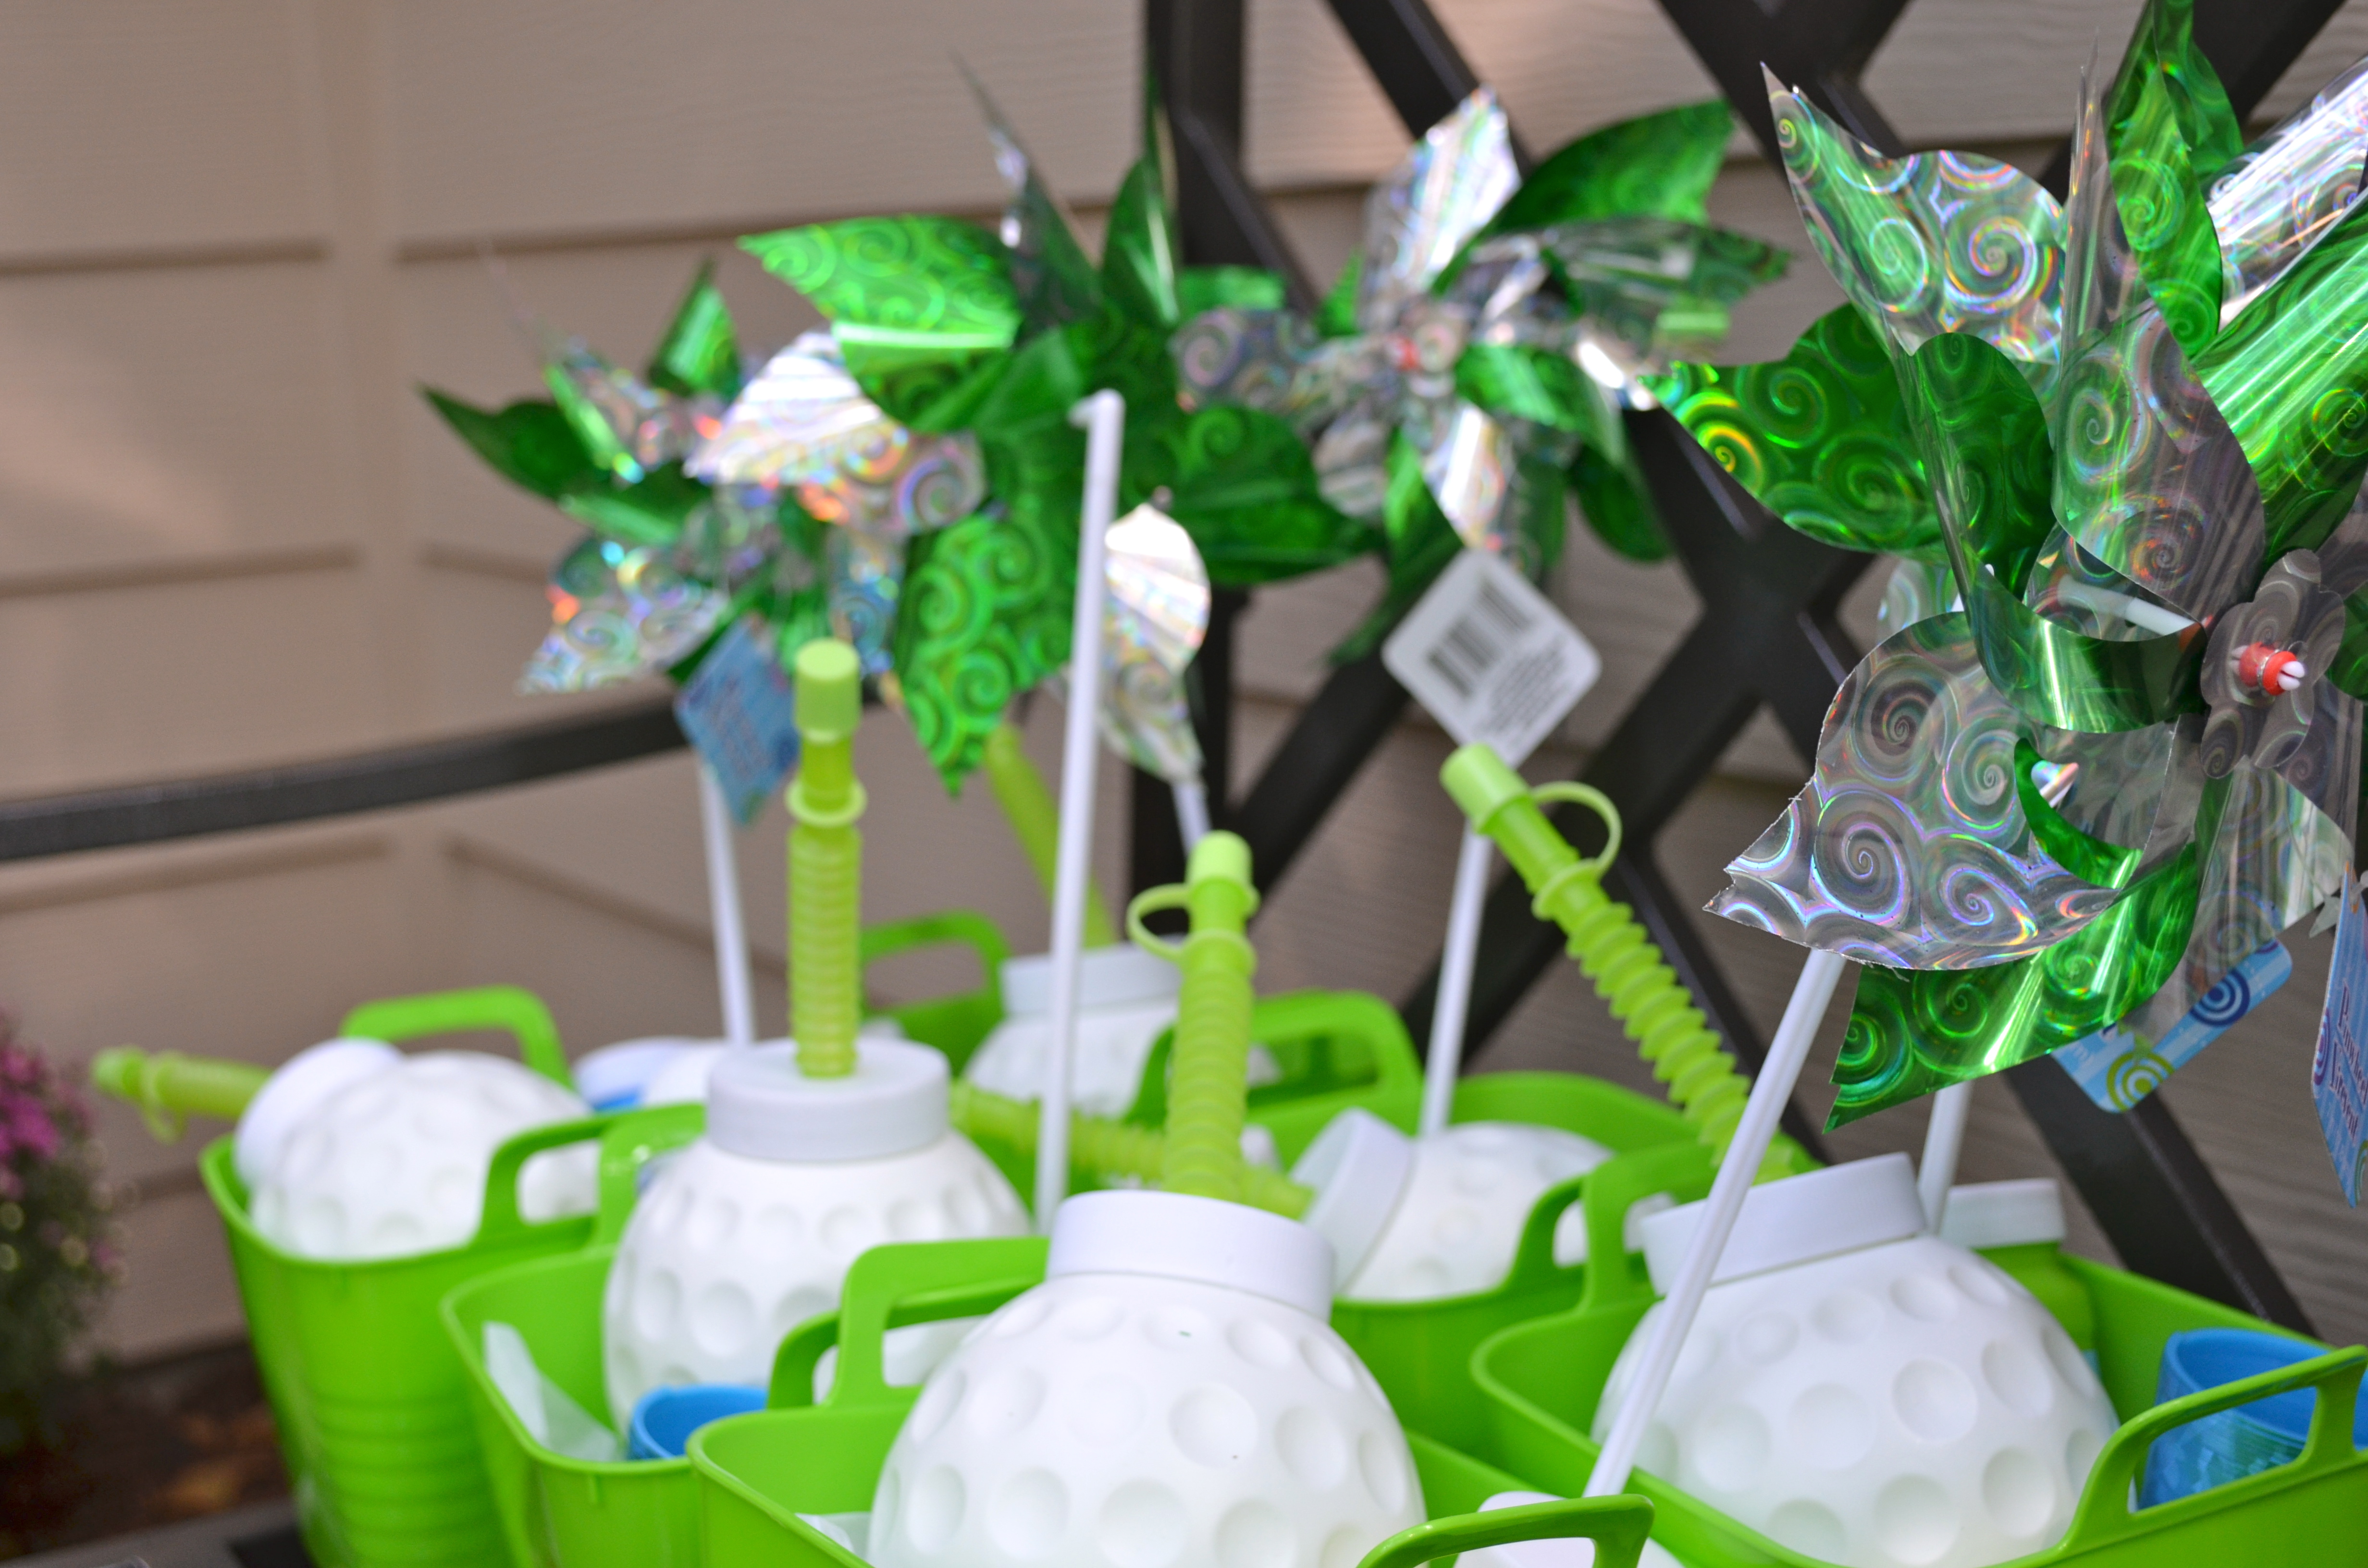
Party Favors
Party favors are tough, y’all! Obviously, it’s fun for the kiddos to take something home with them, but it is tough to find things that aren’t just junk but that don’t cost a fortune. We had the potential of 12 kids, so you have to multiply any cute ideas times 12. It adds up fast! I think these turned out pretty cute, AND they didn’t break the bank. Here’s what we ended up giving away:
Green plastic bucket (to hold all the goodies) – Dollar Tree: 2 for $1
Golf ball cups – Oriental Trading: 12 for $12
Bubbles – Dollar Tree: 3 for $1
Slinky – Dollar Tree: 2 for $1
Pinwheel – Dollar Tree: $1
Total for each favor: under $4 after tax
*I would not recommend these bubbles. I grabbed them because they were the right colors, and they were cheap, but the wands are terrible. Instead of one big circle, the wand has several circles, so the bubbles are really small and really difficult to create.
I bought all the green pinwheels they had. There were probably close to 20. We used the others for decoration, including one for the flag on our putting green!
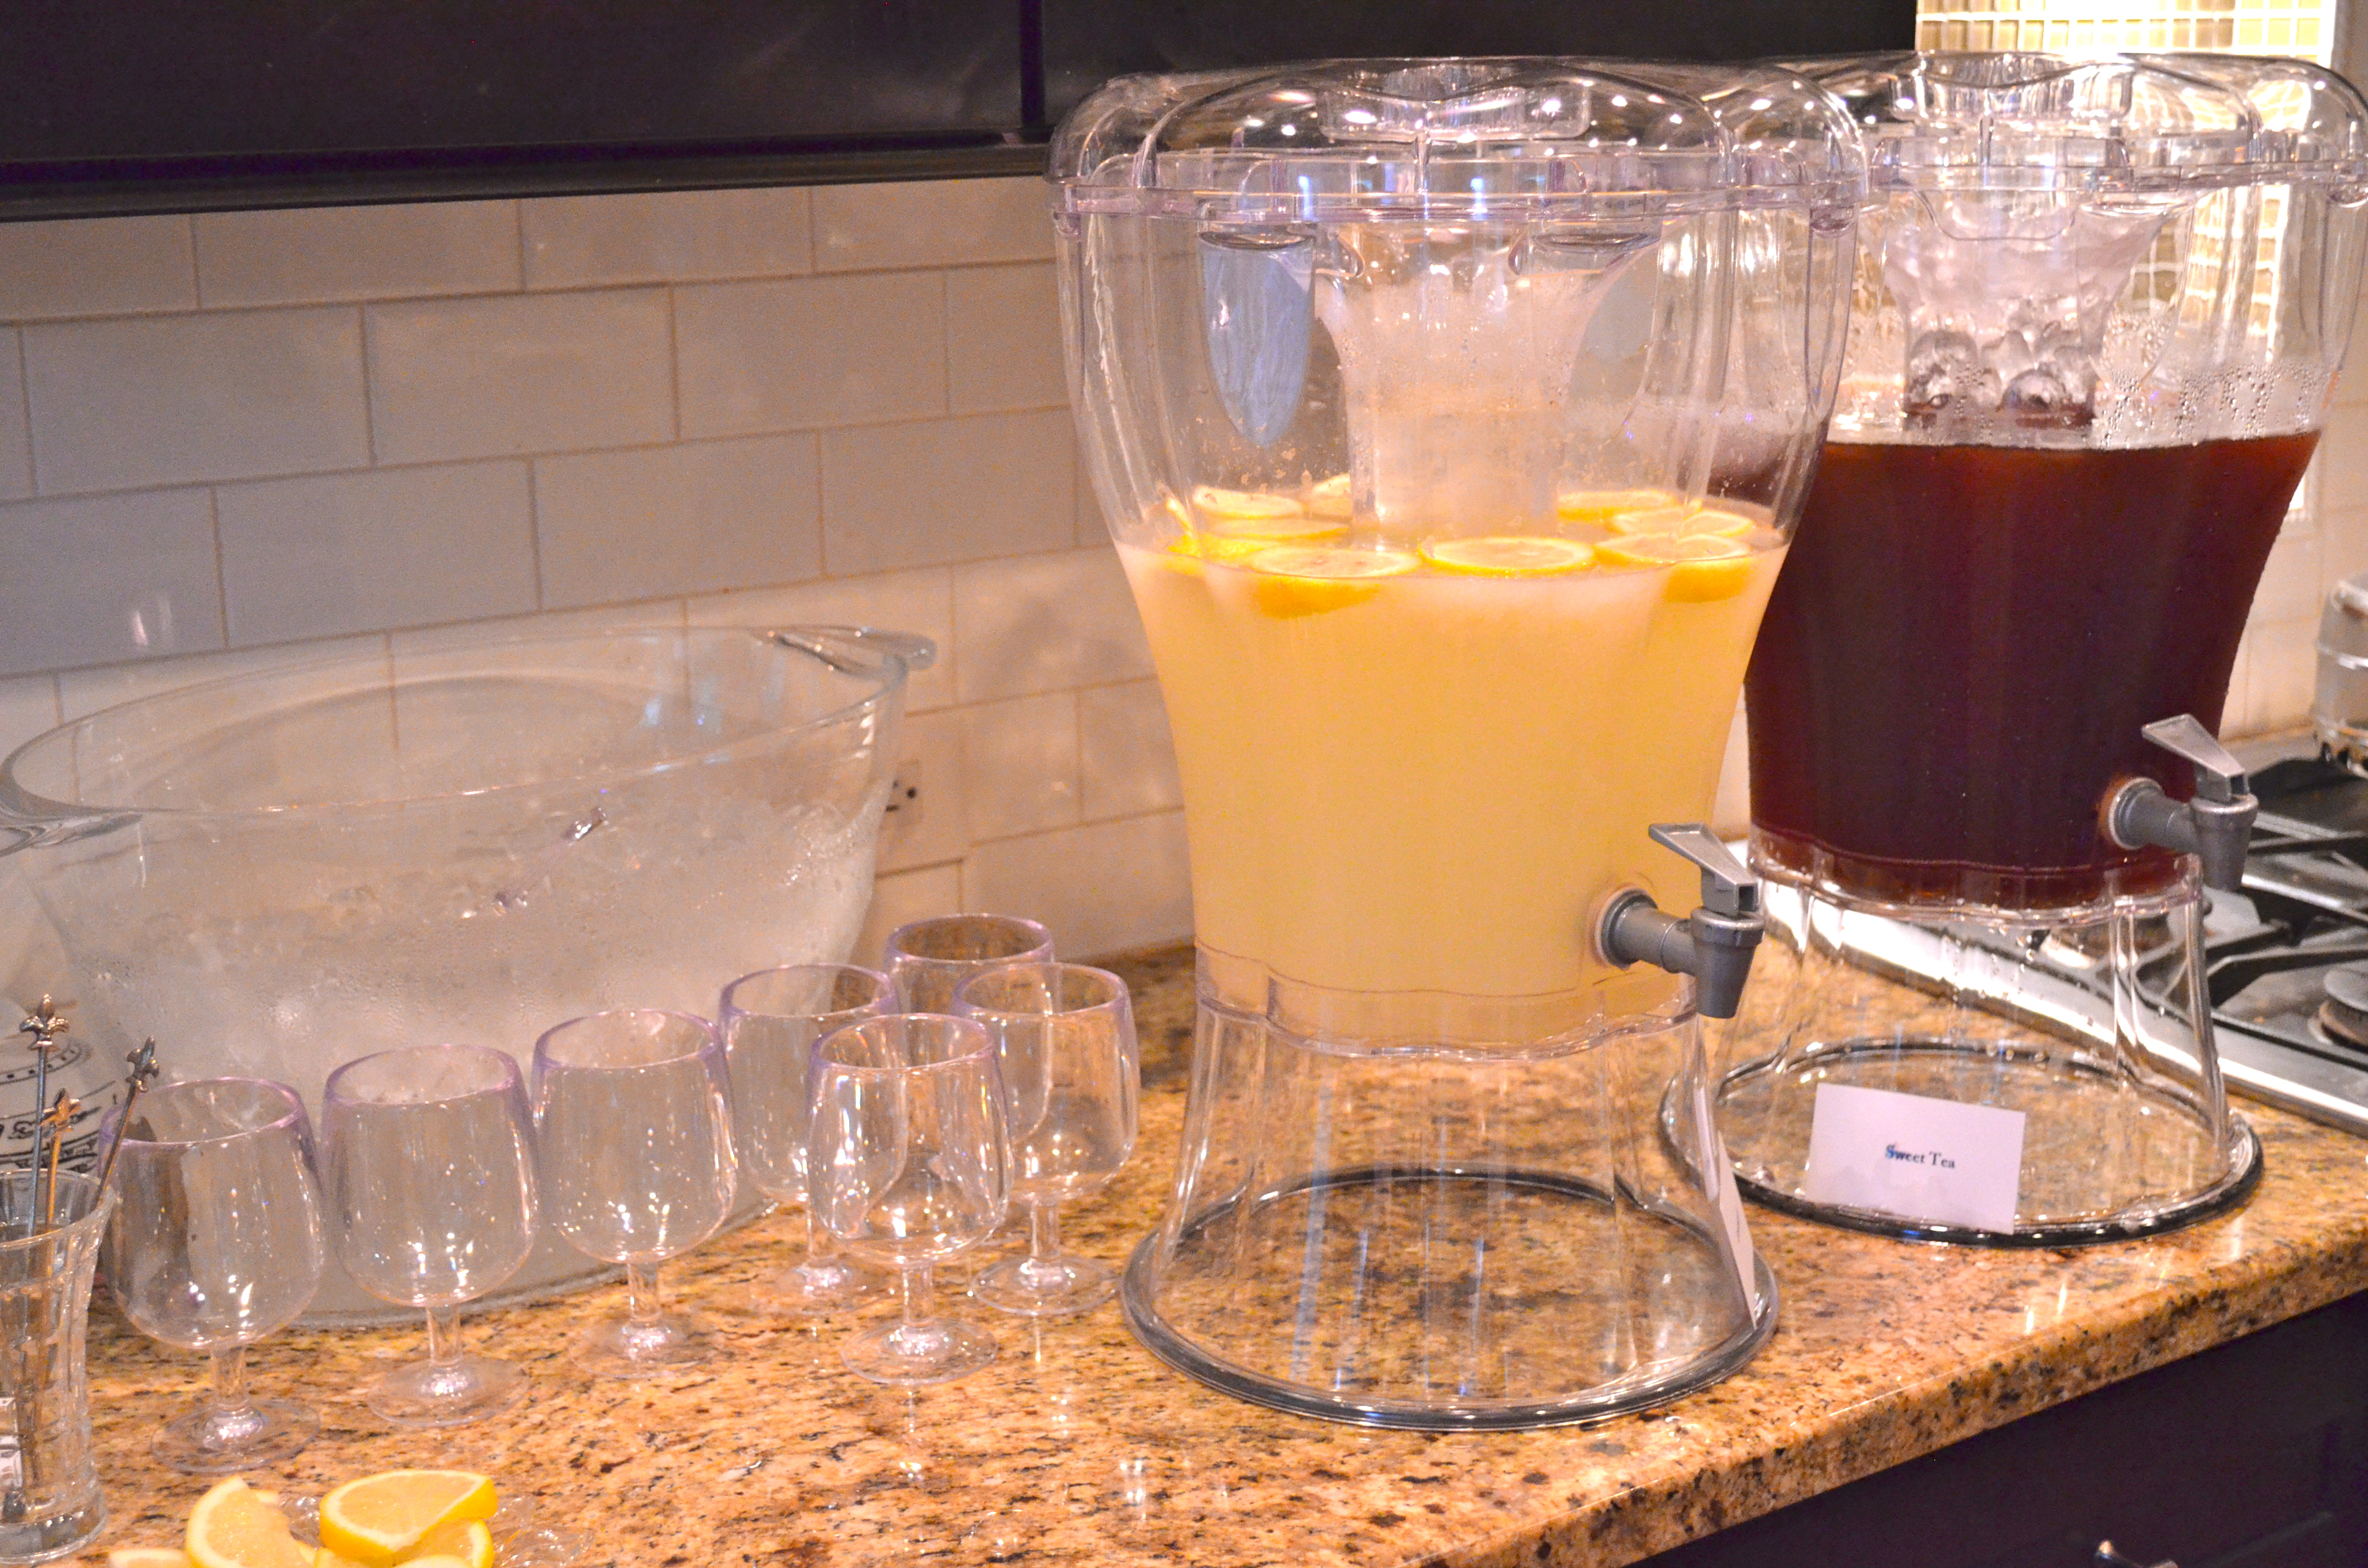
Southern Beverage Station
To go along with our golf theme, I focused the menu around the Masters. We made Sweet Tea (I’ll have to share the secret ingredient I stumbled upon) and served Lemonade. I chose not to make my own lemonade. The thought of squeezing enough lemons to fill a drink dispenser did not sound like an efficient use of my time. Hubby bought Simply Lemonade, and he even sliced lemons to add to it. (Yes, he thinks of everything!) We recommended Arnold Palmers ( 1/2 Sweet Tea + 1/2 Lemonade). And, for the adults, John Dalys (Arnold Palmer + VODKA)!
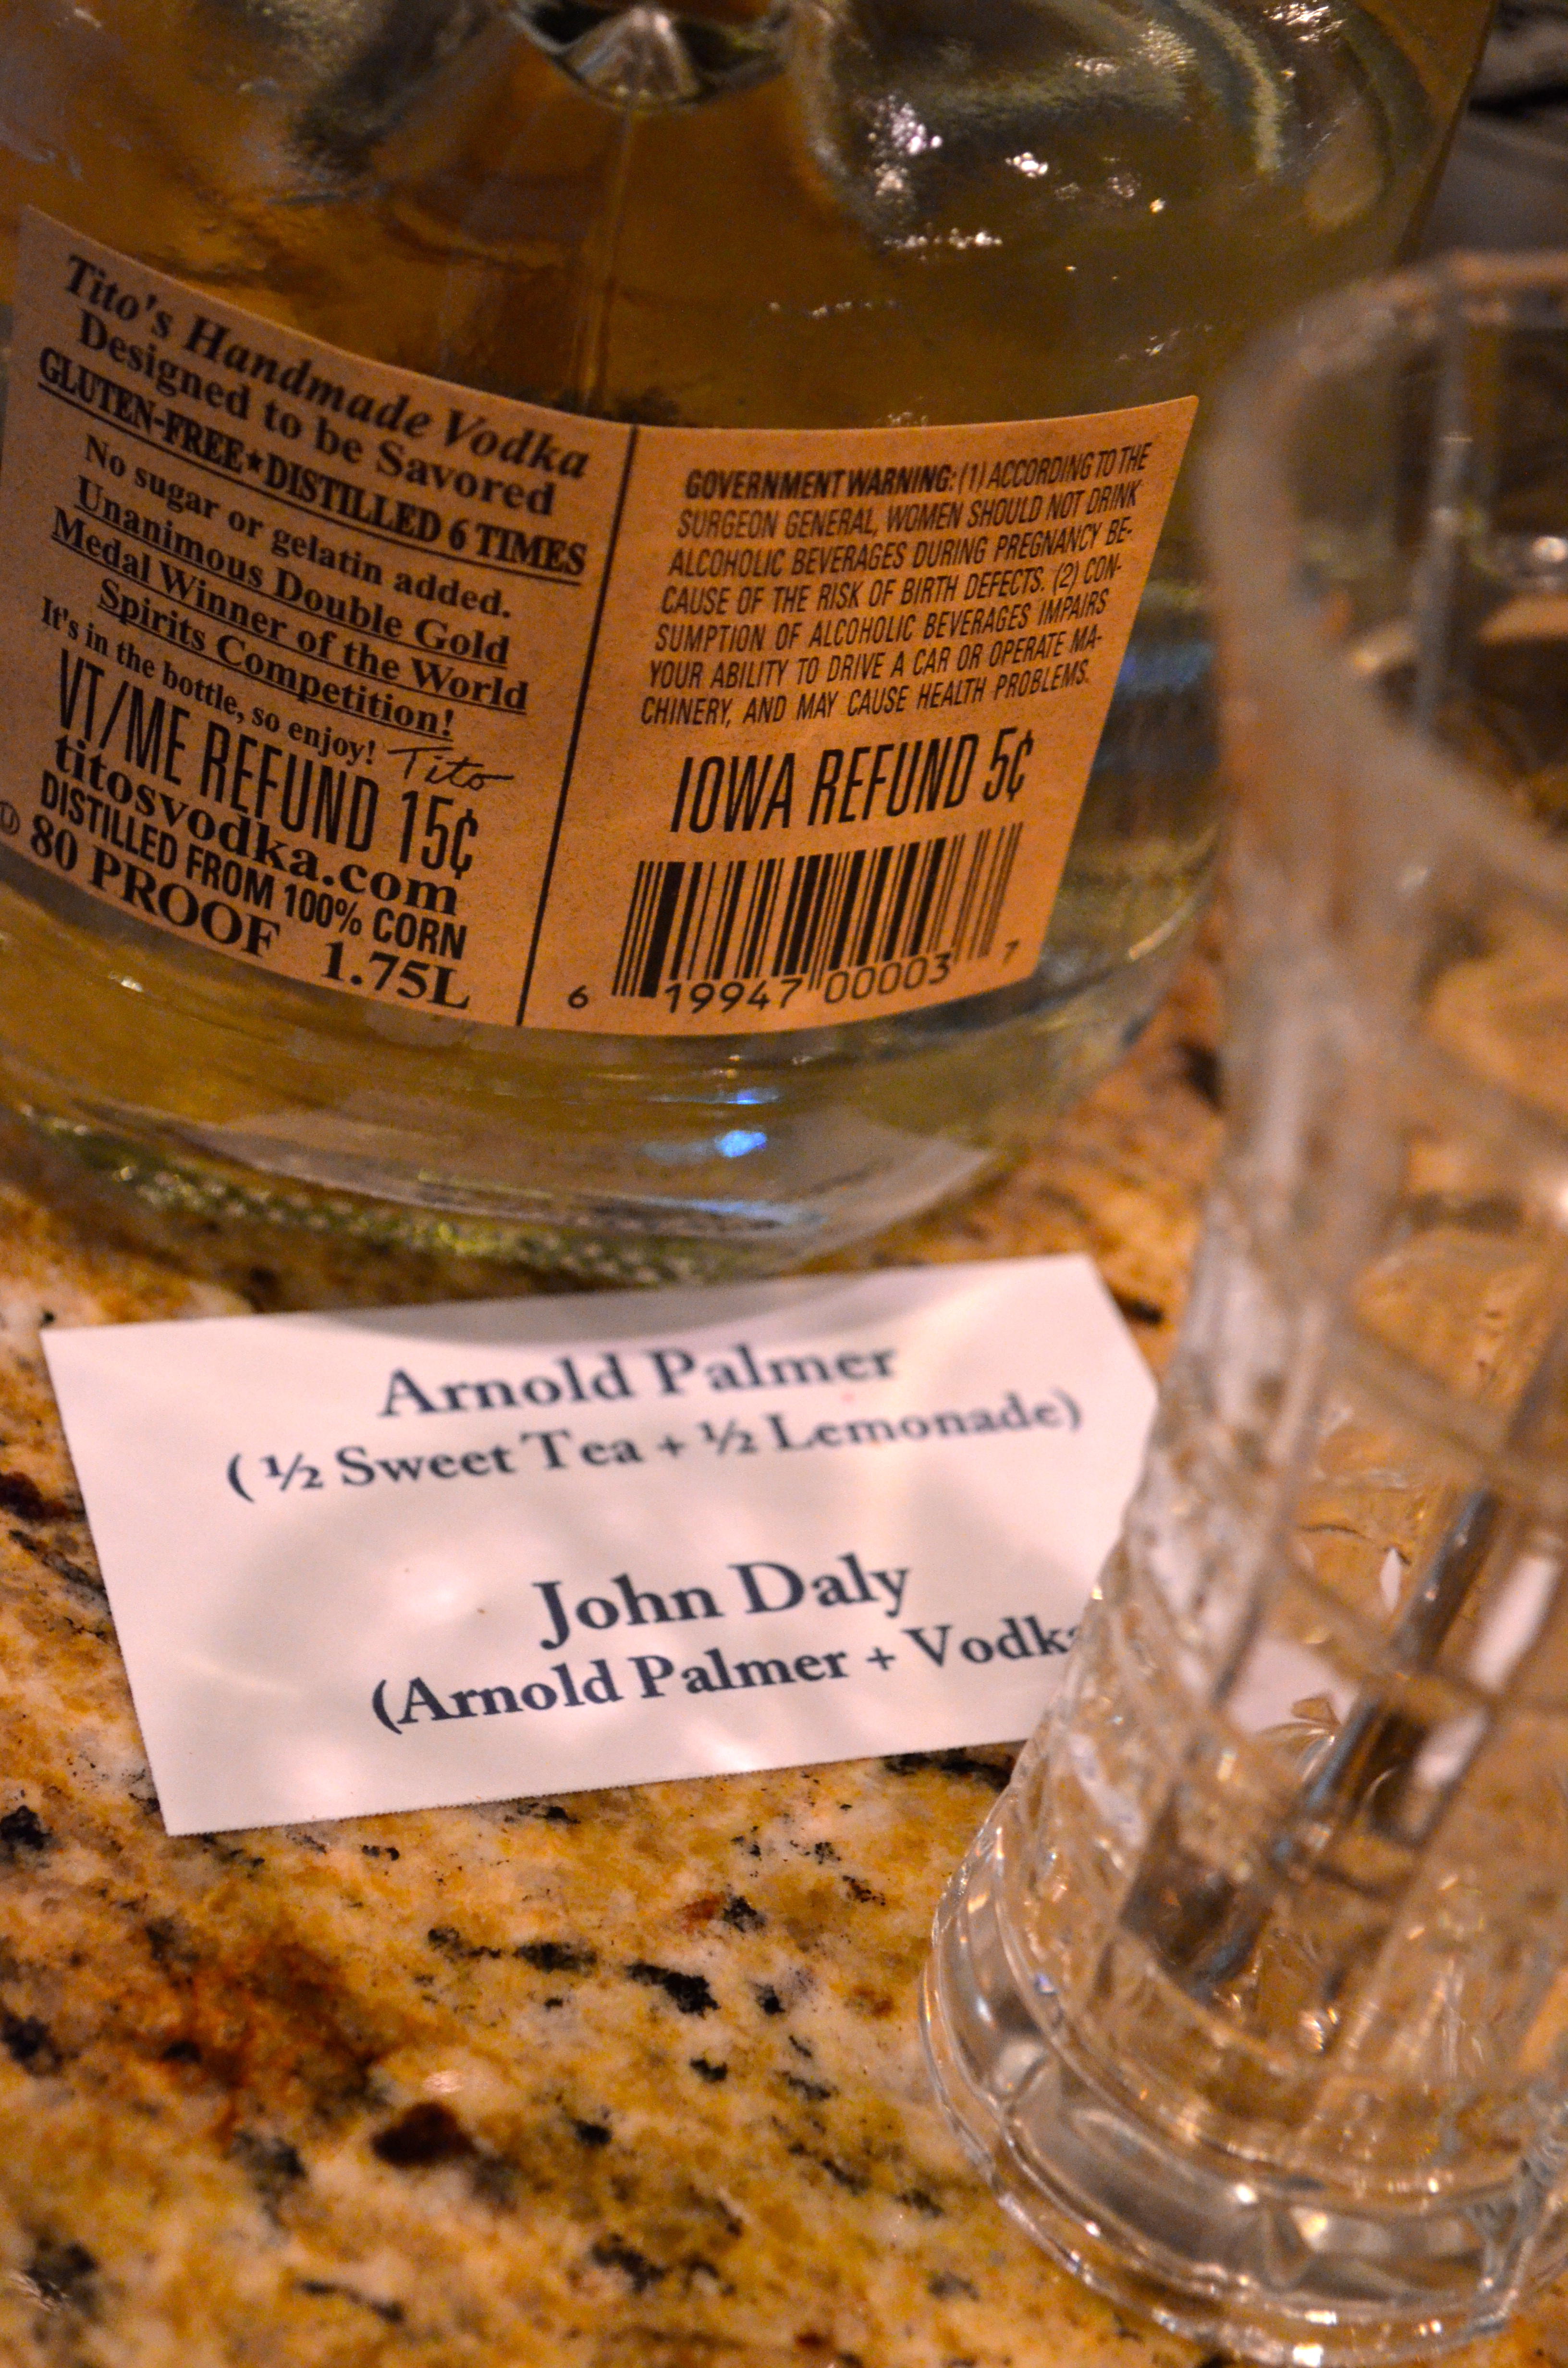
Golf-themed Beverages
The Southern Spread
For our Masters-themed food, we served pimento cheese sandwiches, BBQ chicken sandwiches, potato chips, green bean and corn salad, and fruit salad (green grapes, kiwi, and blueberry to go with our blue and green color scheme).
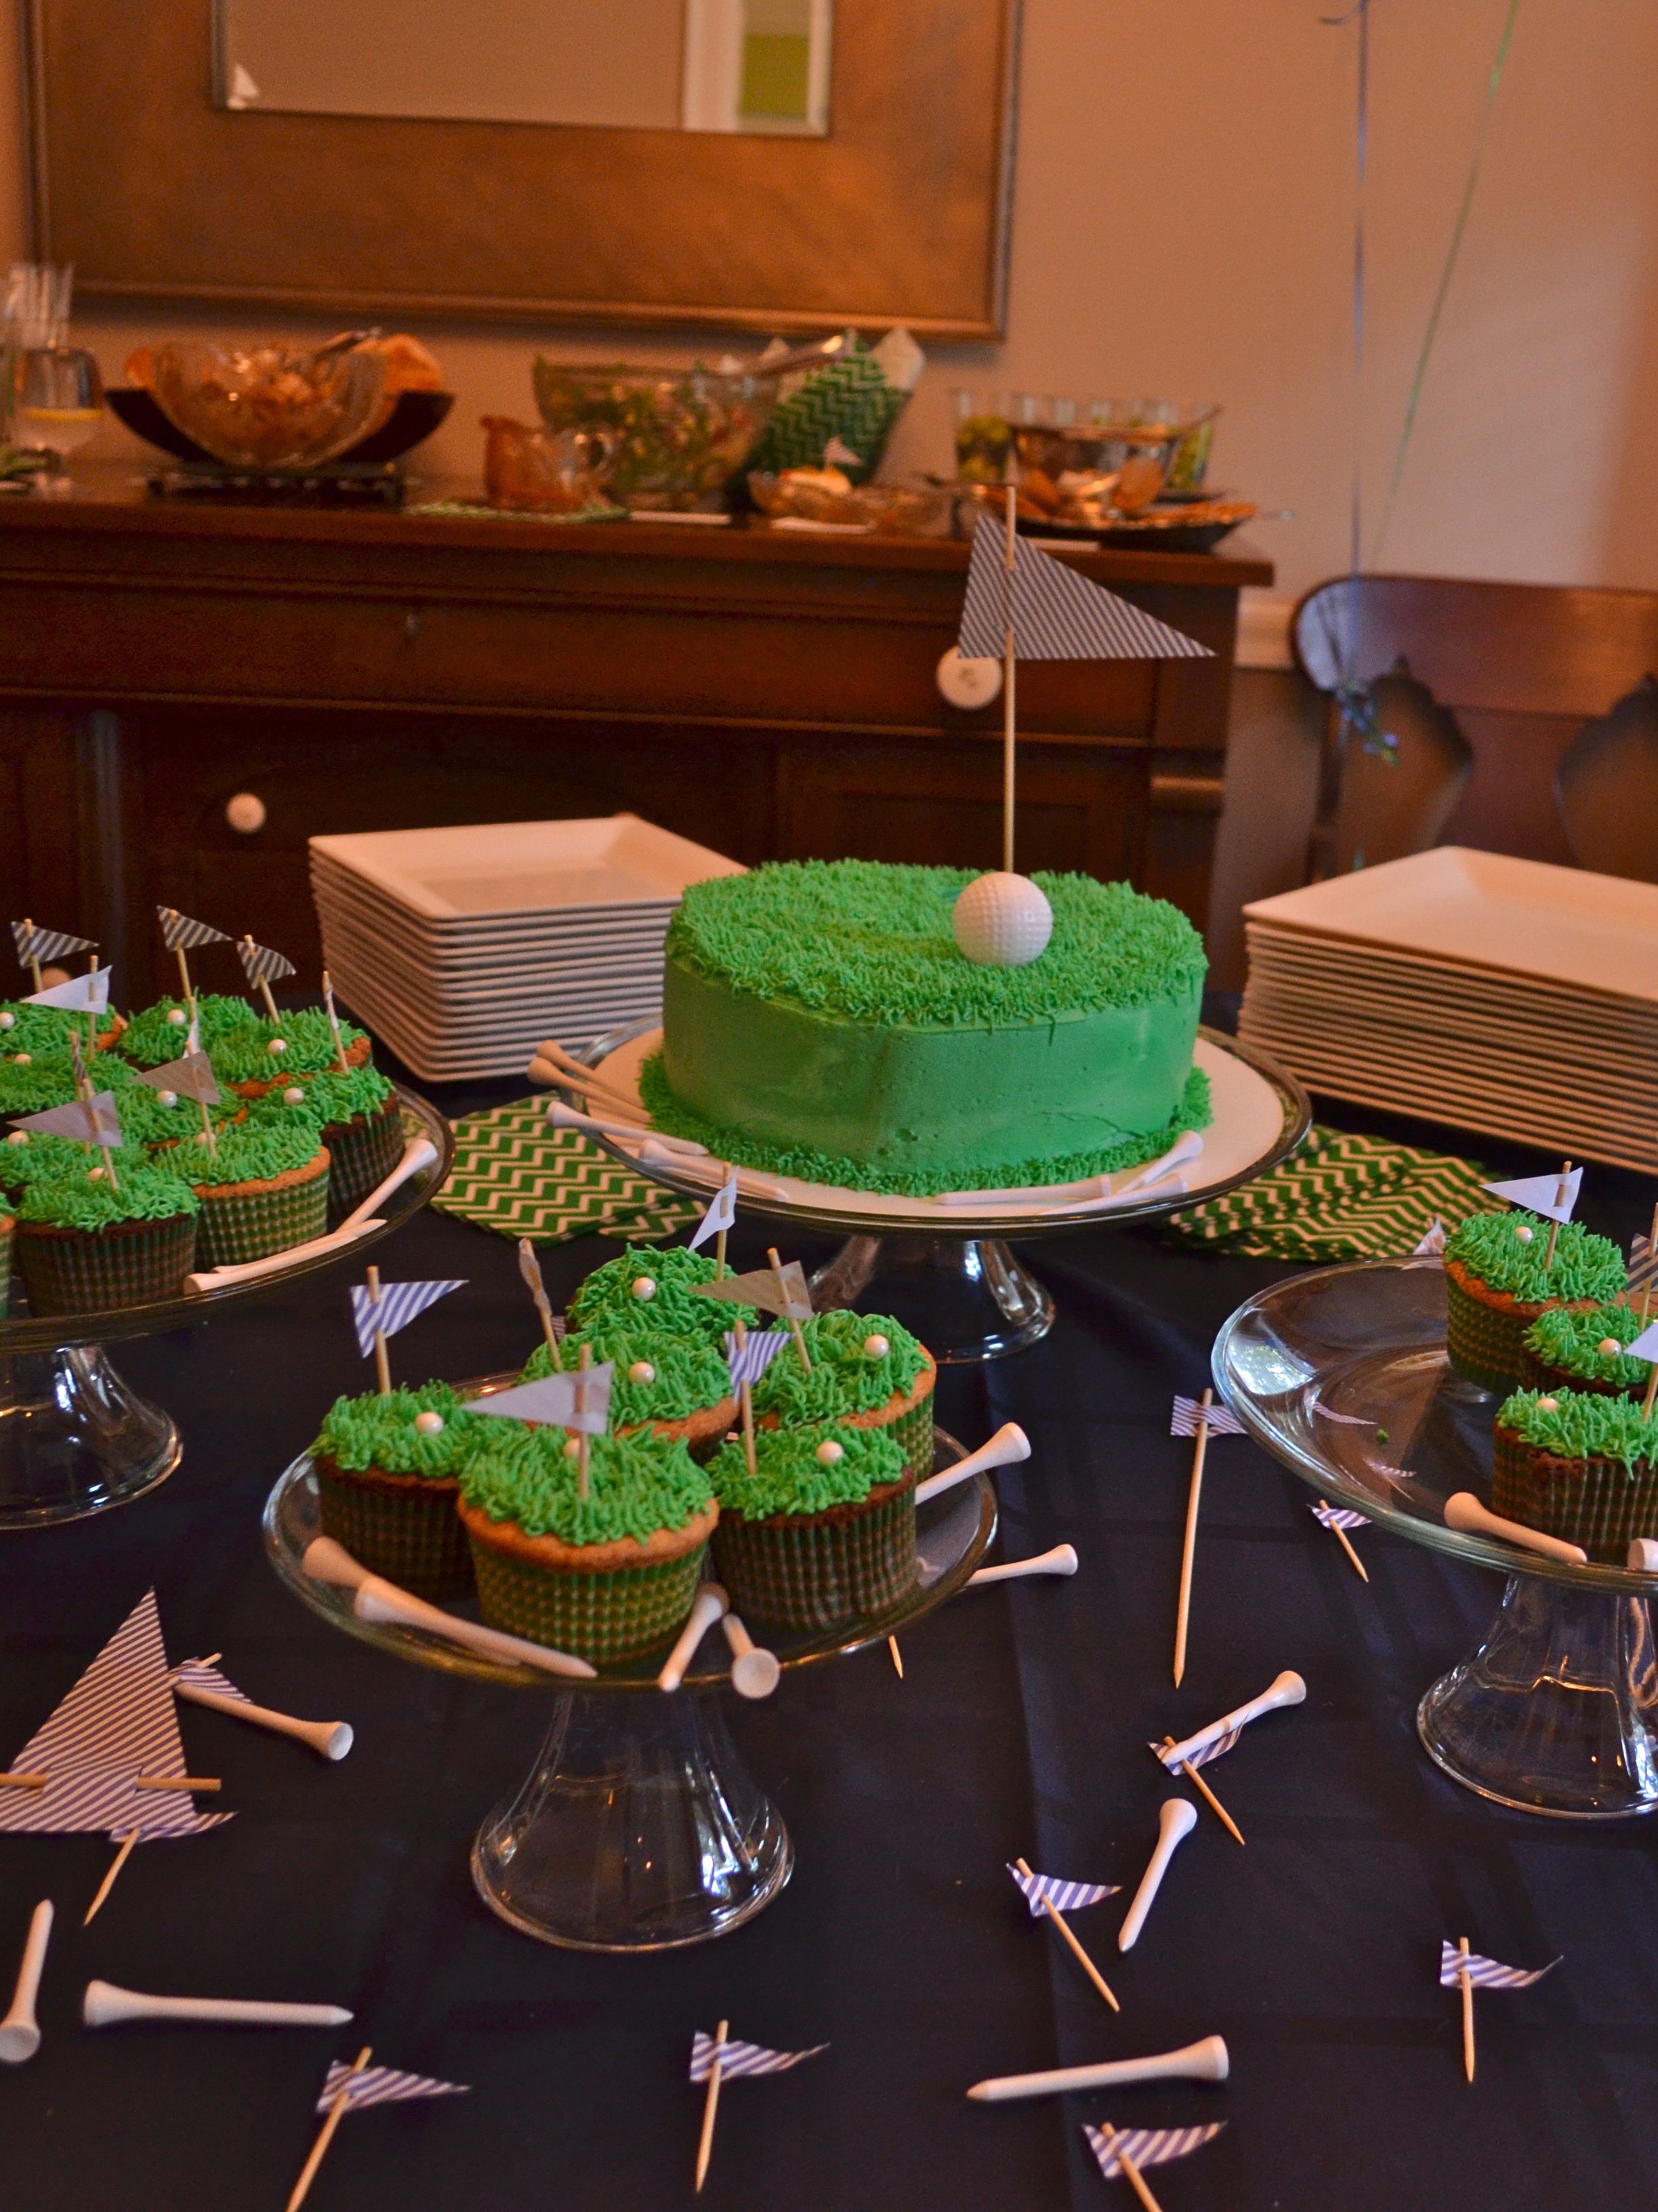
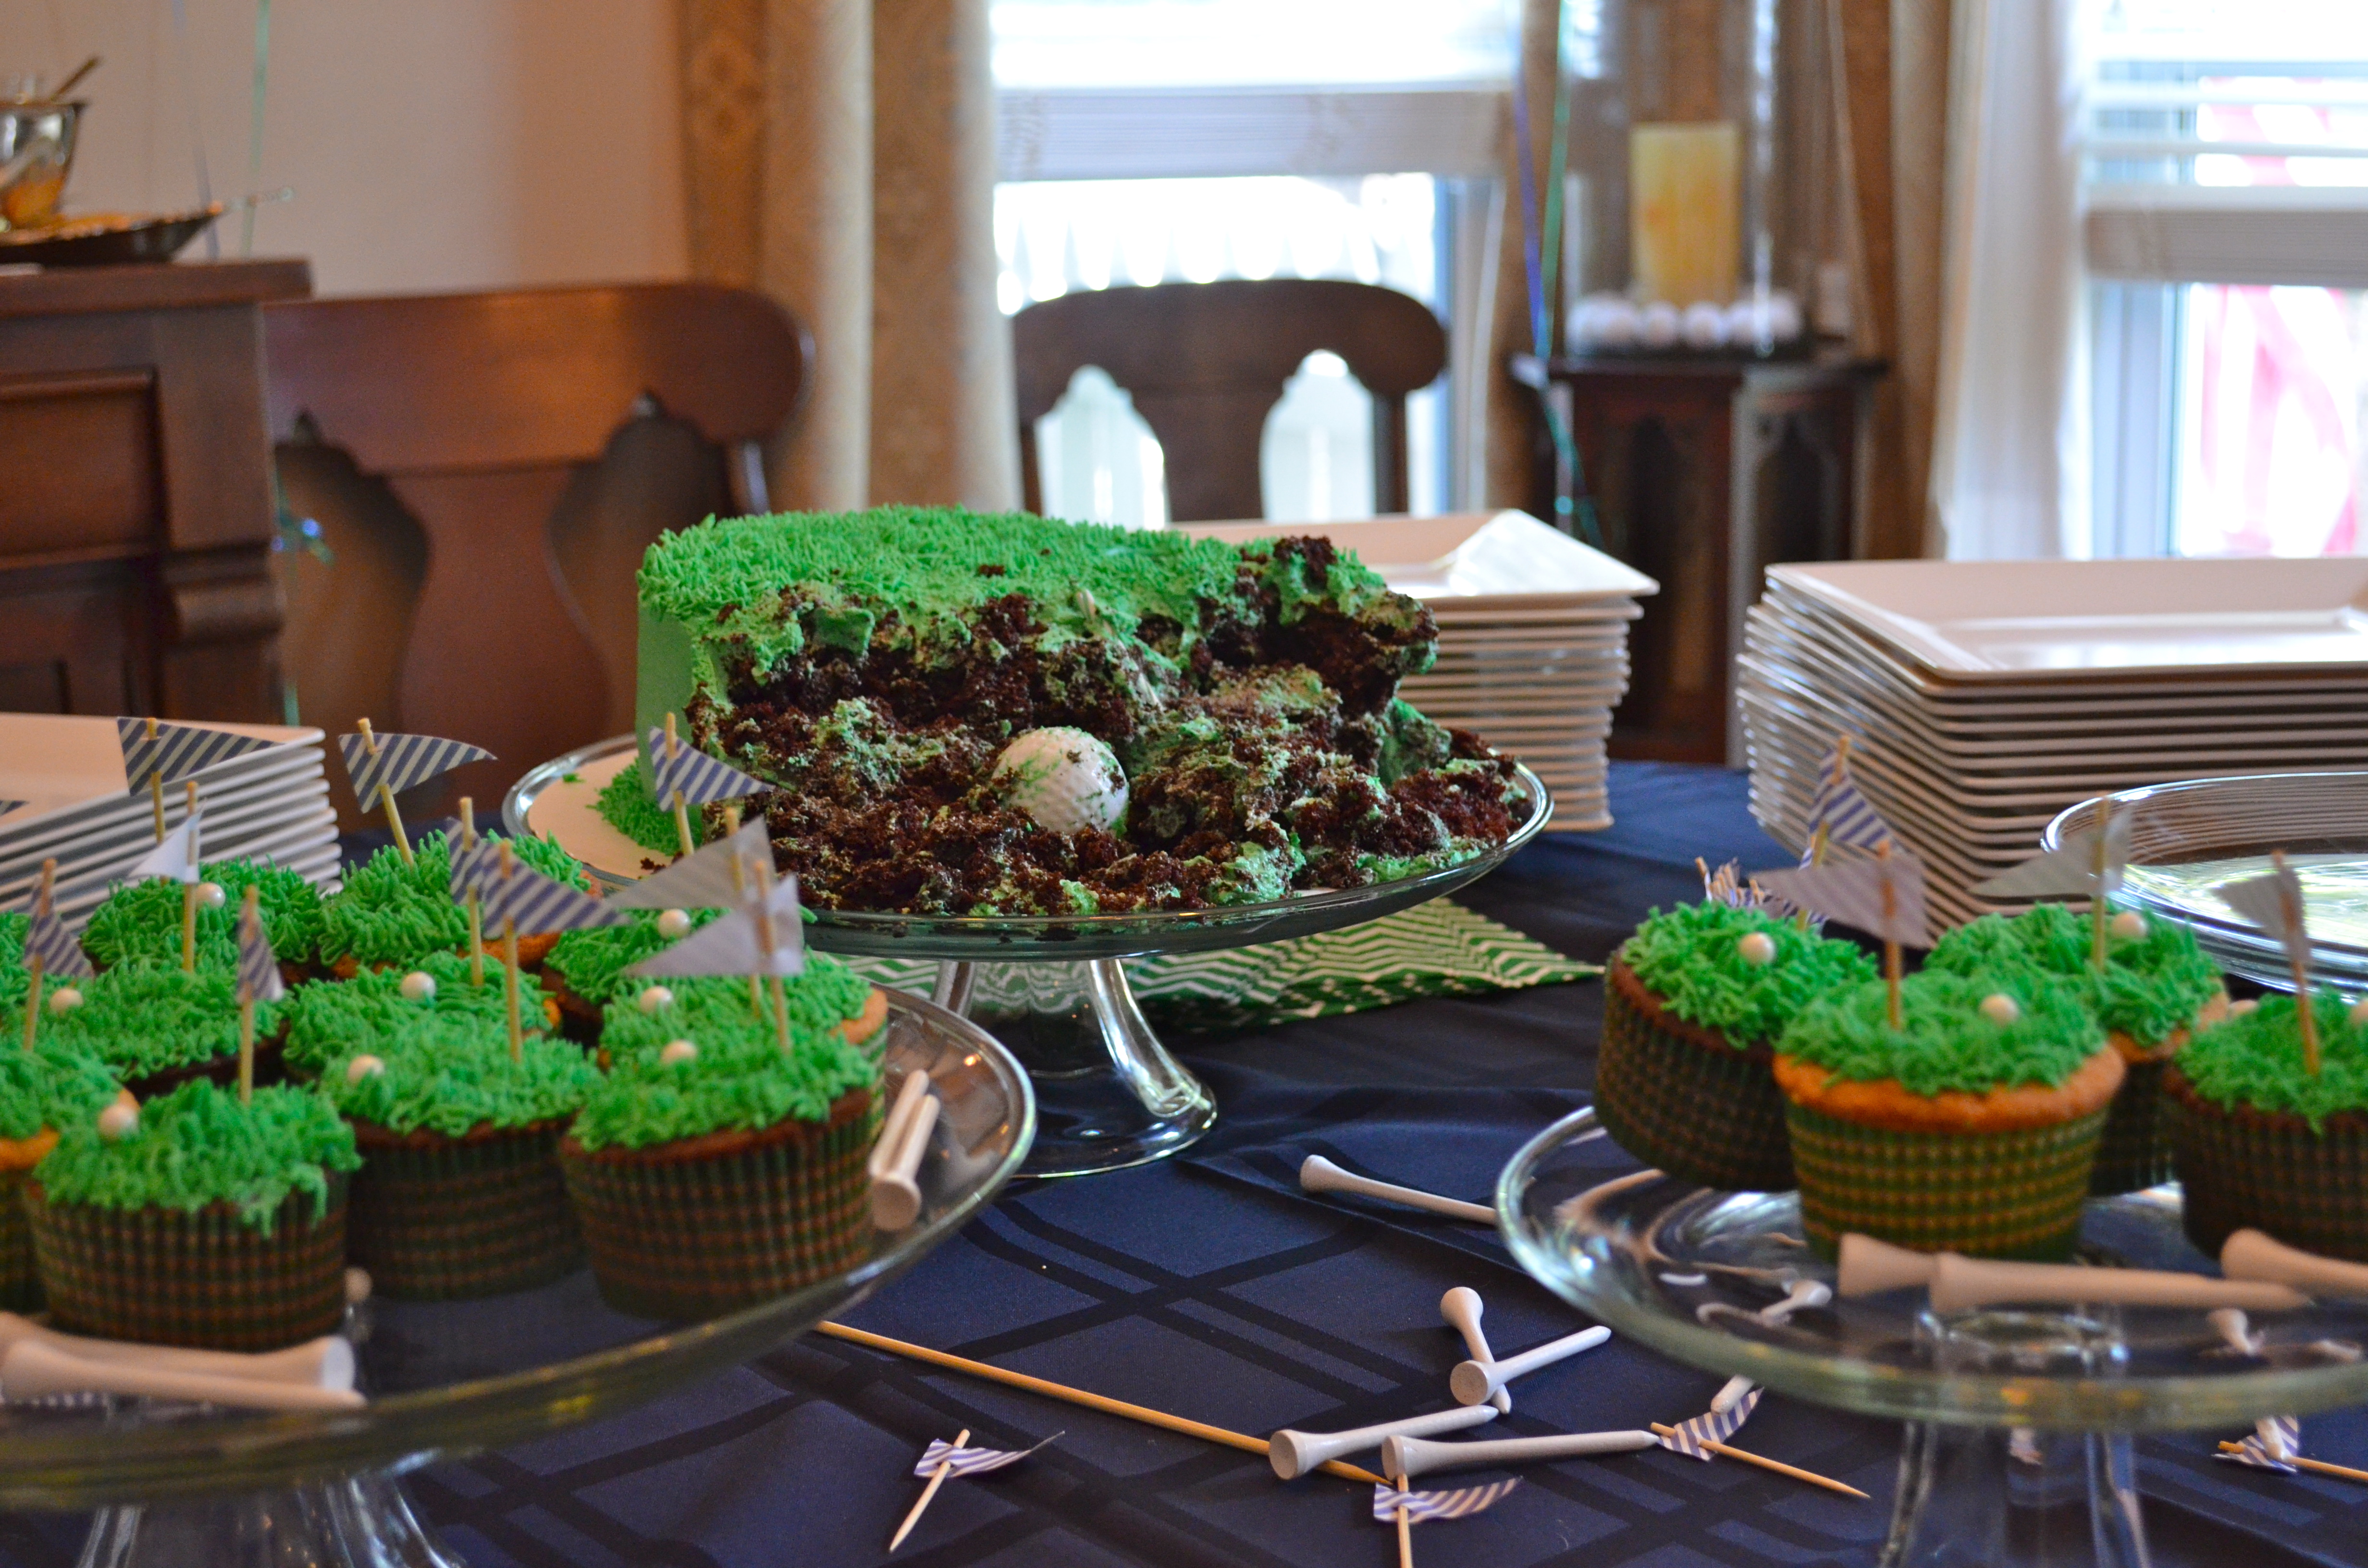
My sister graciously made Colton’s smash cake and the cupcakes (anyone who knows me knows that I DO NOT BAKE!) She found the ideas for the cake and cupcakes on Pinterest. We decided not to put the sand traps on the cupcakes. She used her own recipes, though. Colton had a chocolate cake, and we had chocolate and vanilla cupcakes. I made the flags using my Silhouette and cupcake flag design from the online store. The design had special cutouts for inserting toothpicks. I used a dimension of 1.5″ x 1″. I also made a larger flag for the smash cake, and then spread out extras on the cake table, along with golf balls and tees (thanks to my sister’s suggestion!). My sister was worried about the weight of a golf ball on the cake, so I picked up a packet of plastic practice balls at Wal-Mart. I believe the package of 12 cost $2.
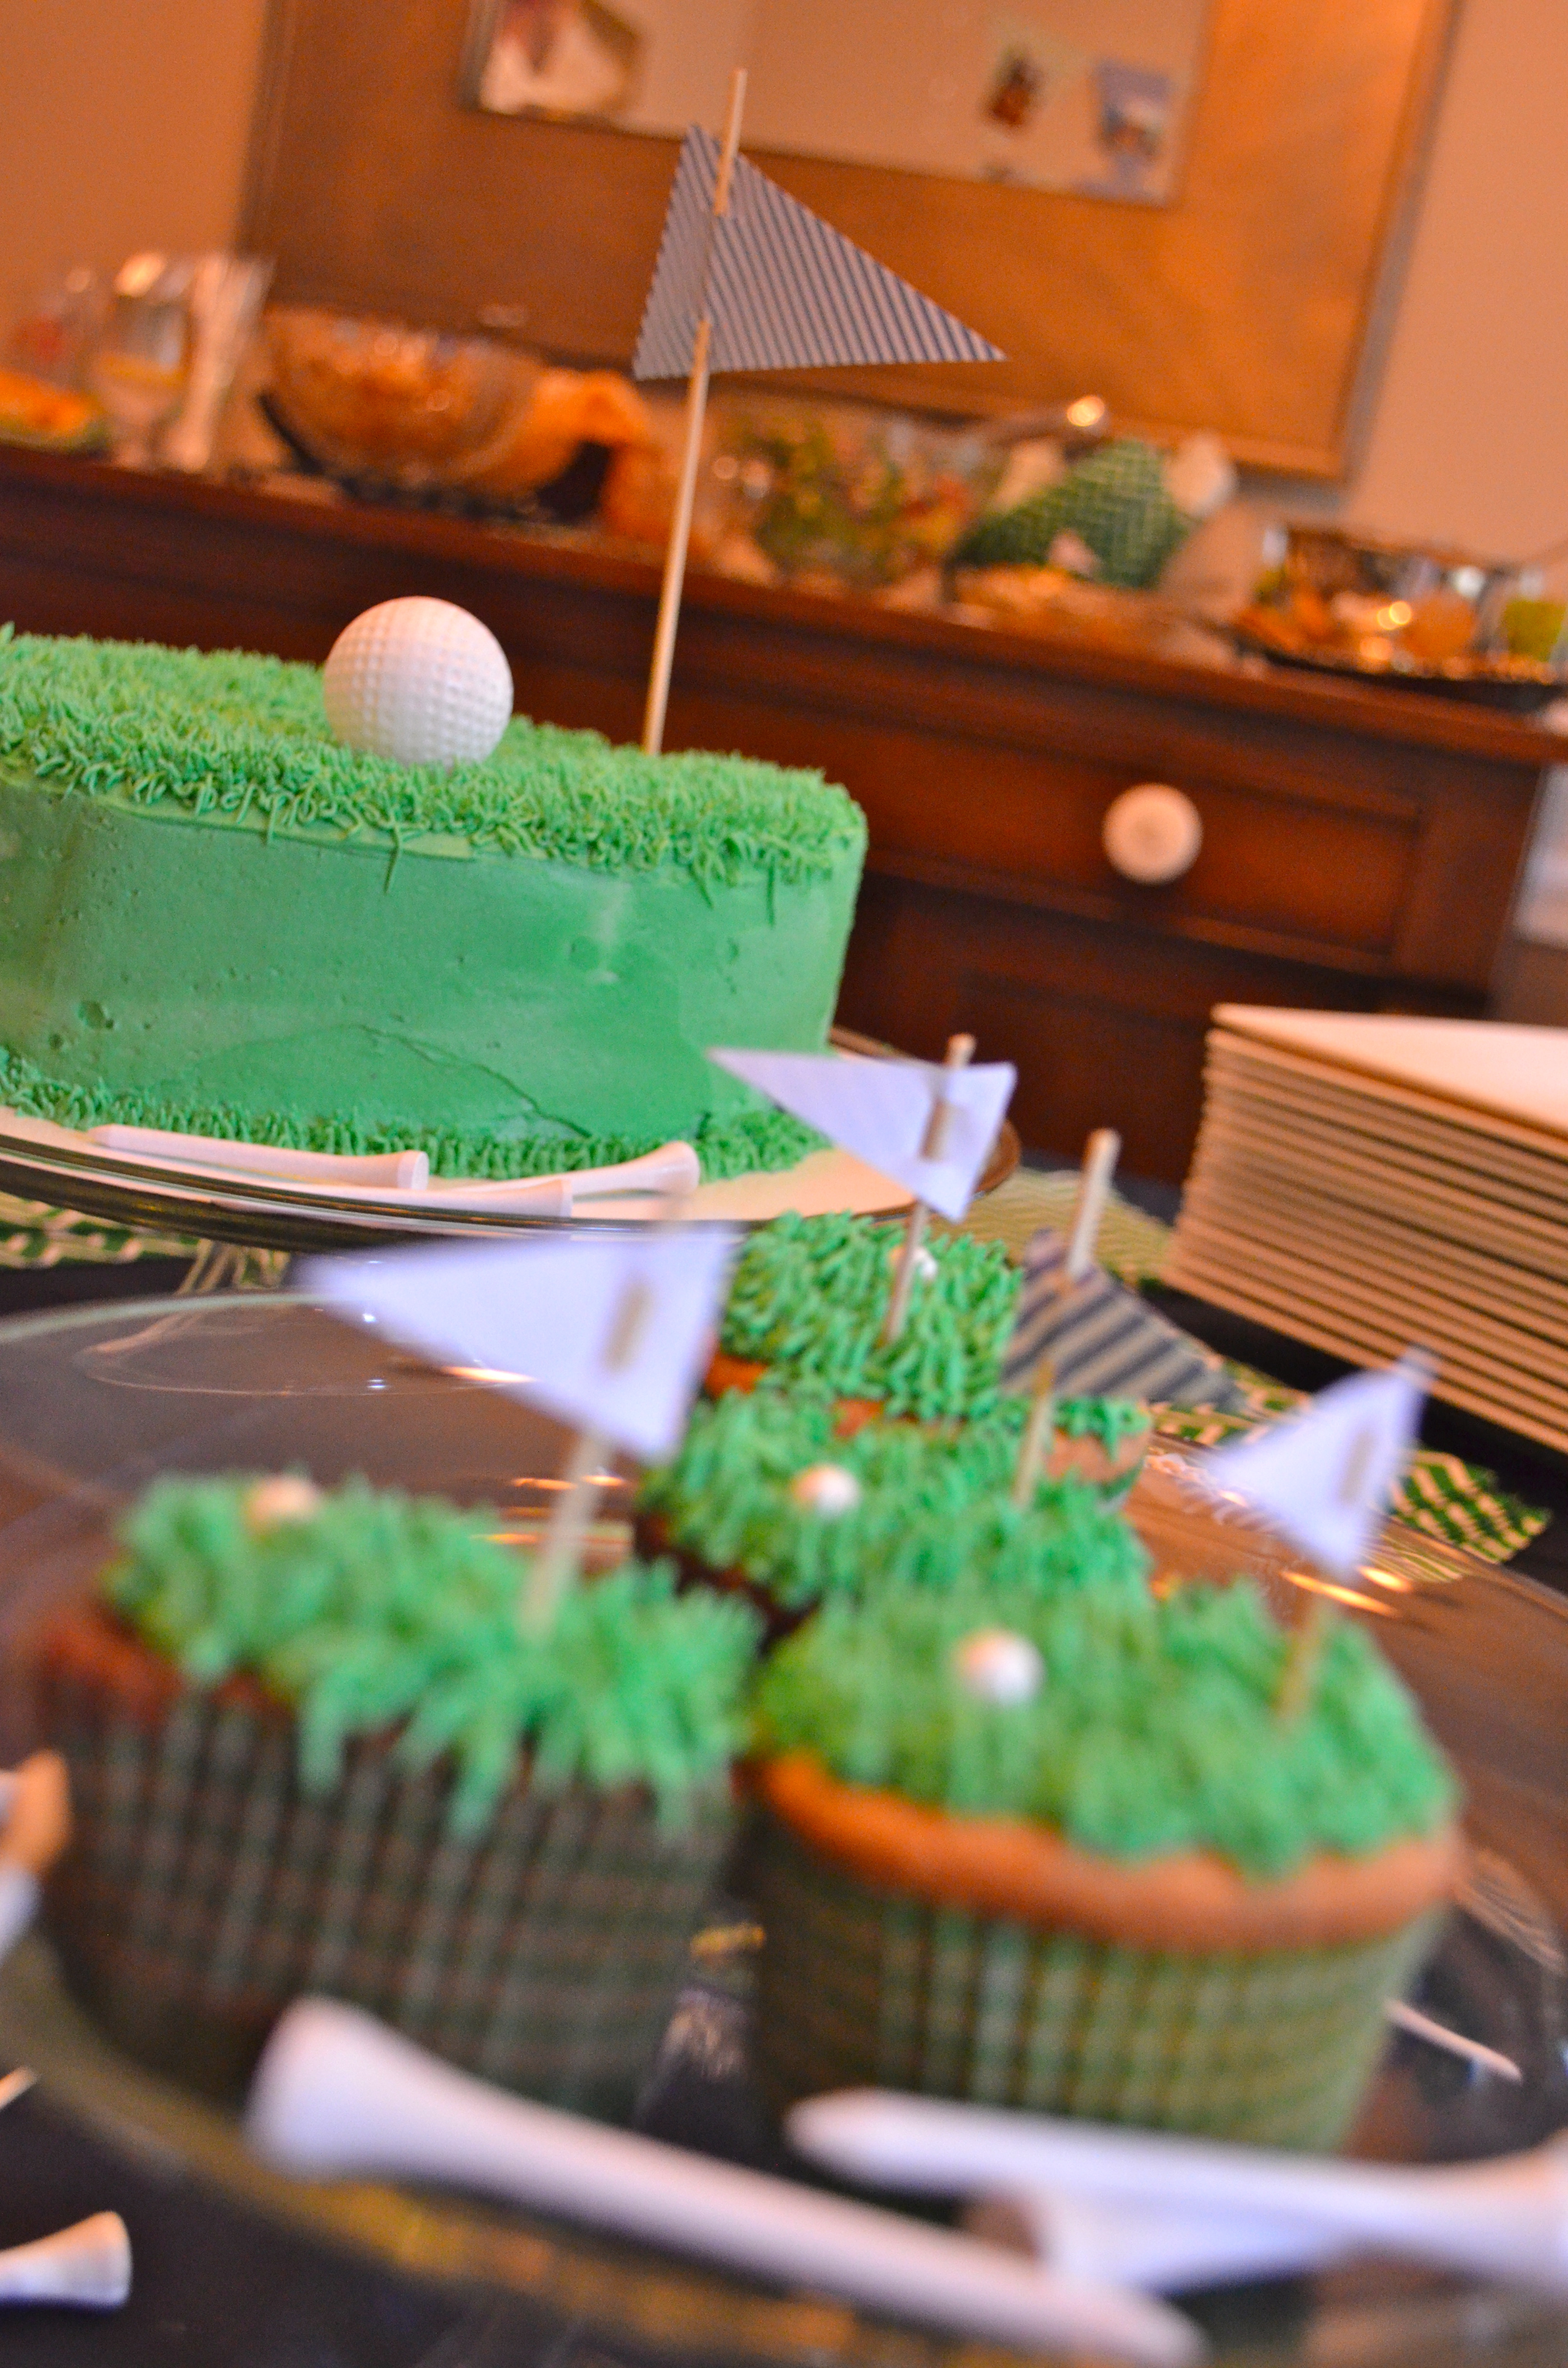
Cake Closeup
Birthday Boy listening to us sing “Happy Birthday!”

Cousins
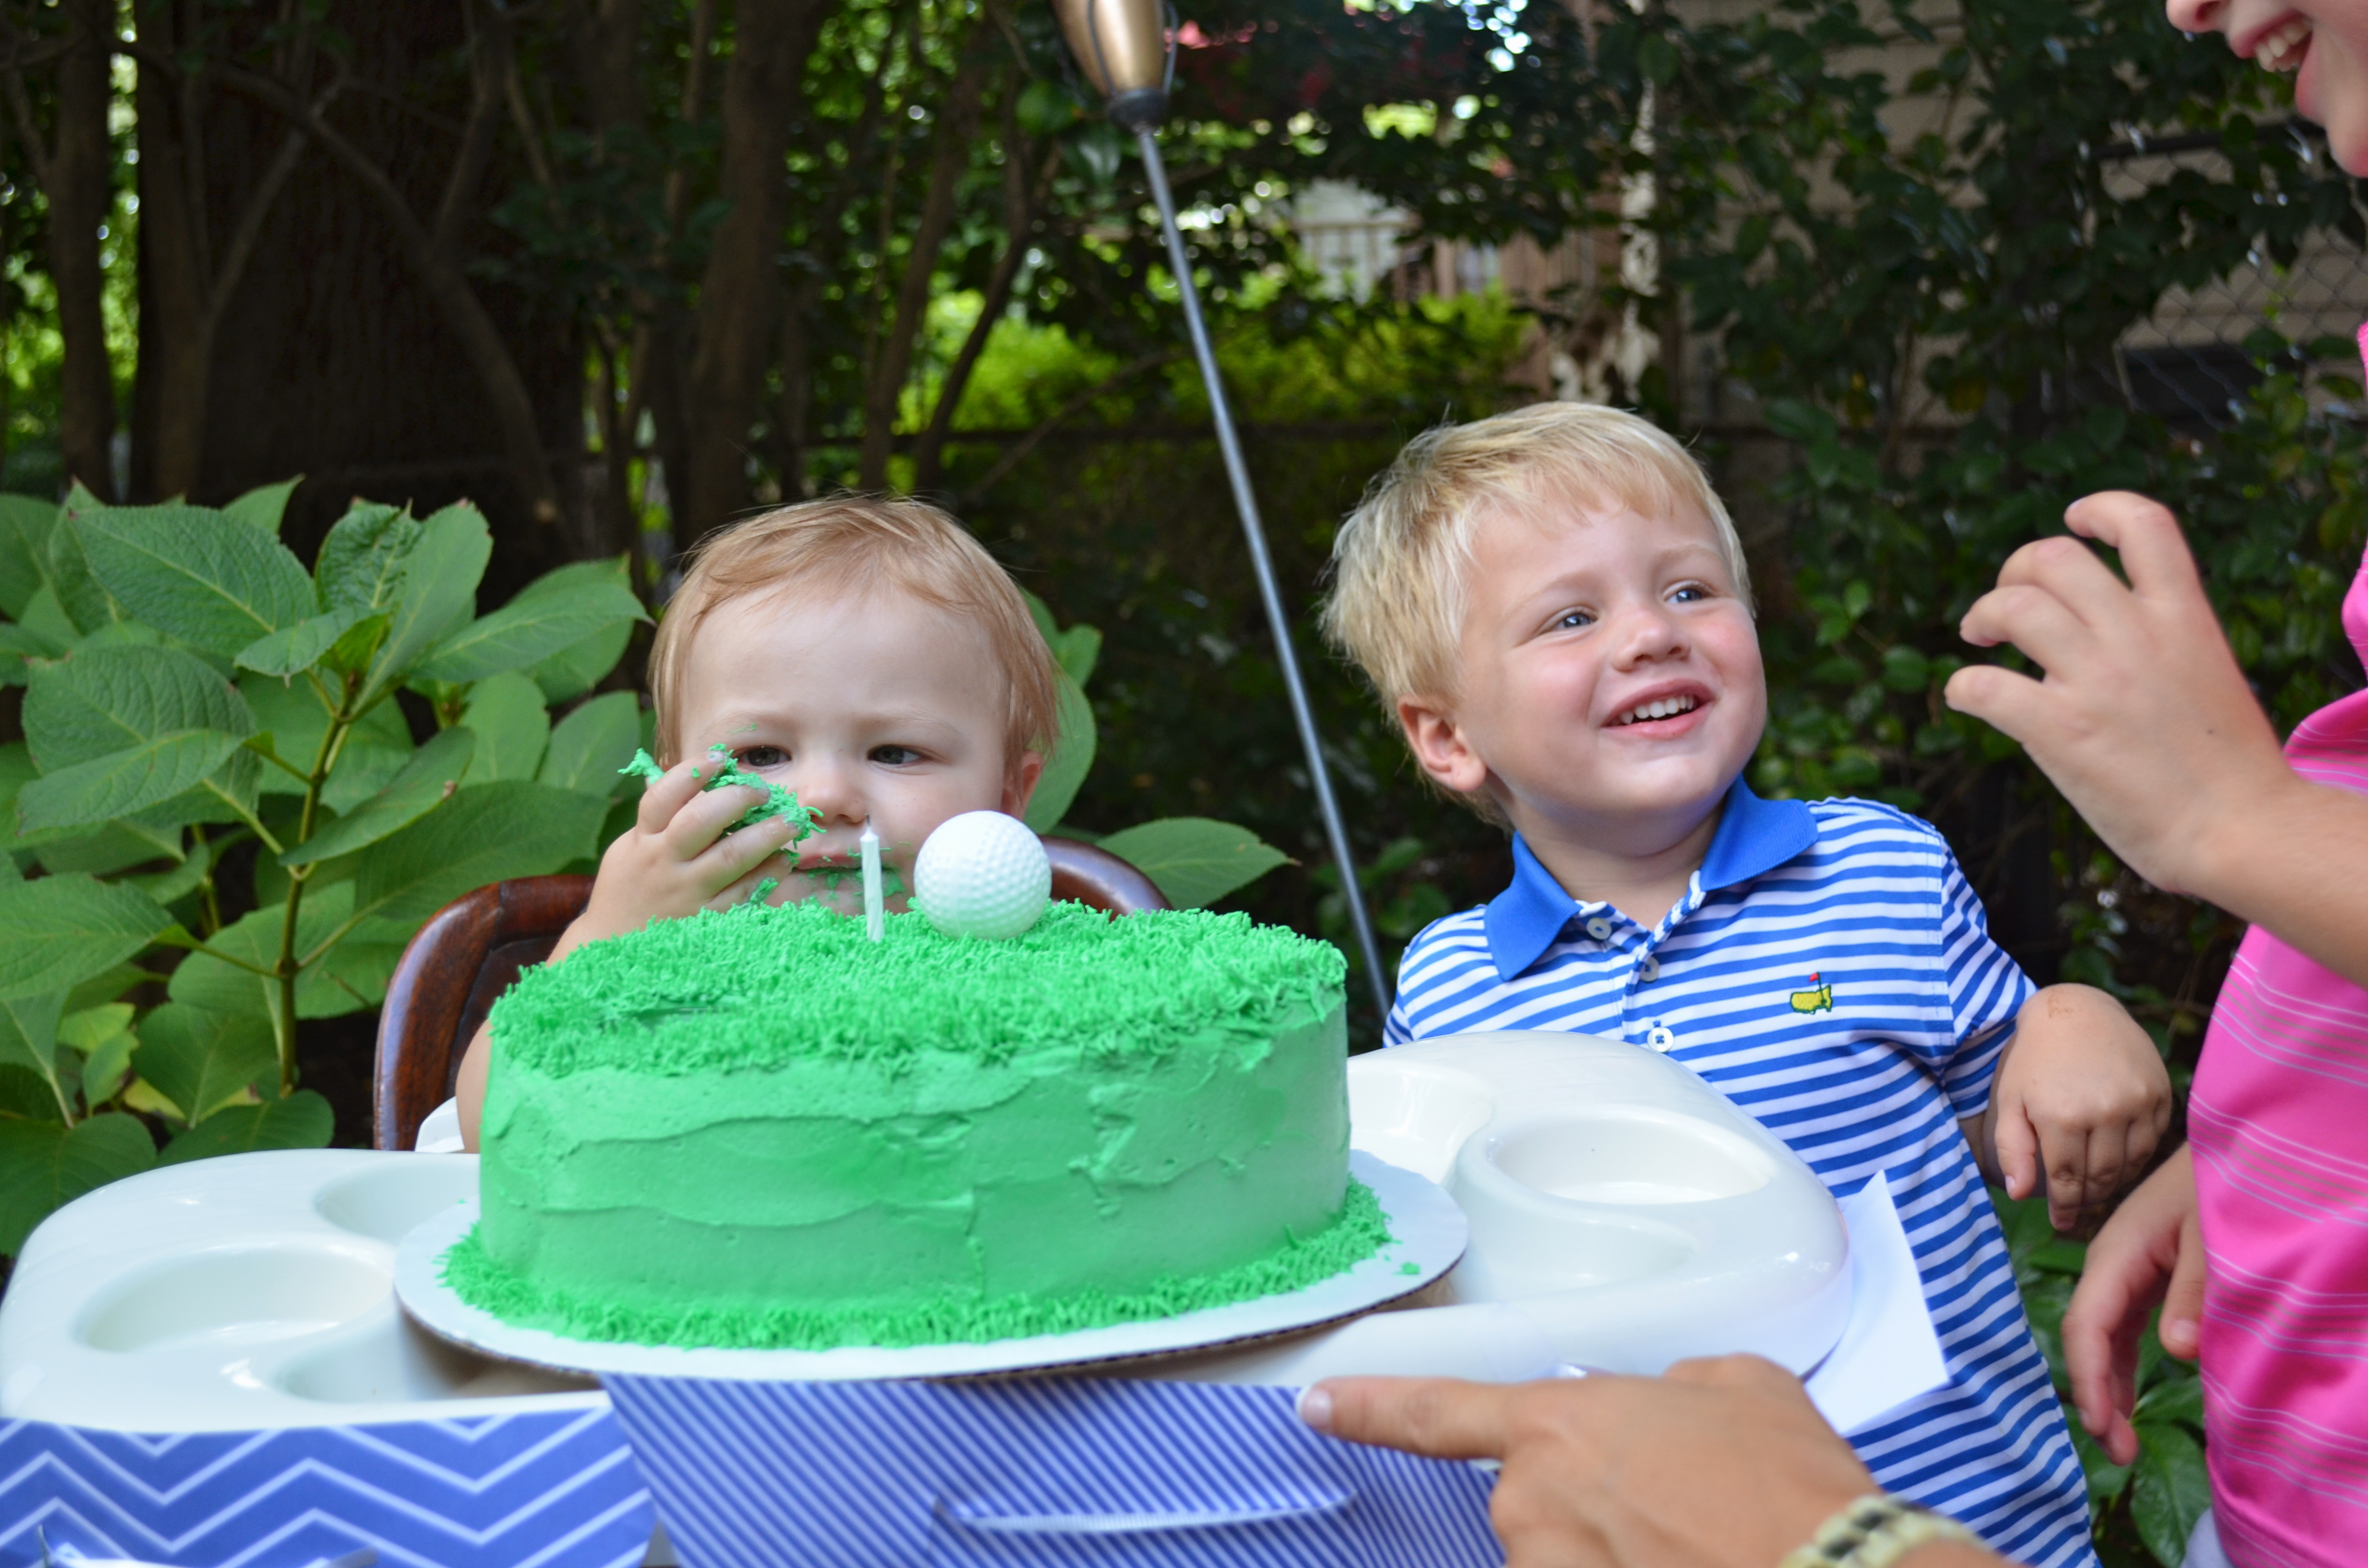
Frosting, you say?
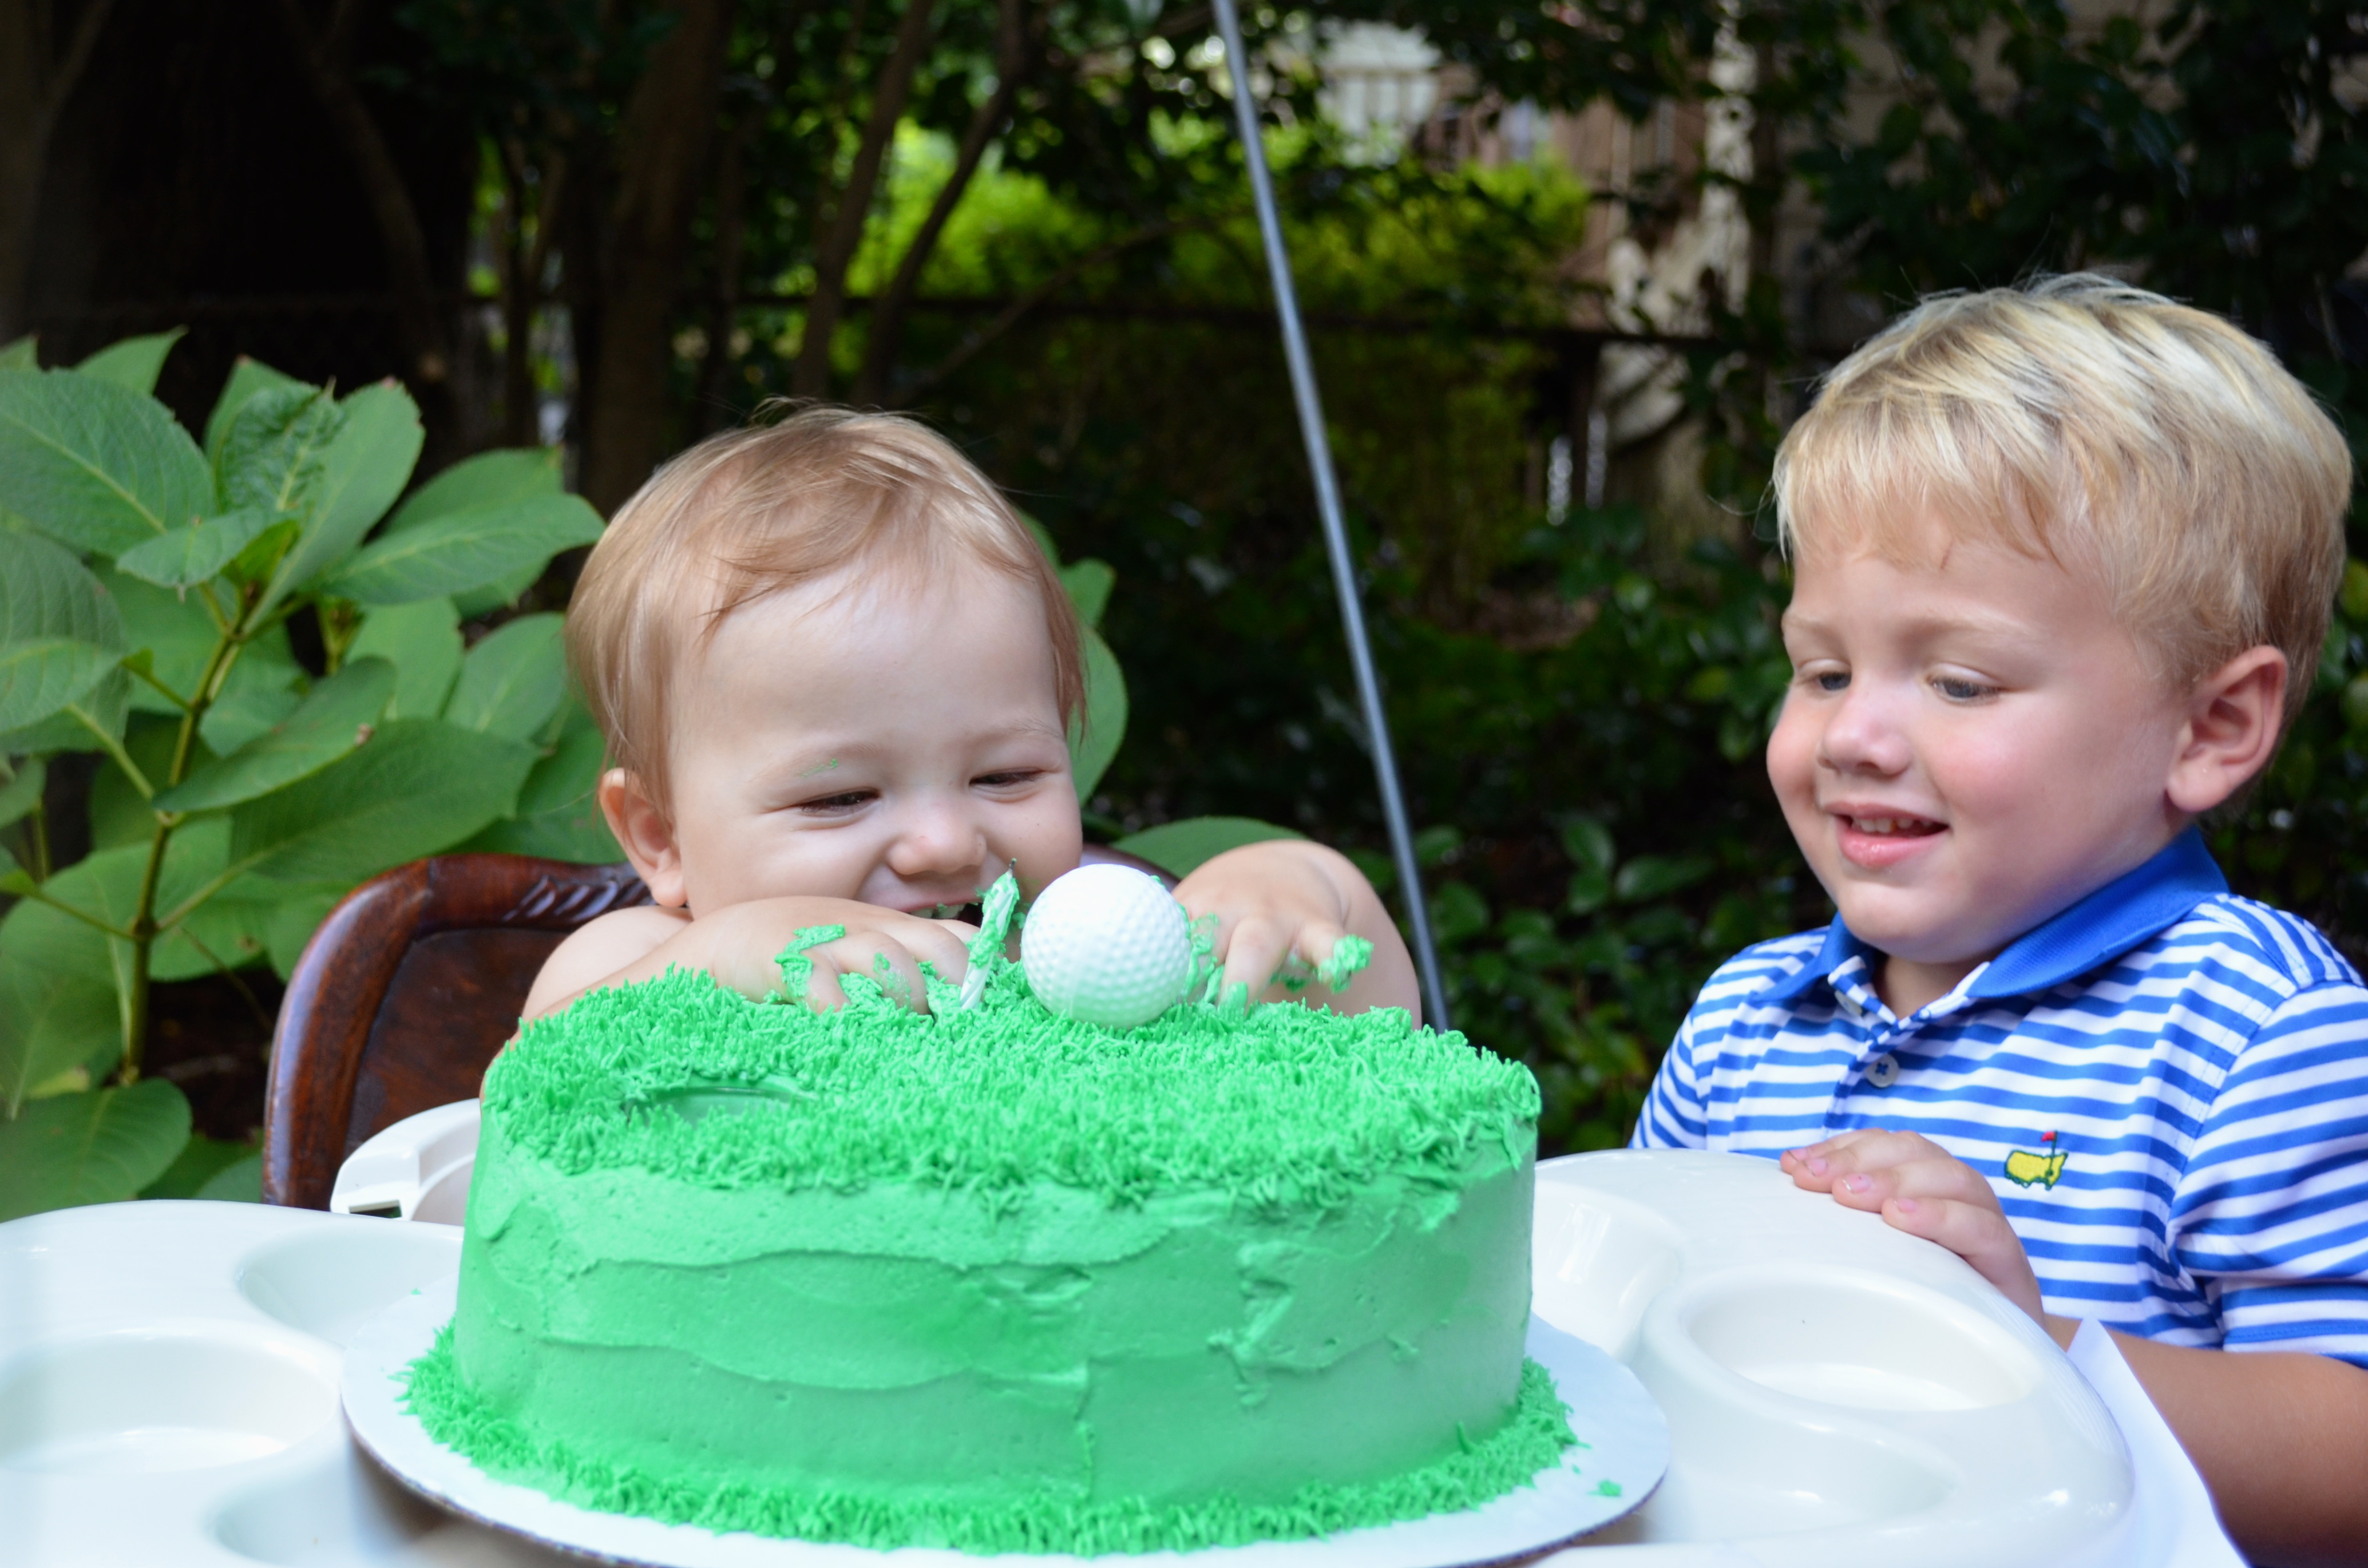
This is pretty cool!
One happy (and messy) birthday boy!
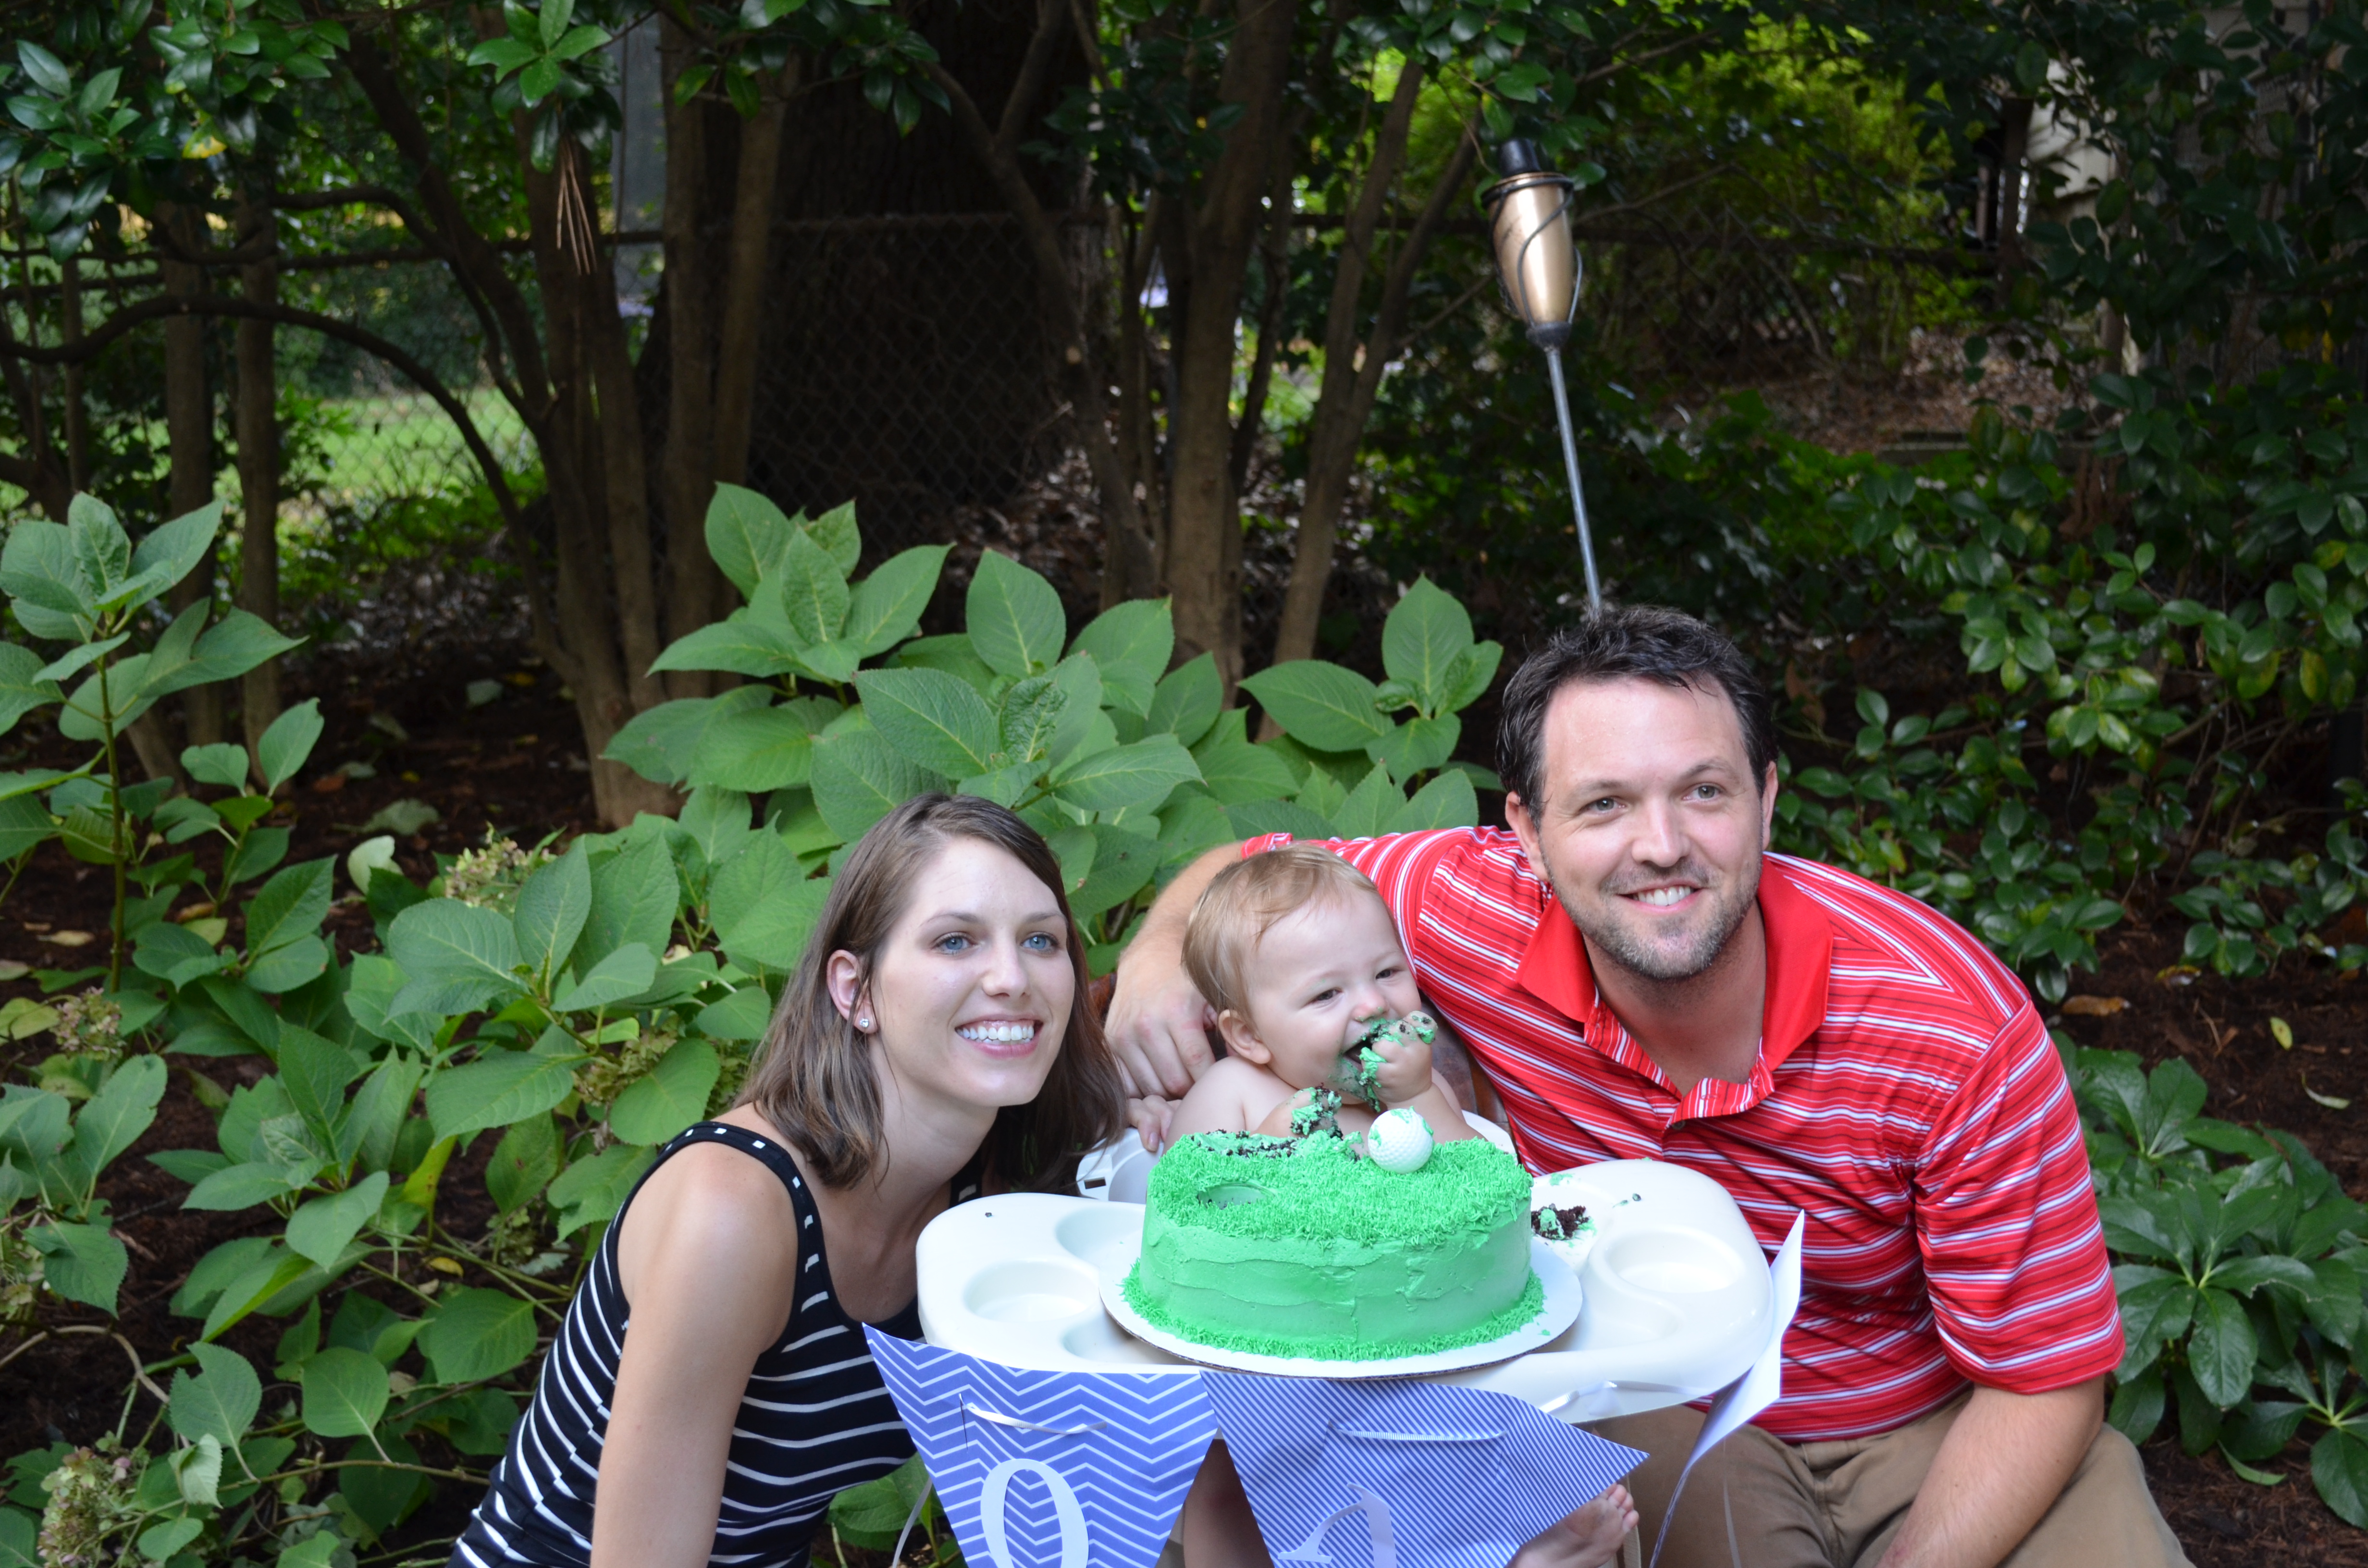
We love this little munchkin!

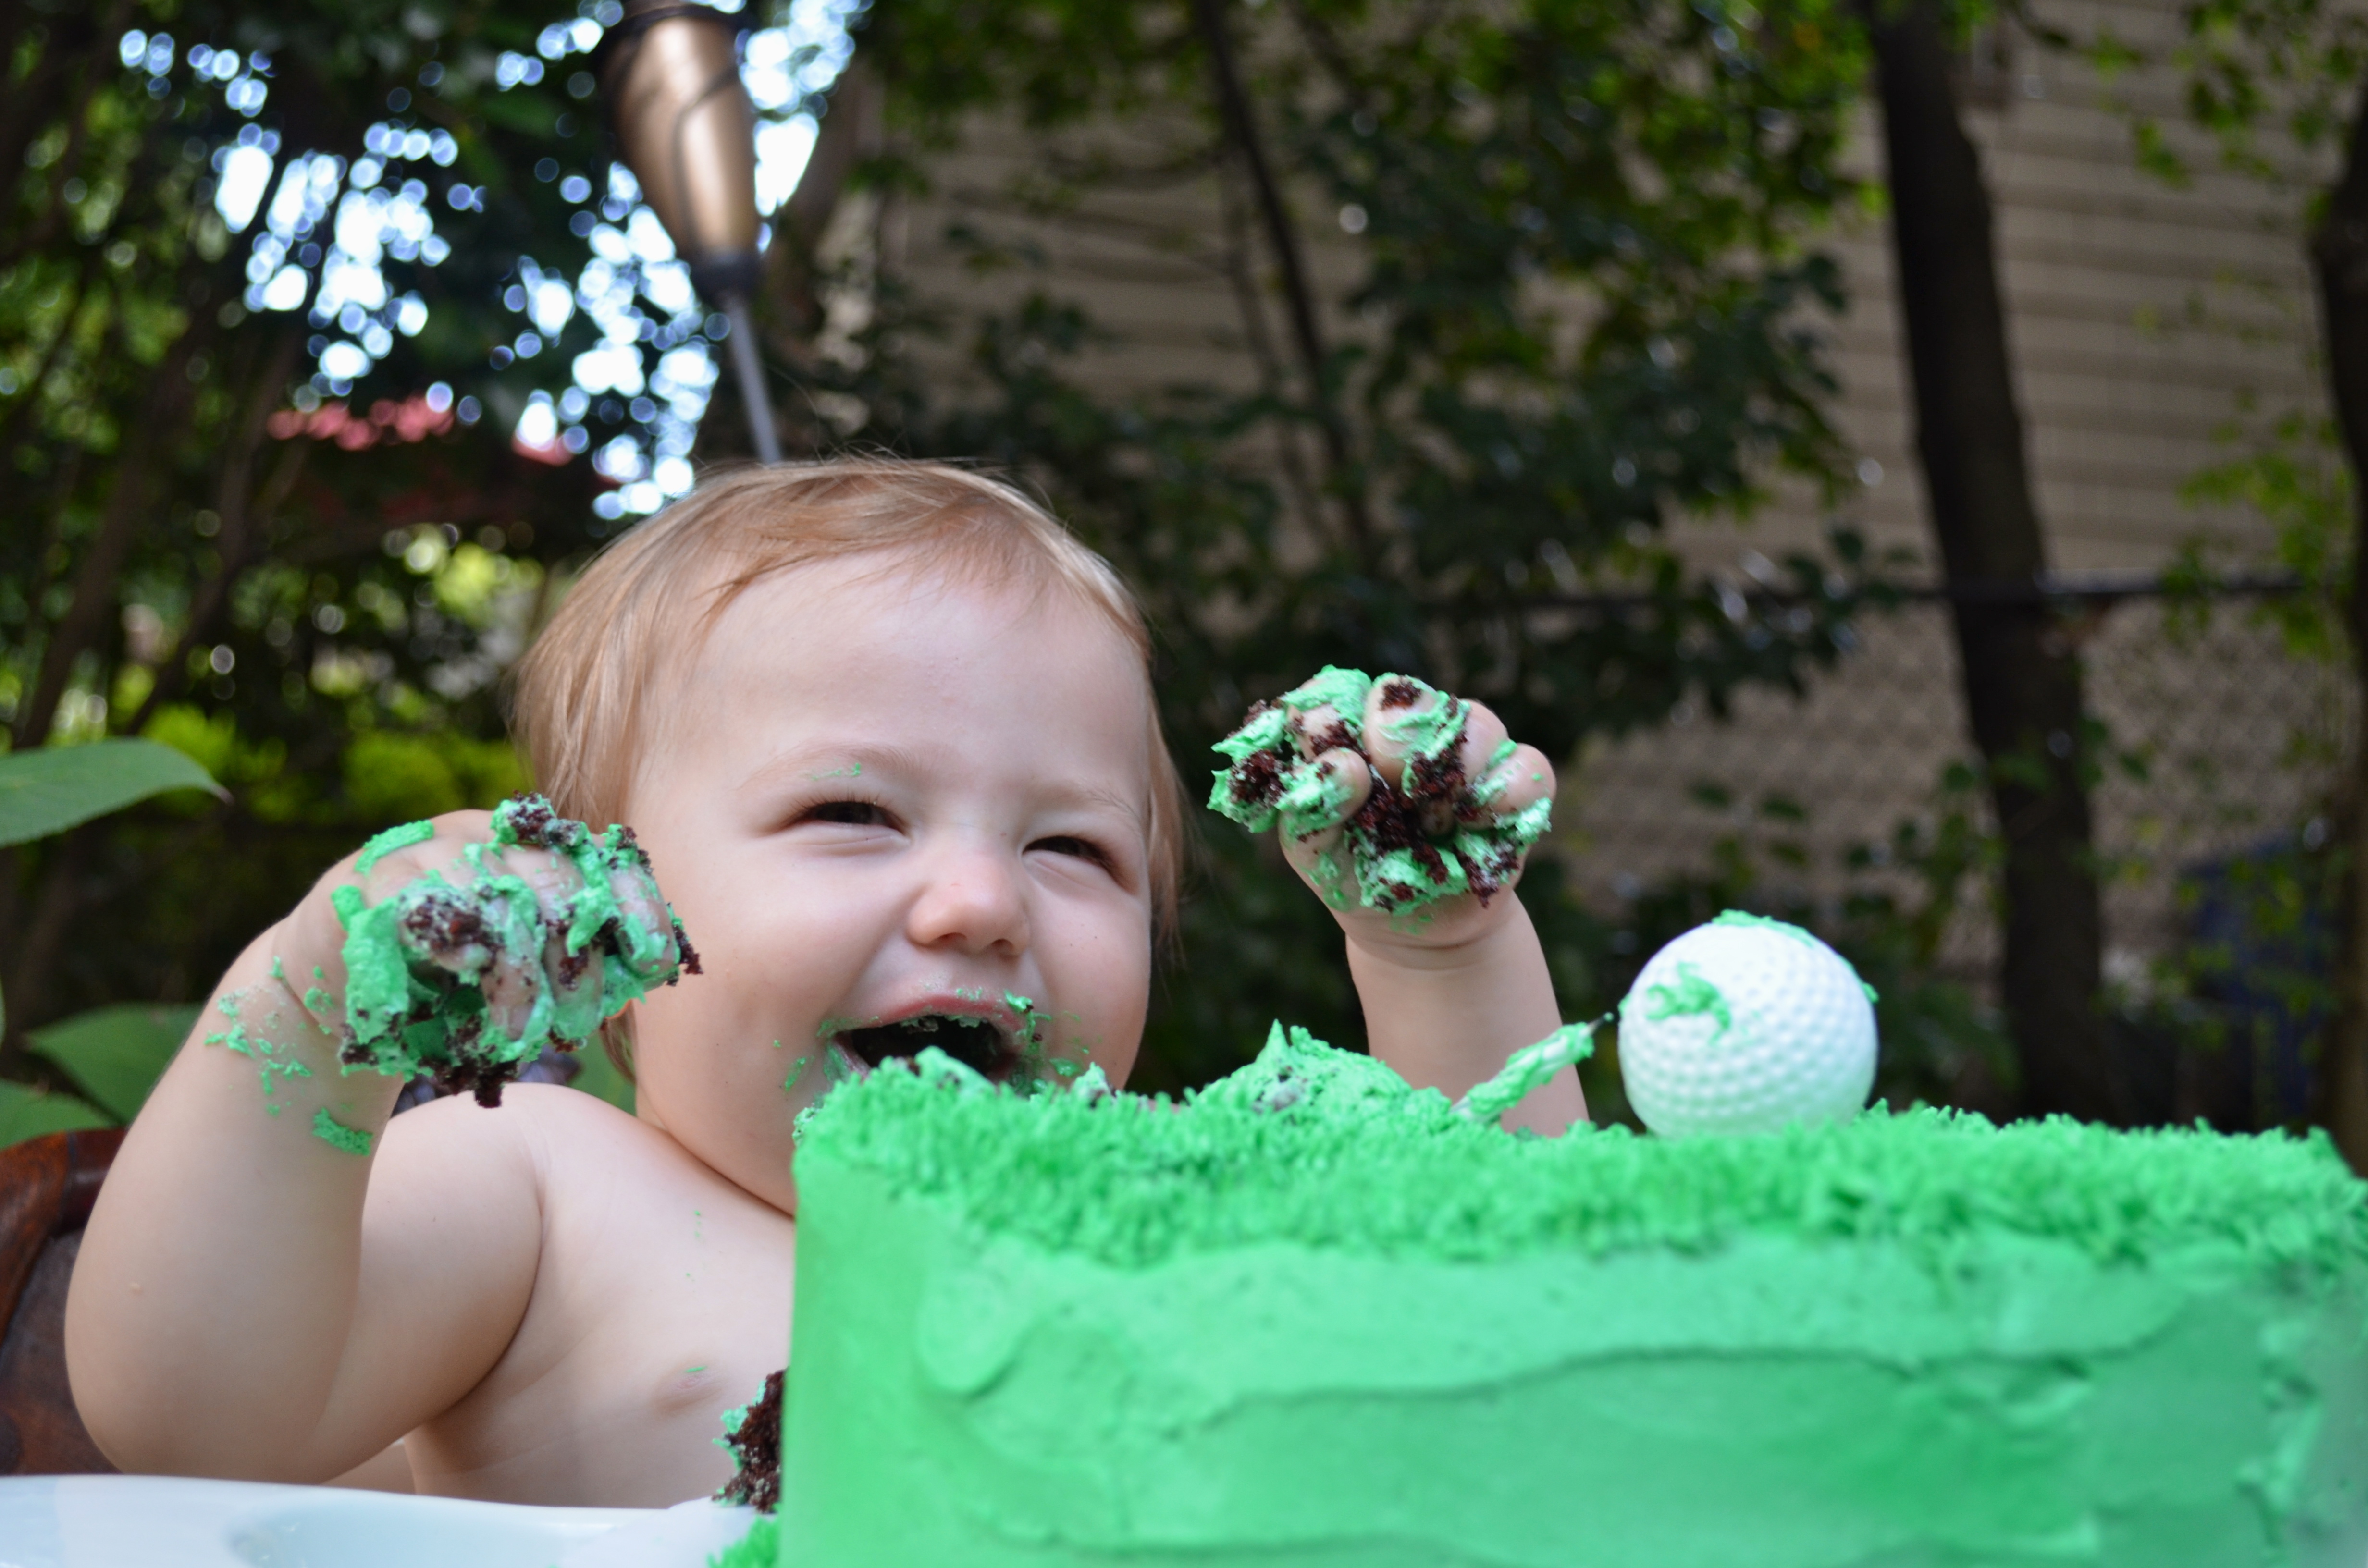
Really digging in!
The aftermath!
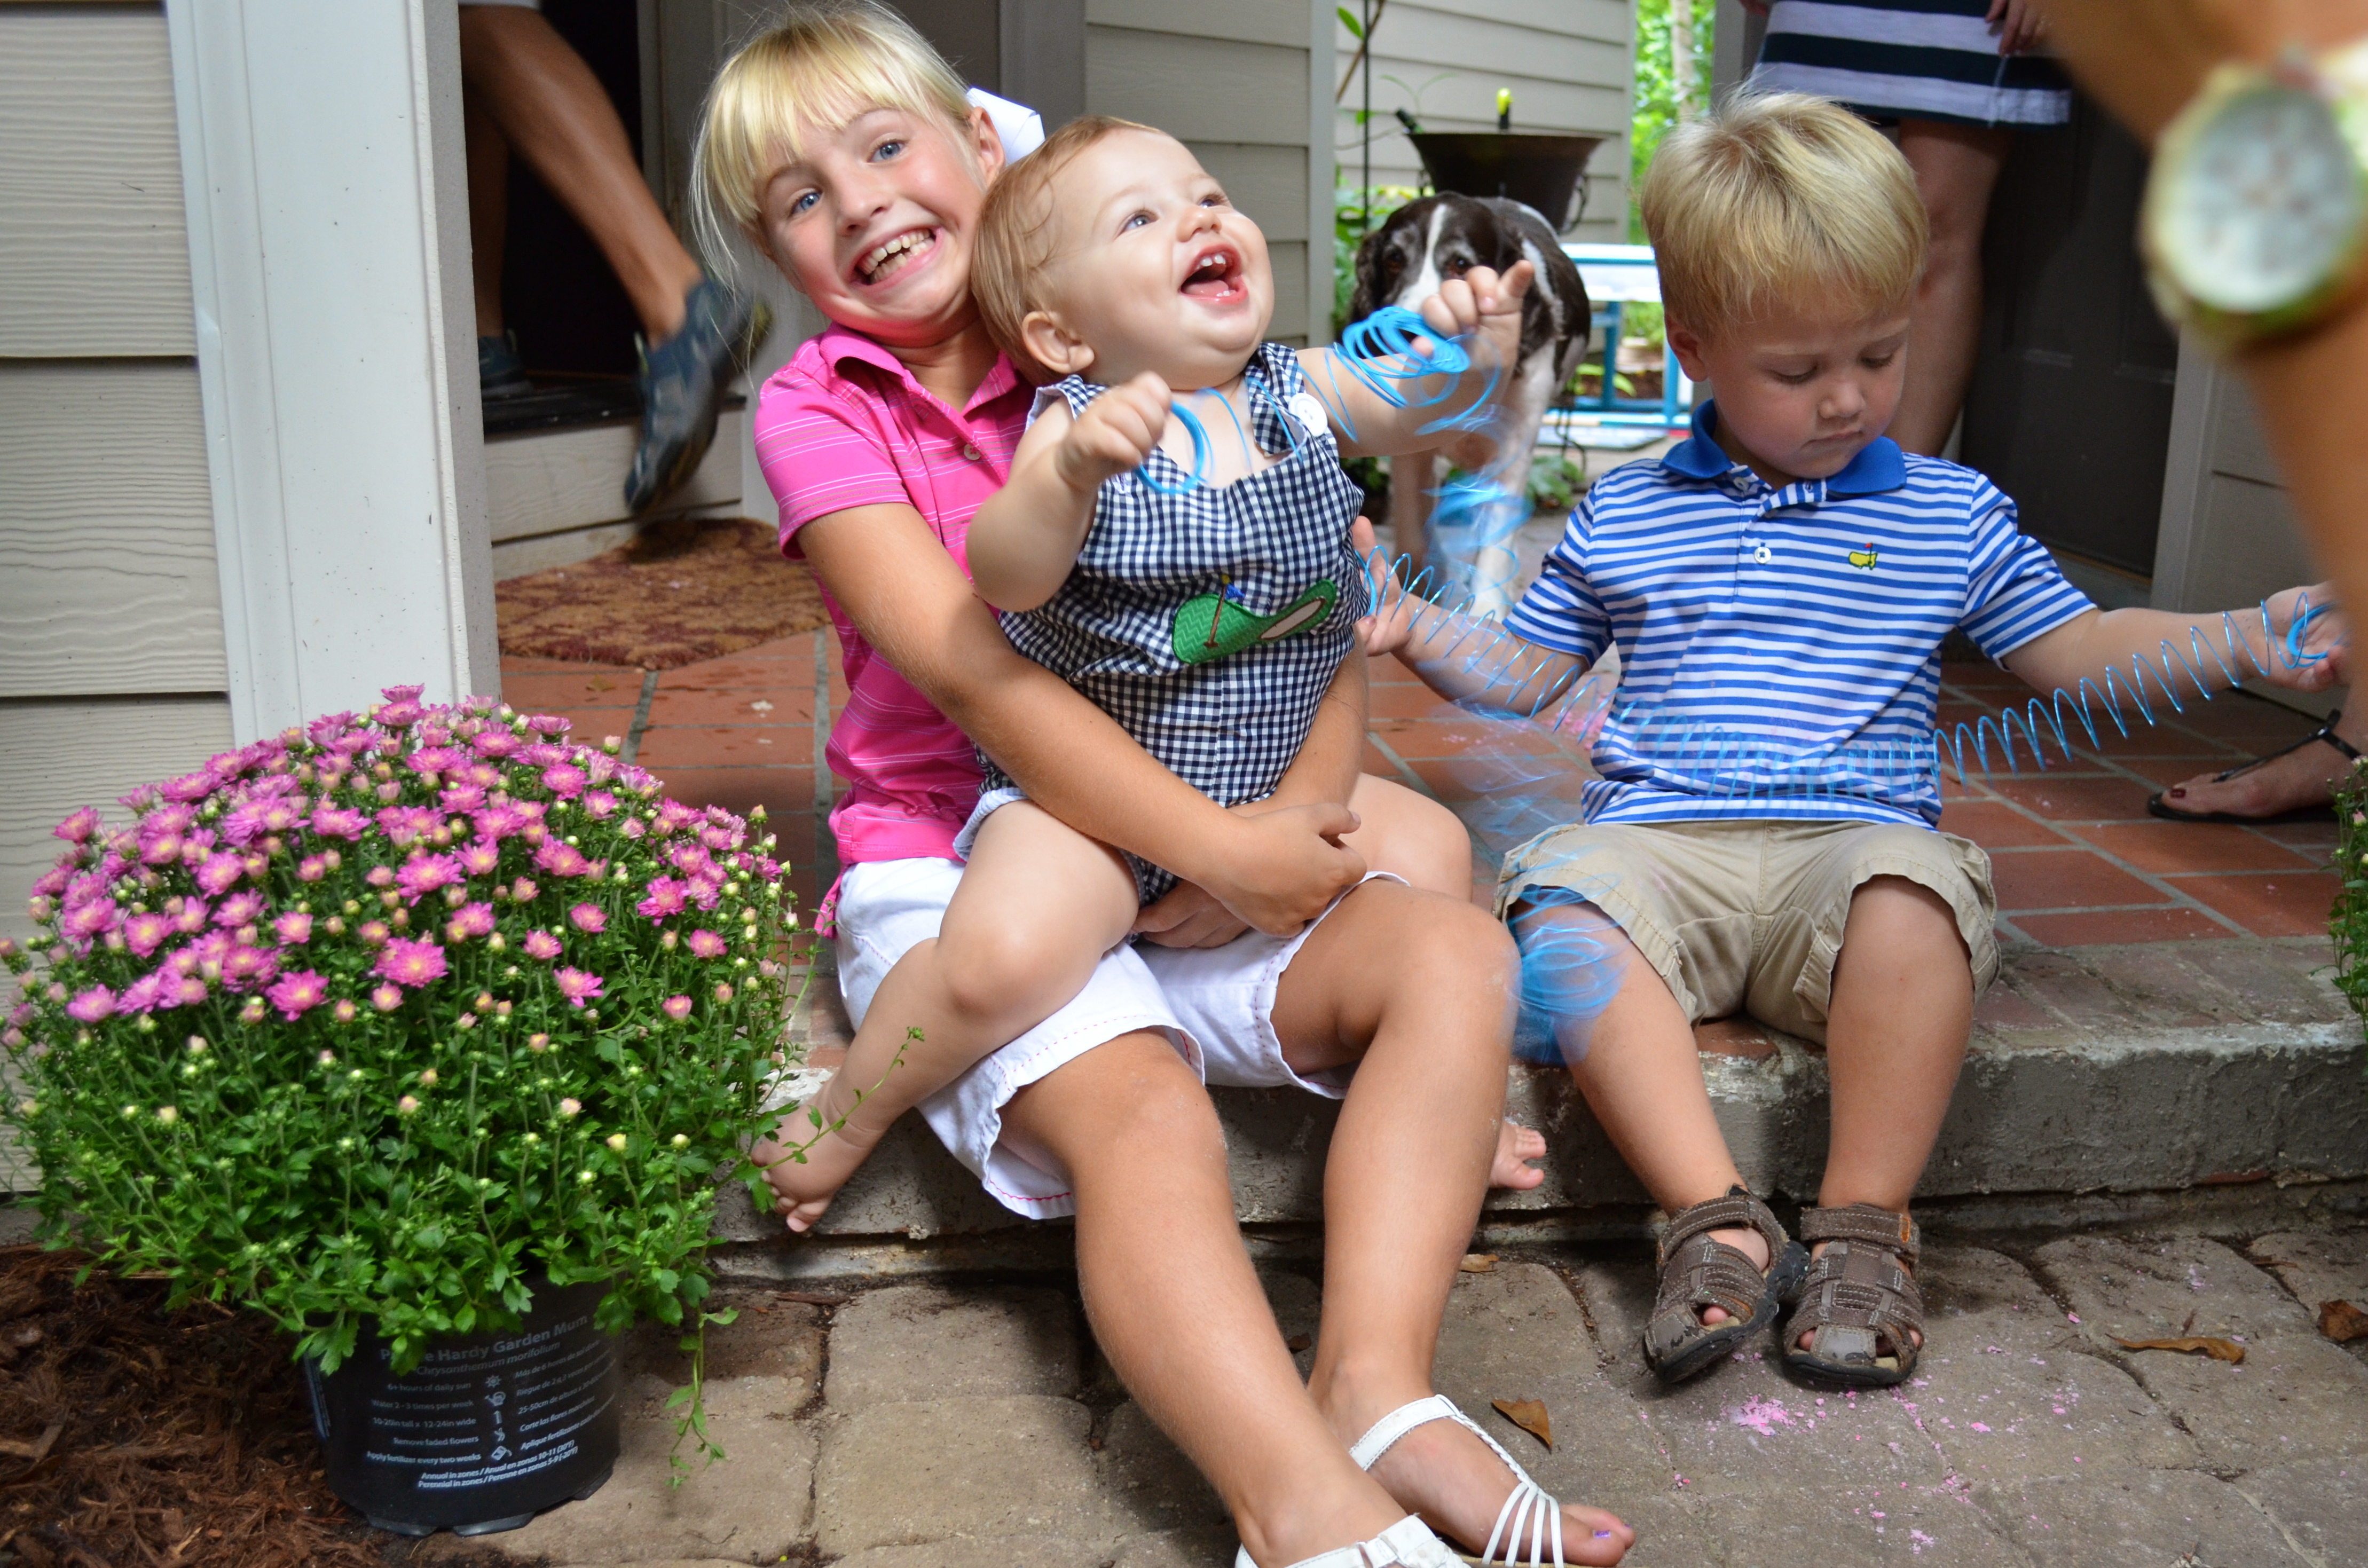
Silly cousins with slinkies
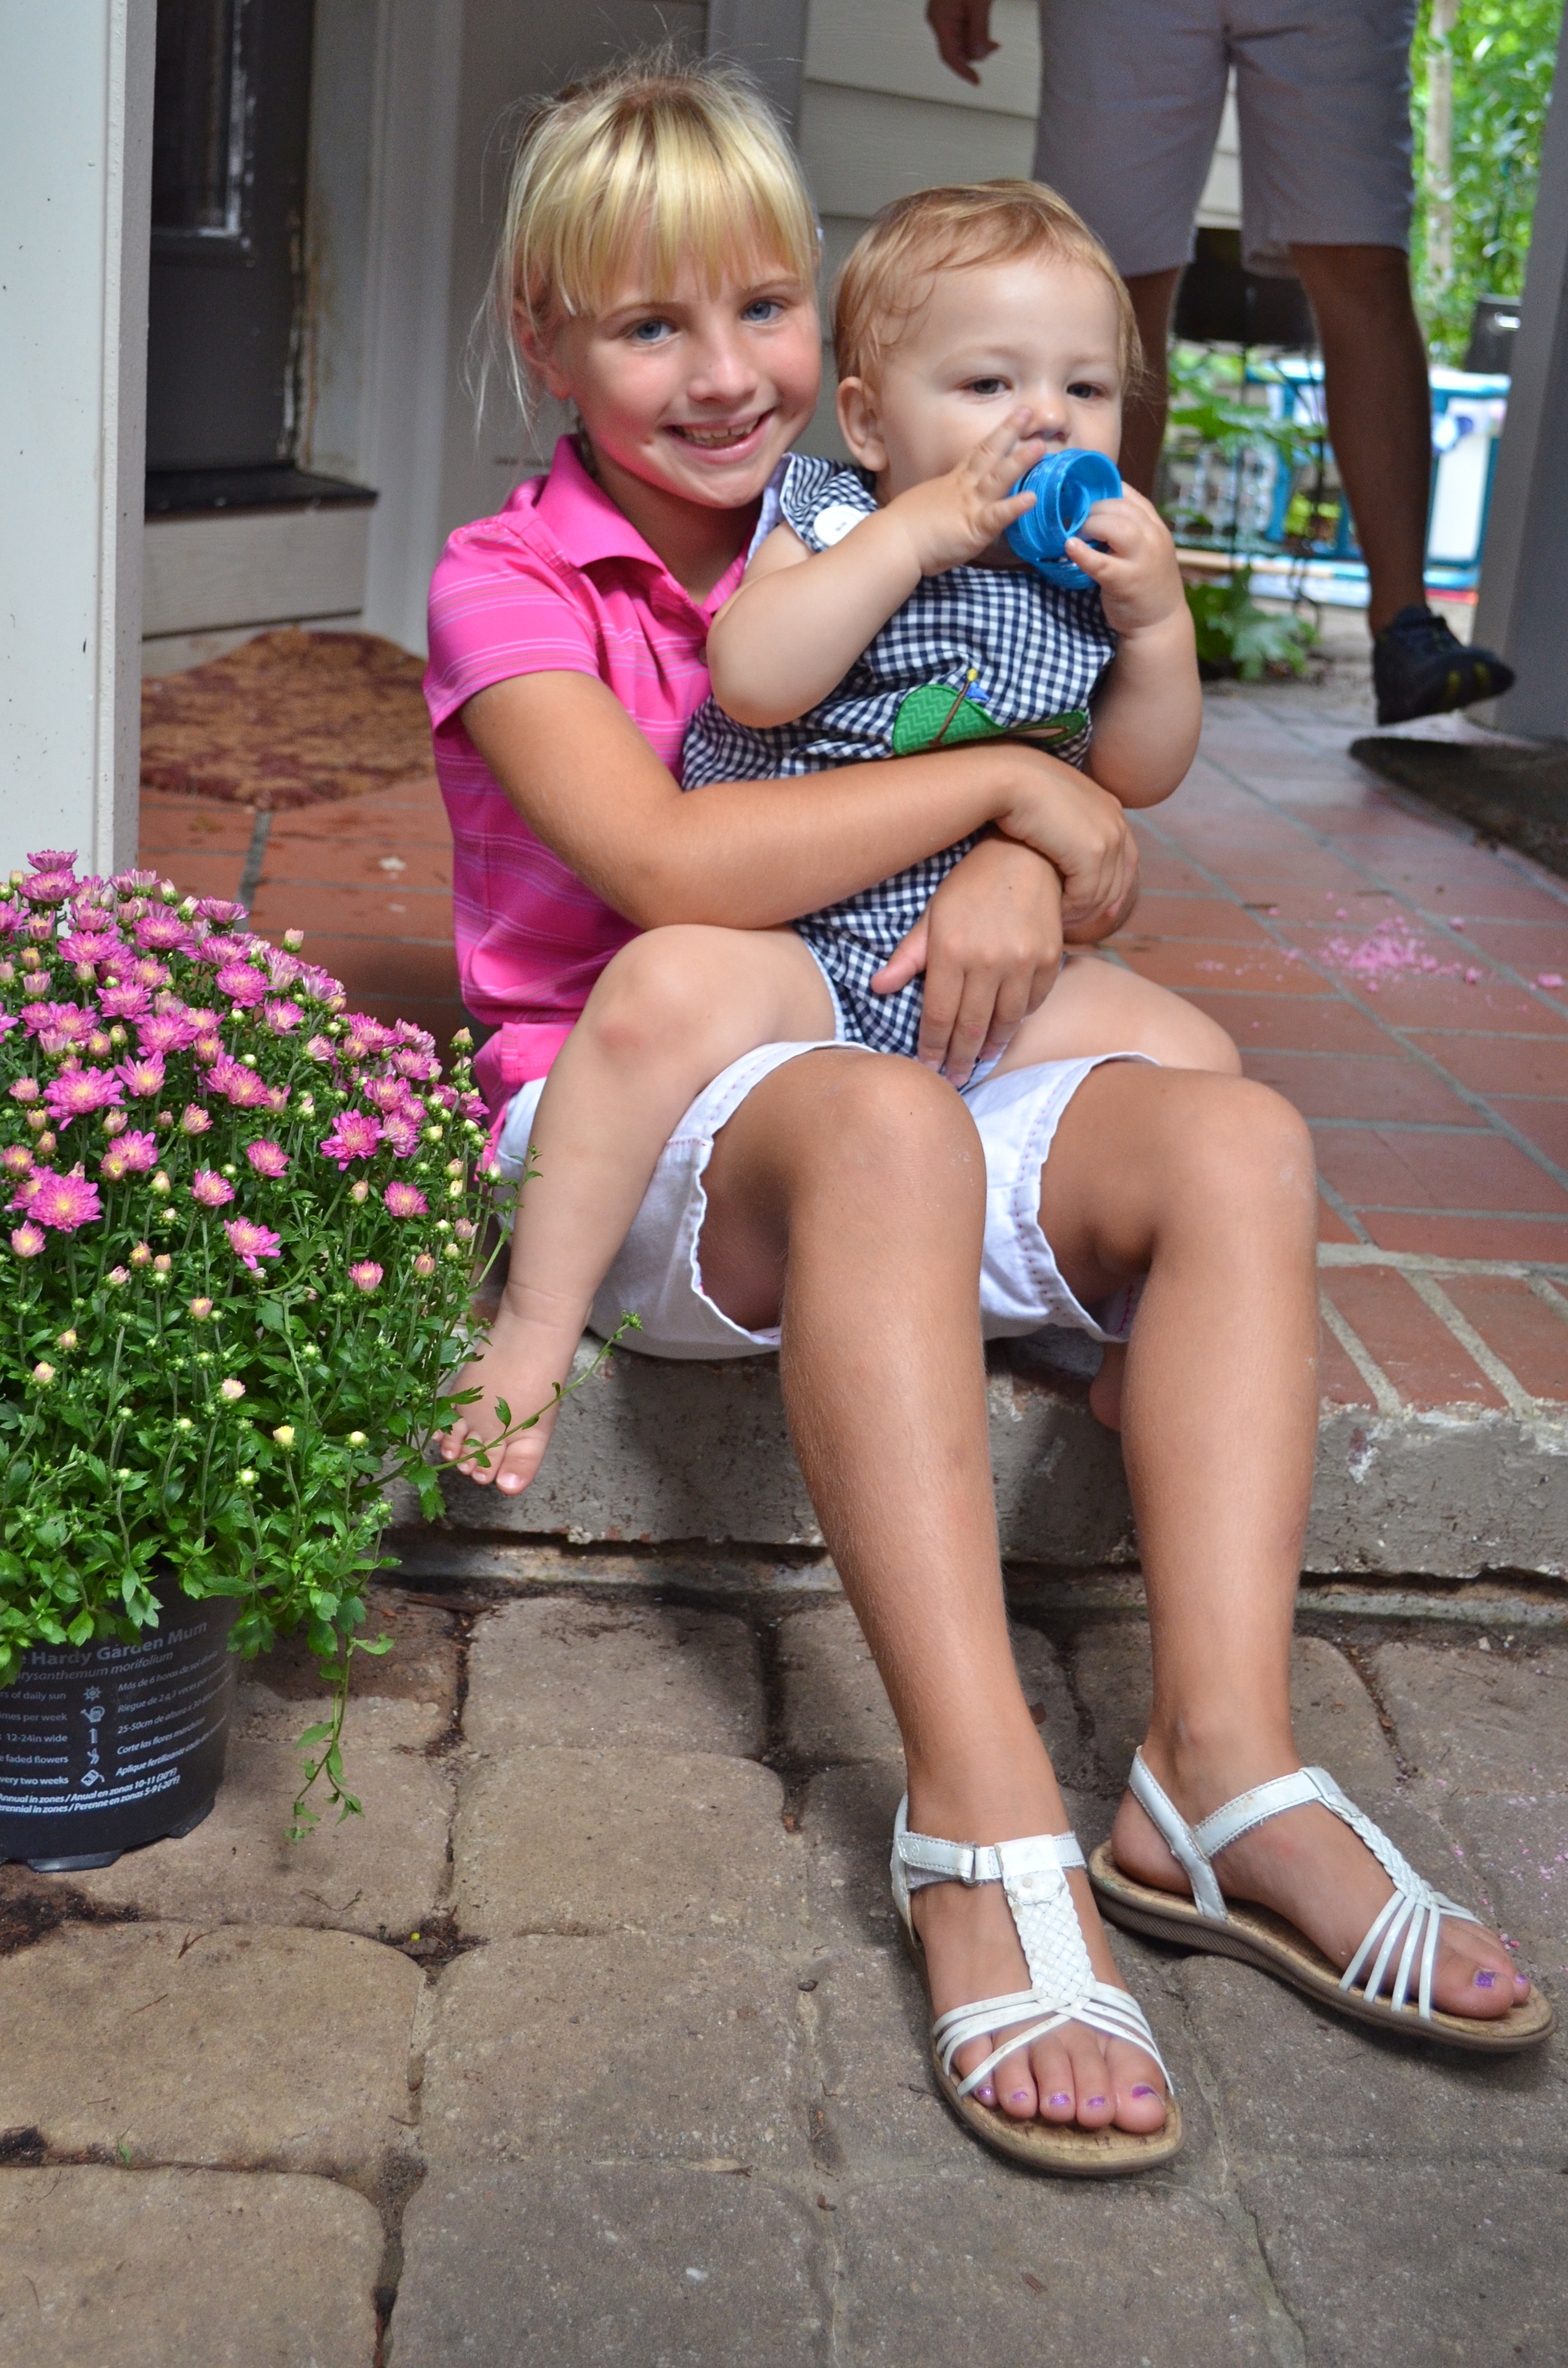
Abigail couldn’t wait to have her picture taken with Baby Colton!
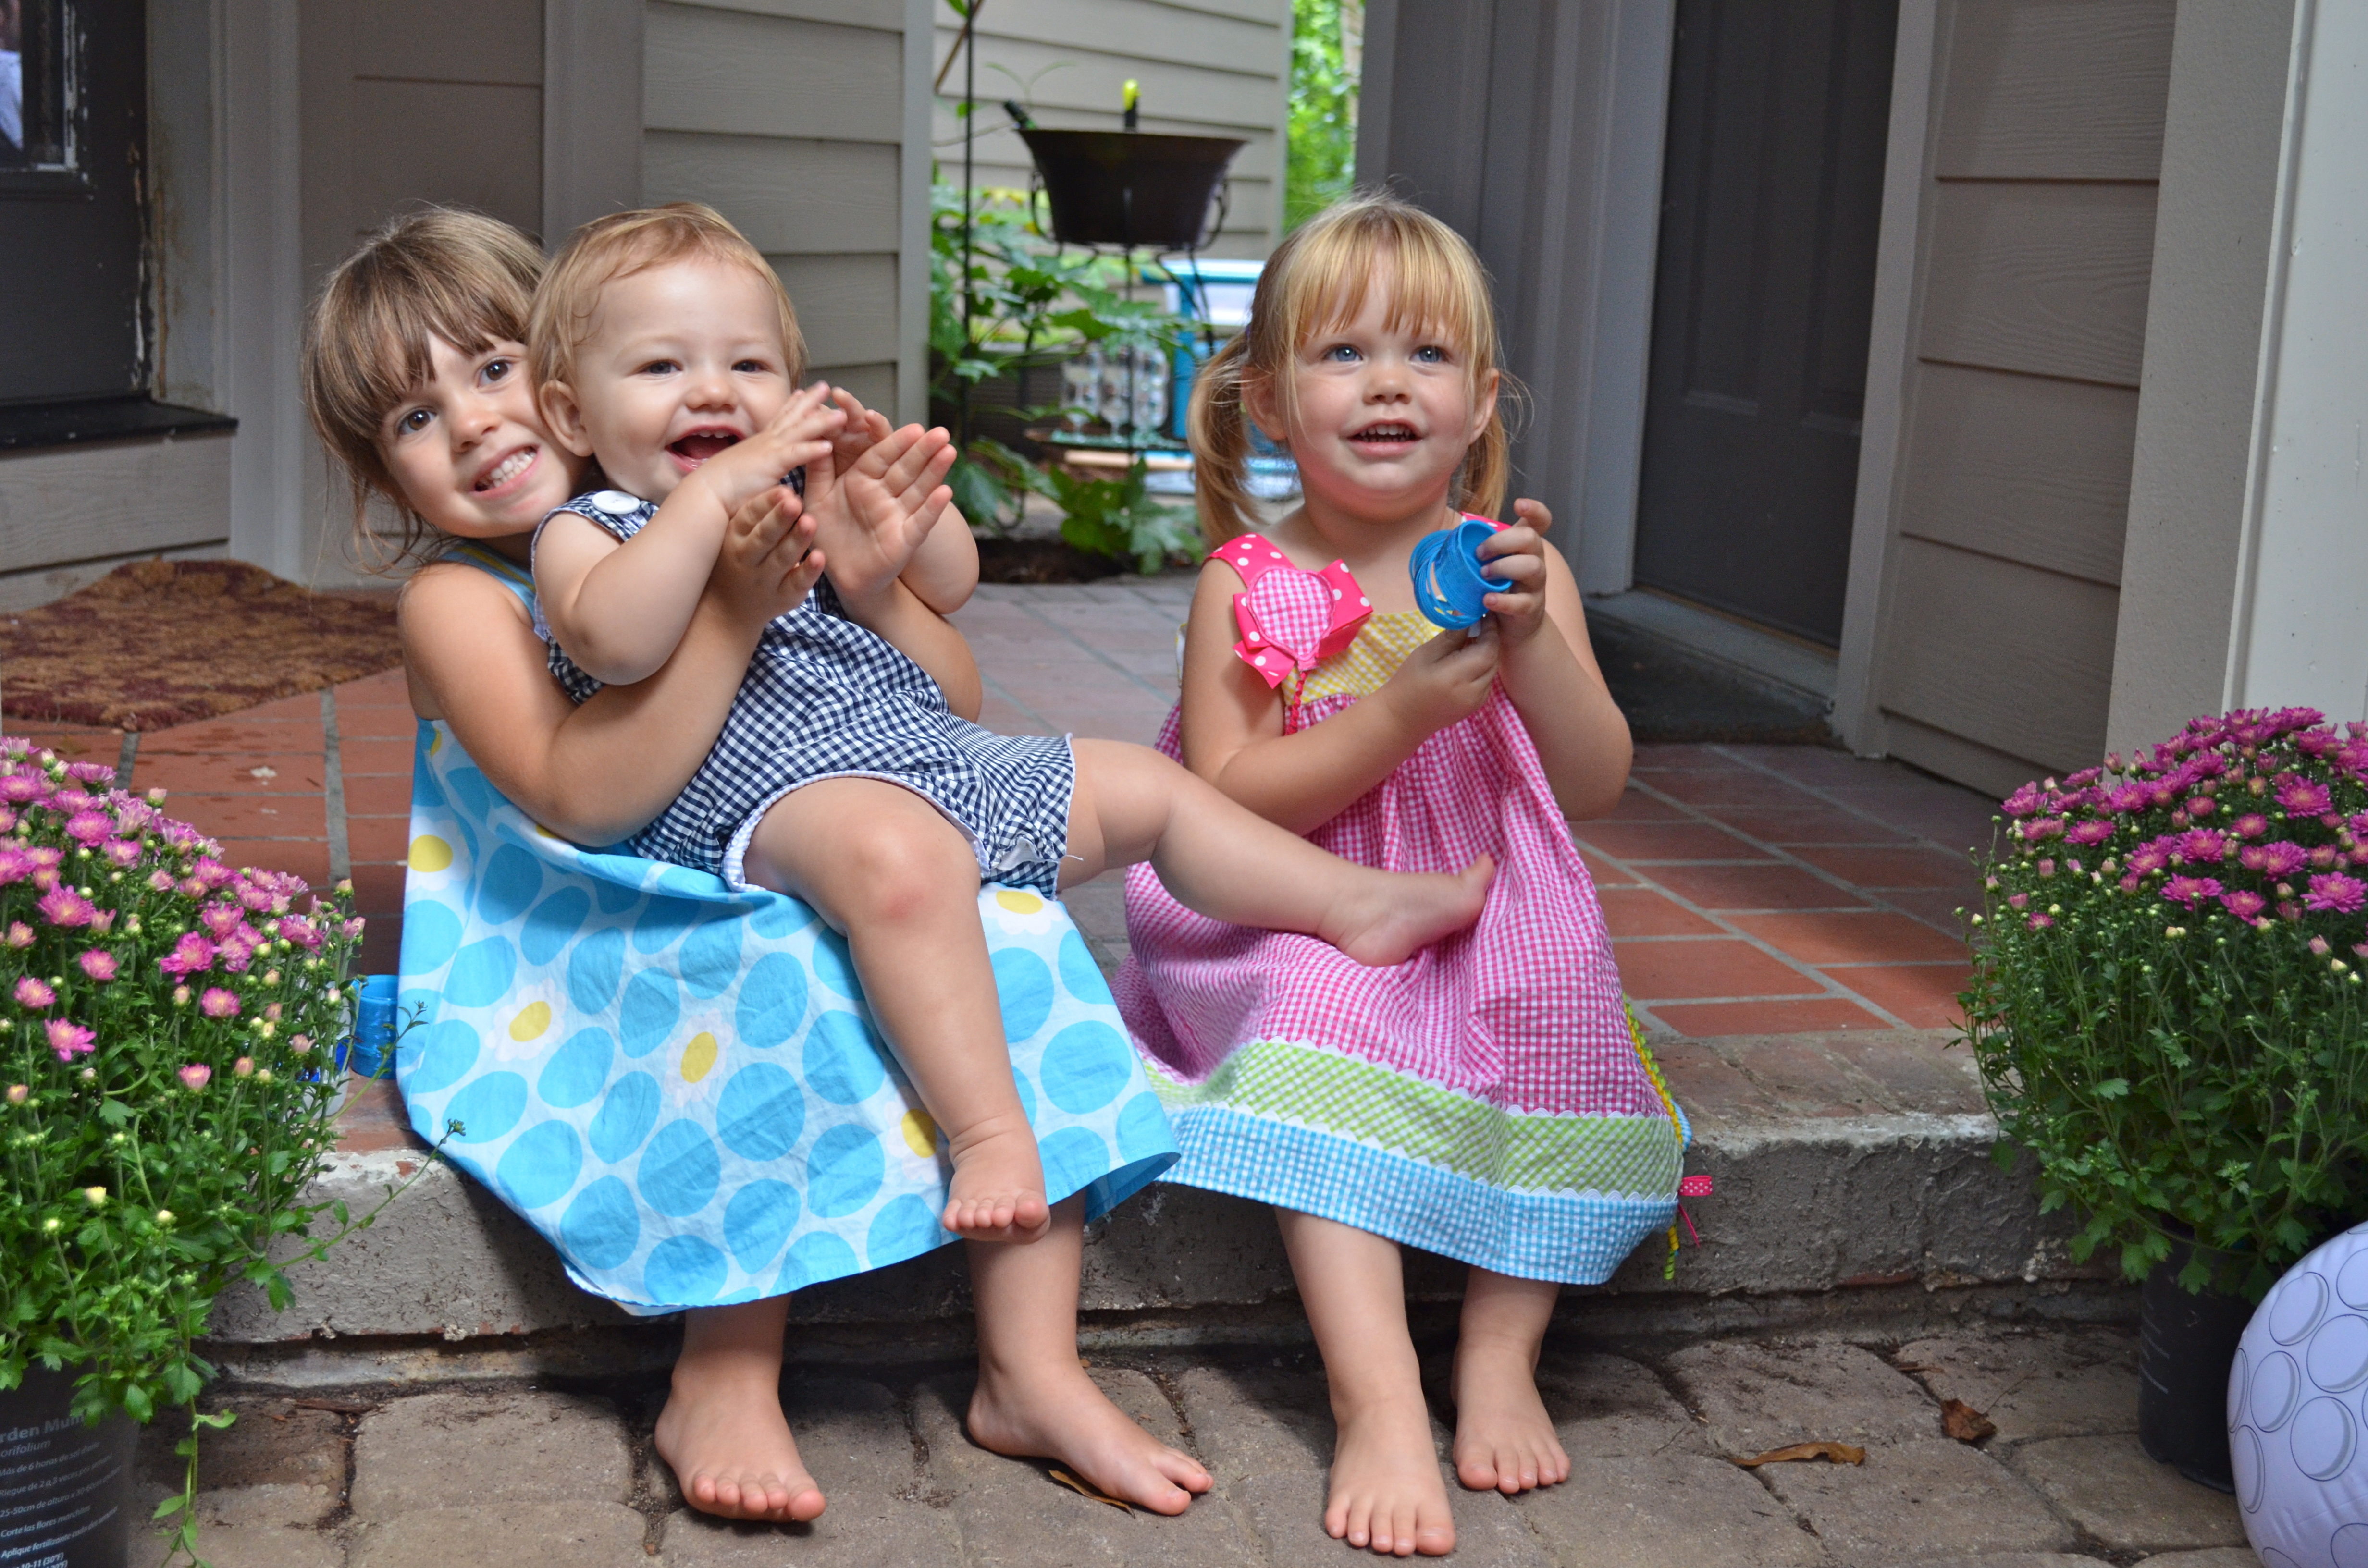
Sweet cousins
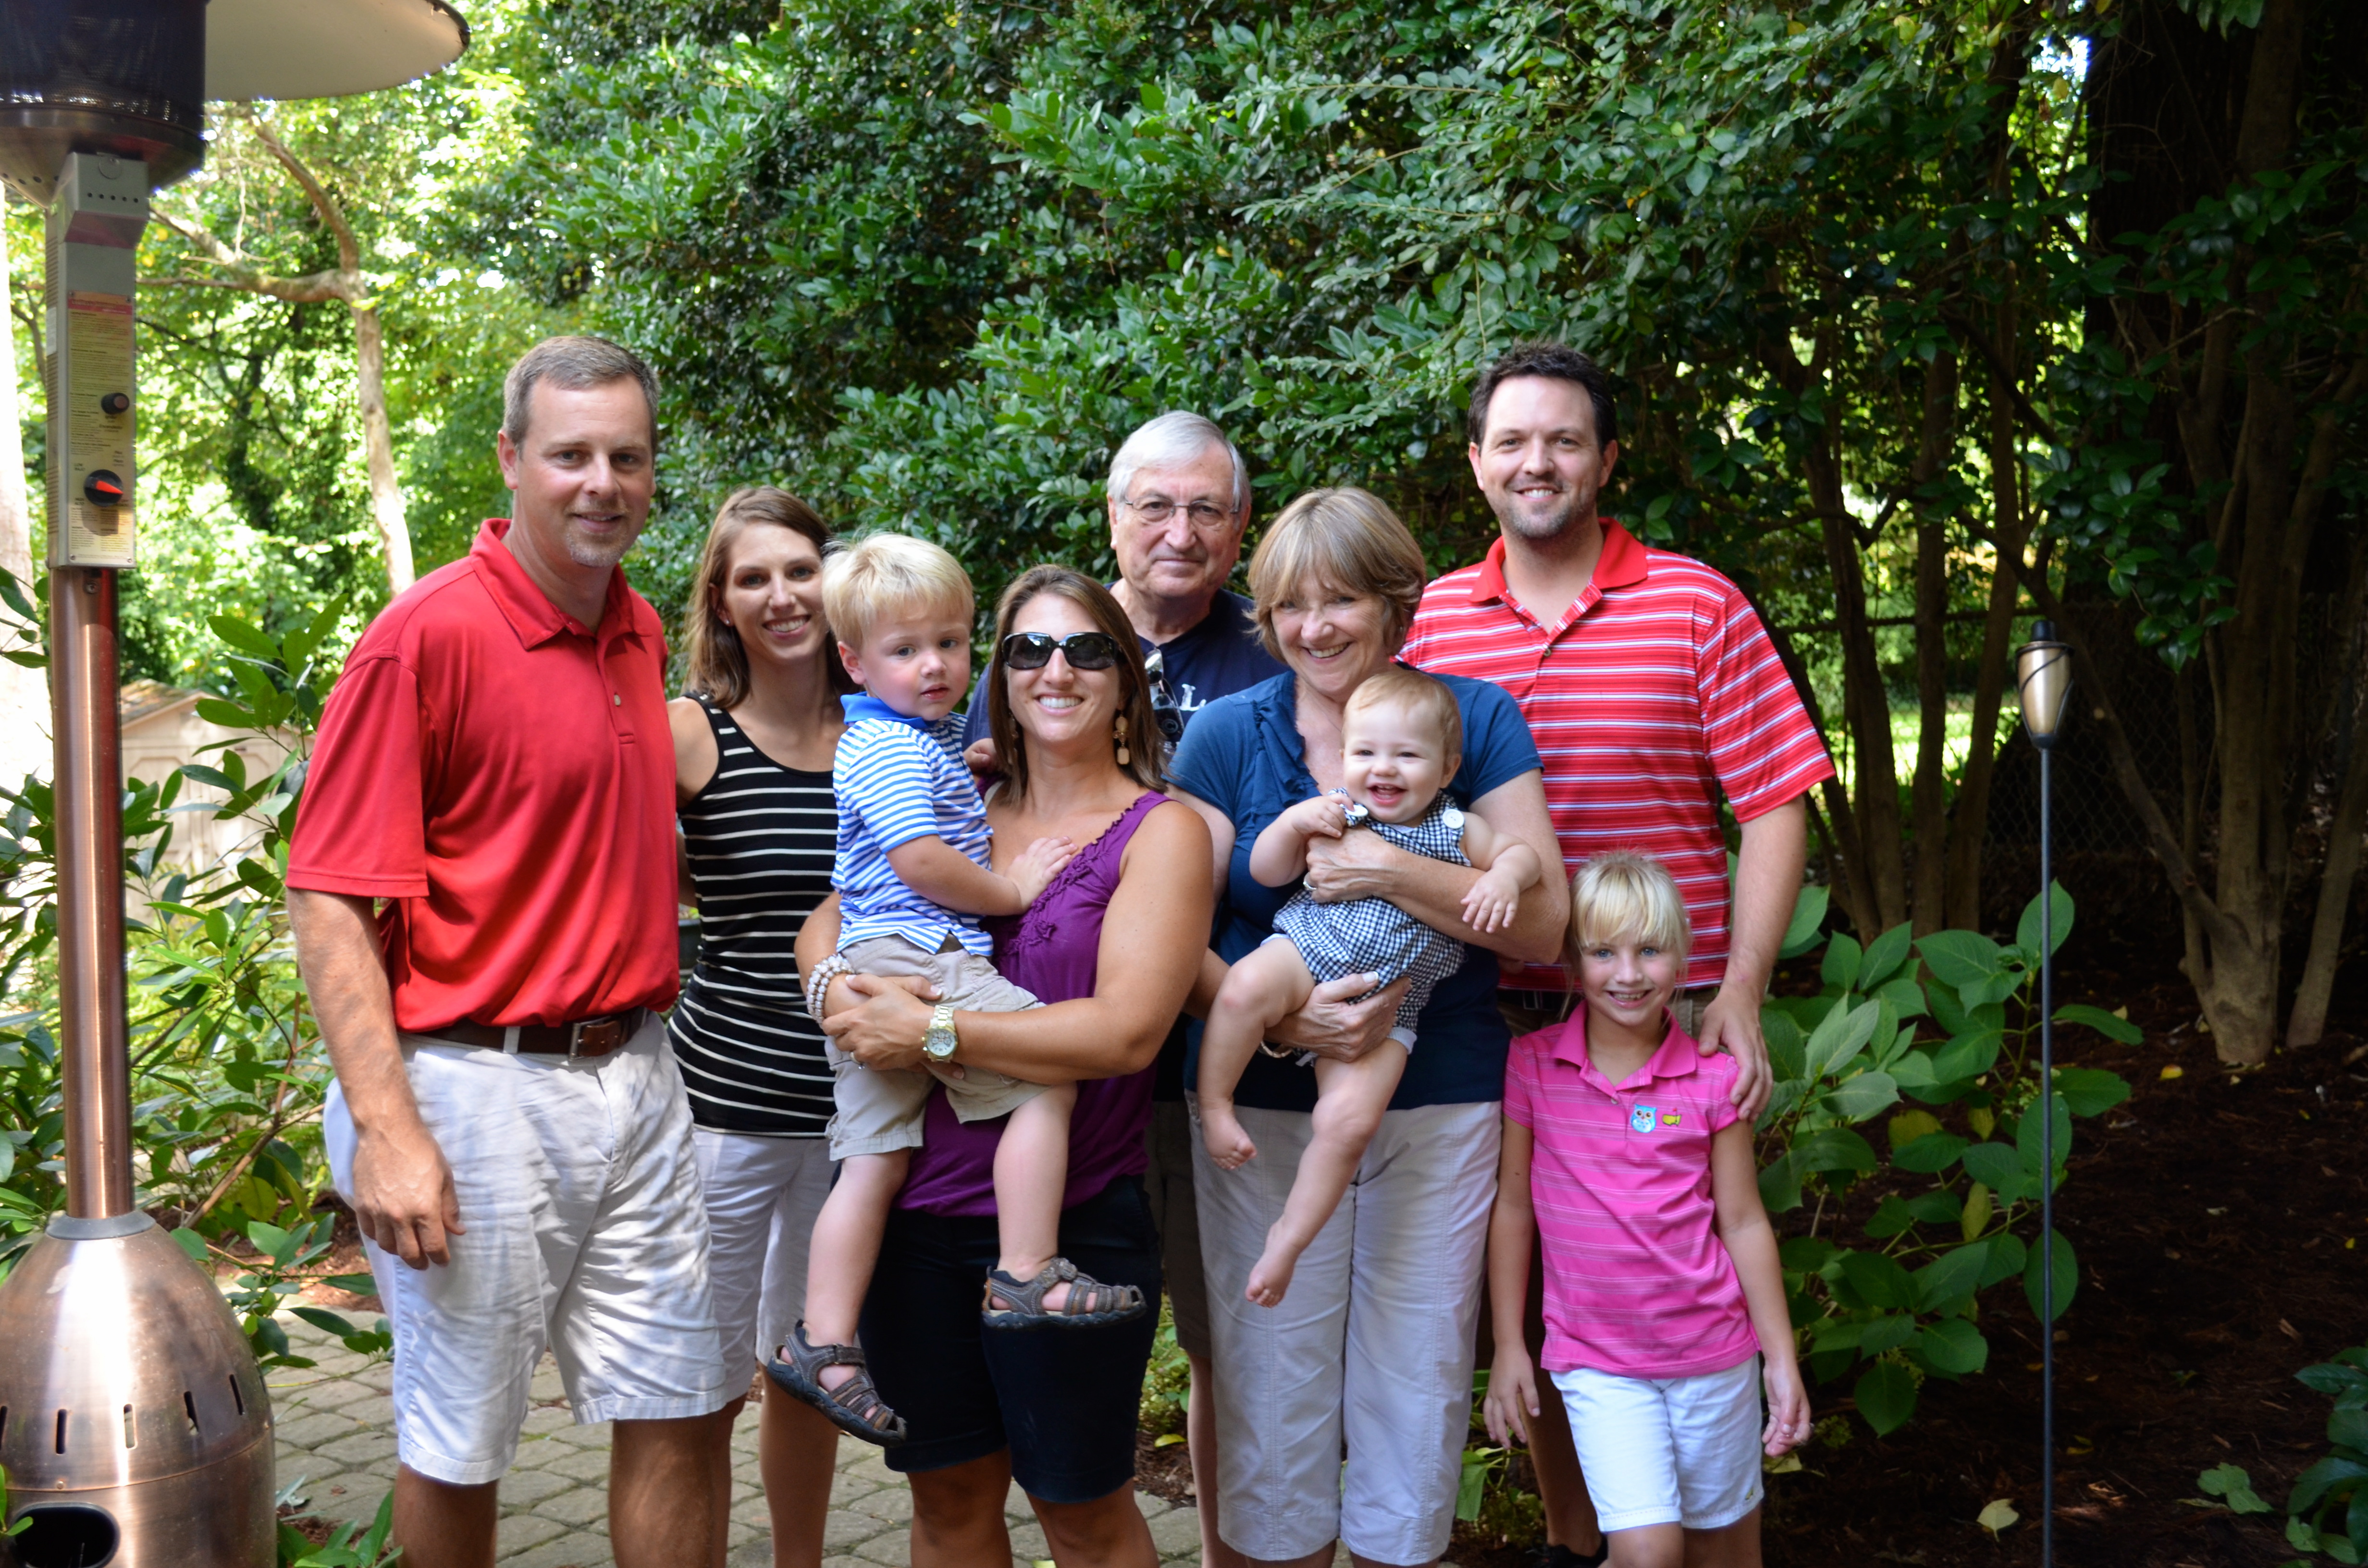
Family Photo Op
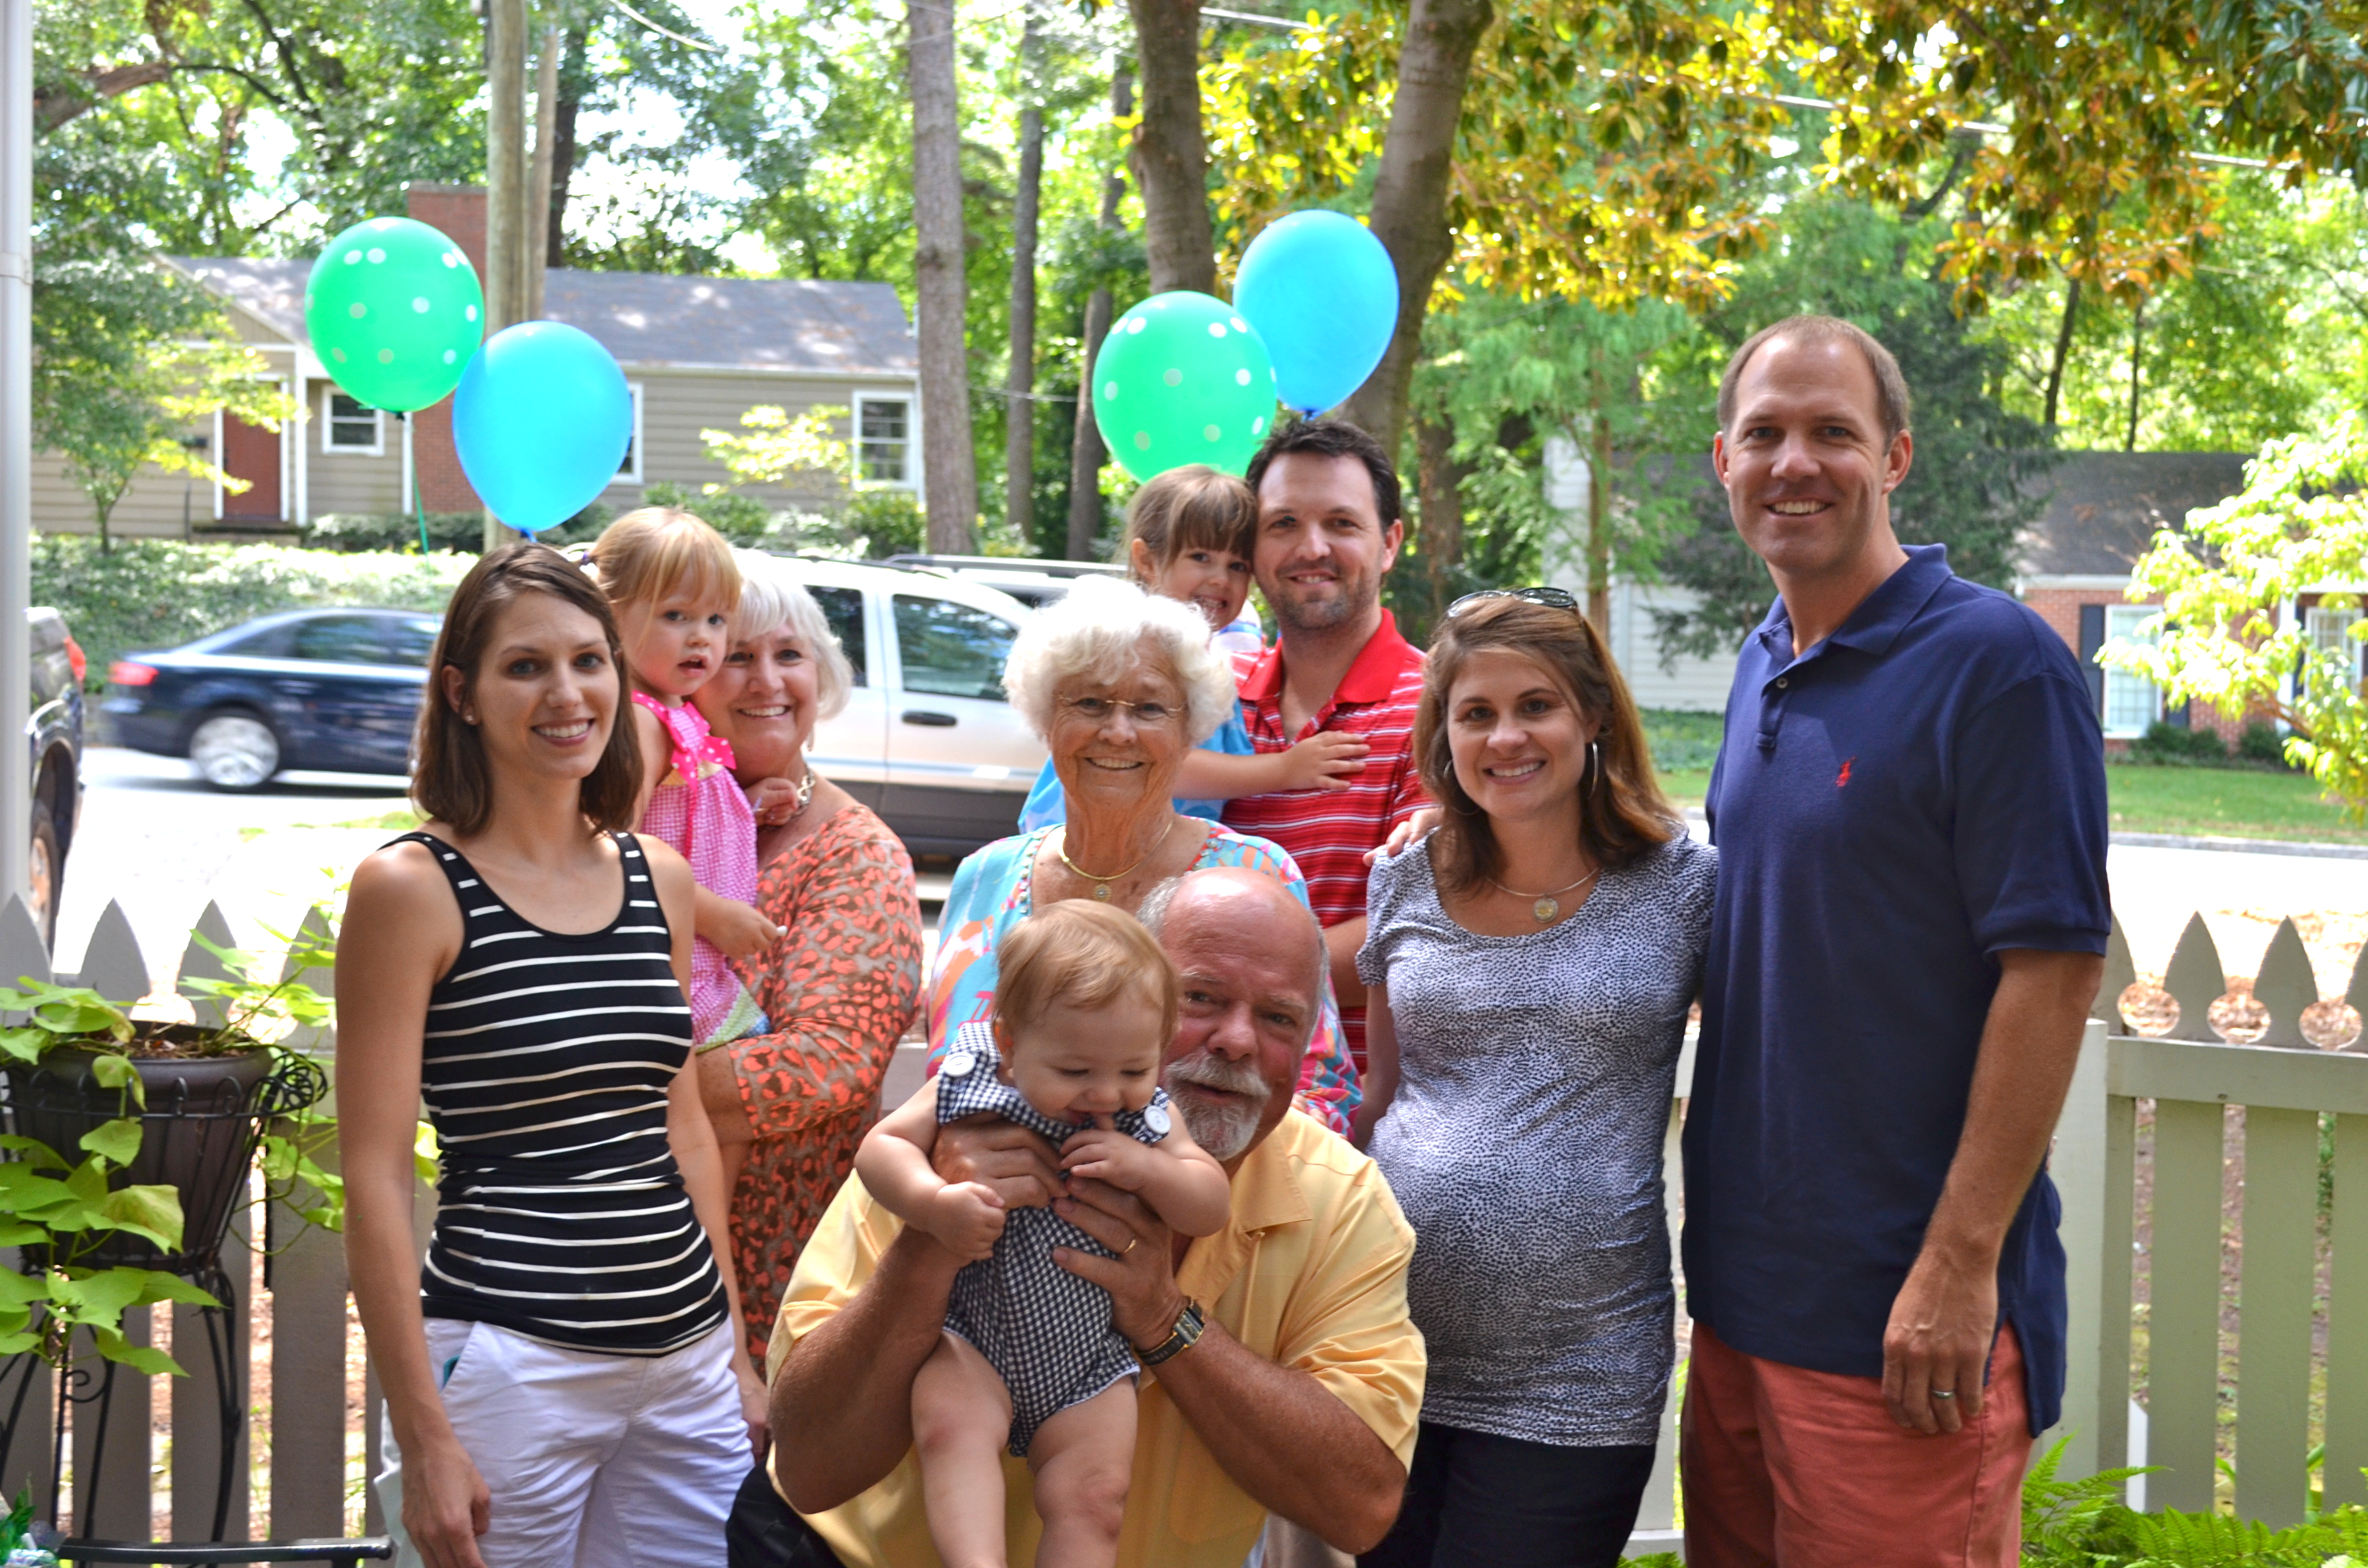
Family Photo Op
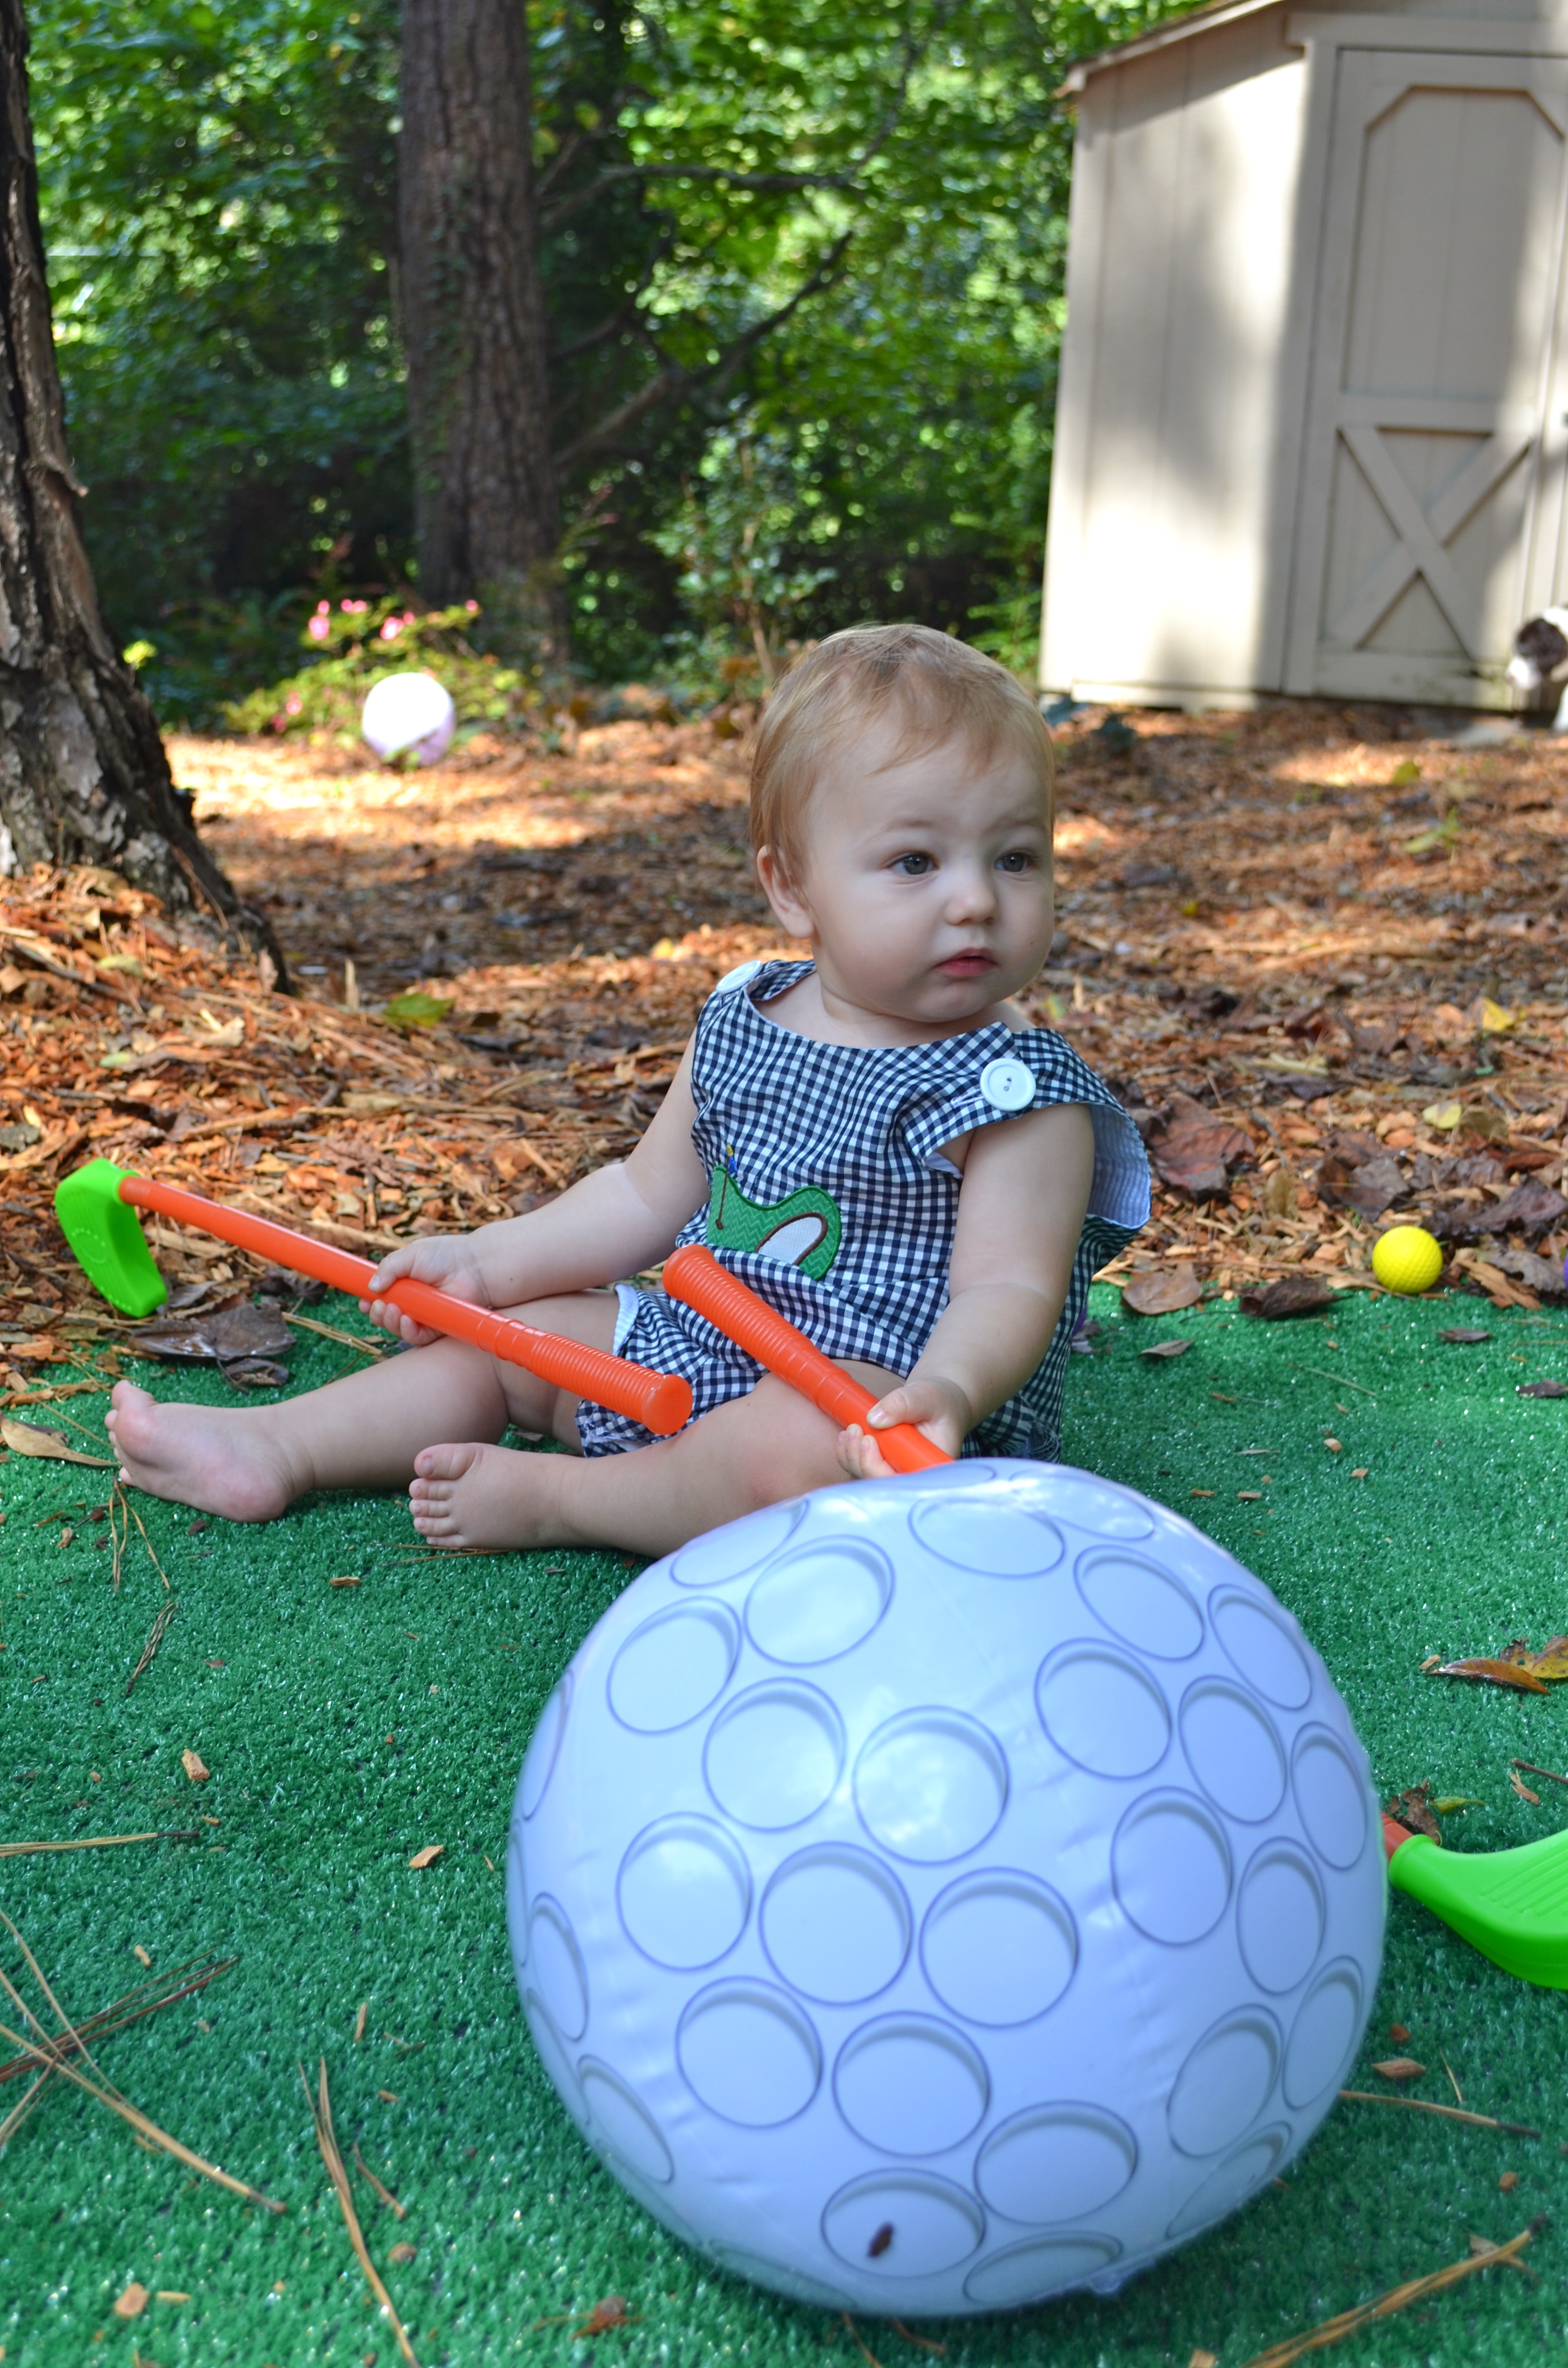
Colton on his putting green
This was Hubby’s contribution to the party decor – Home Depot’s finest astroturf! He even cut out a hole, inserted some PVC pipe, and stuck in a pinwheel flag. I also found these inflatable golf balls from Oriental Trading. They came in a pack of 12 for $10. We are still playing with them! And, I found the red and green golf clubs at the Dollar Tree. They were packaged with purple plastic golf balls. We had 3 sets for the kids to play with, and we had some yellow foam practice balls. I’m not sure how much the kiddos actually played with them, but I know they did have a blast running around outside.
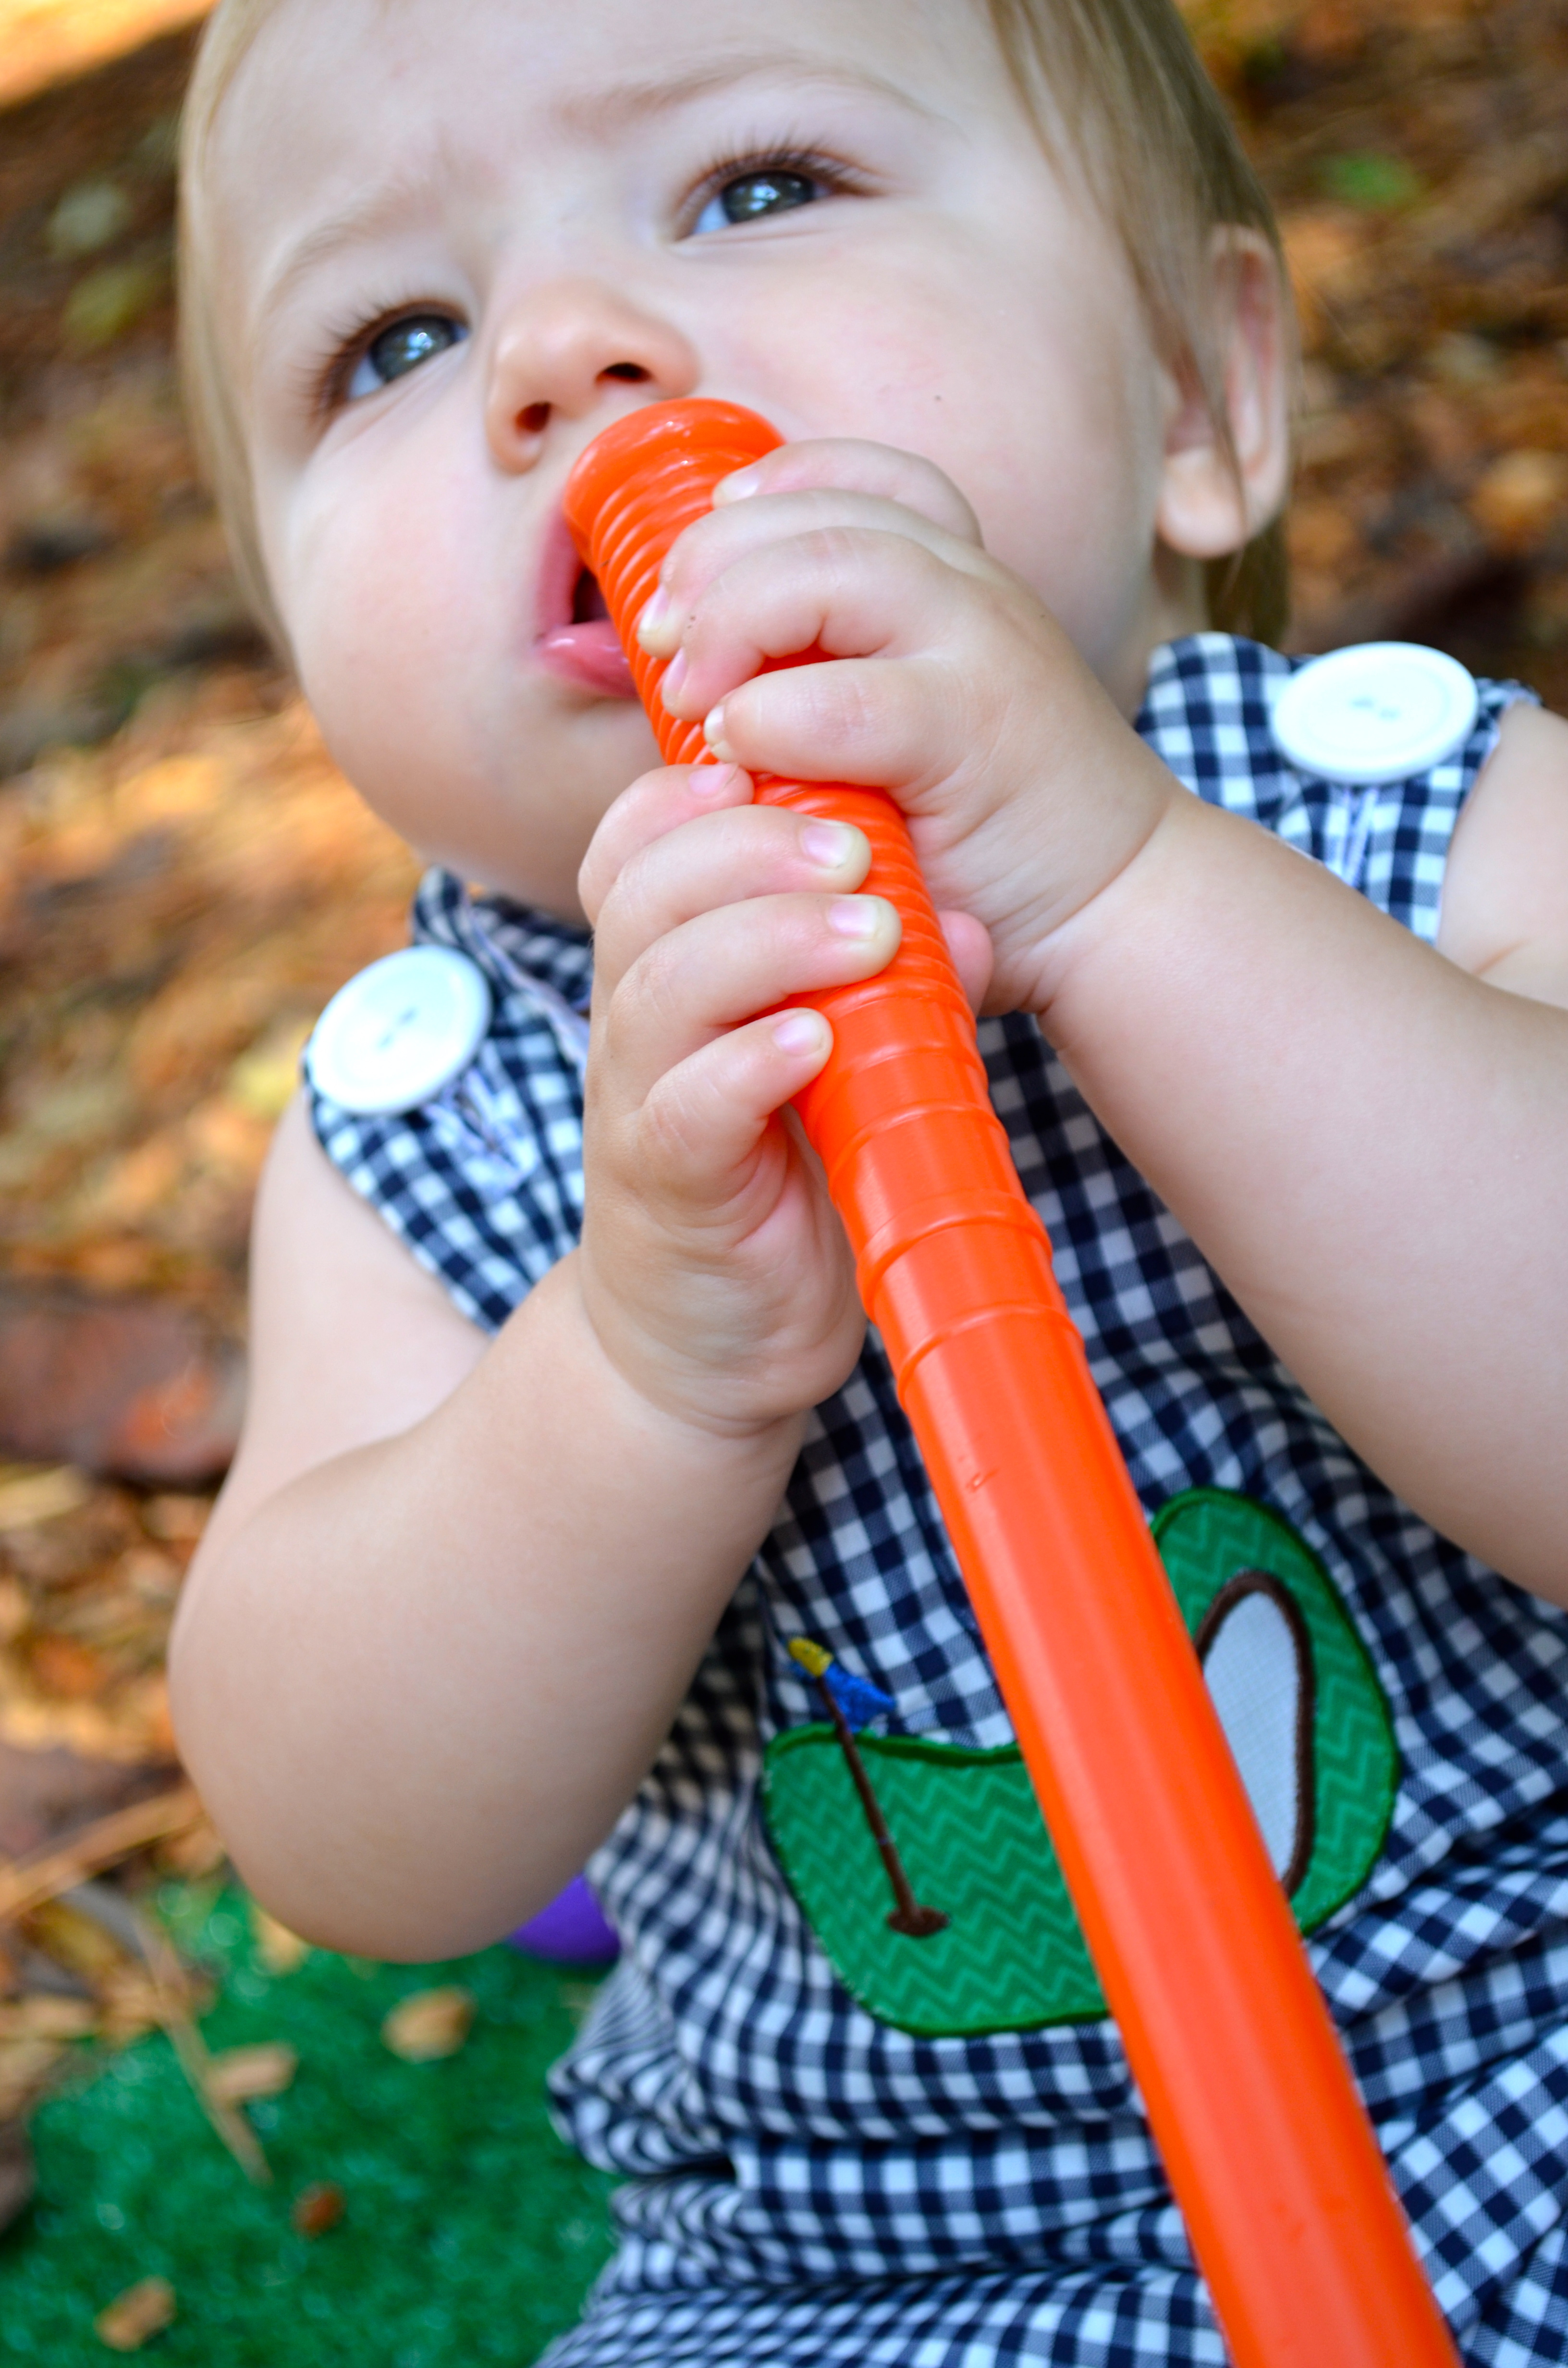
Colton’s John John
I managed to throw together my second-ever John John. I made the John John for his invitation picture using my embroidery machine and my mom’s Johnny pattern. I wanted to make a golf-themed John John for his party. I found this adorable applique pattern from Applique Ahoy on Etsy. This was my first applique, and while I did learn some lessons that I’ll have to apply on my next project, it did turn out pretty well. Thanks to the great instructions included with the design! I also found a tutorial for the Johnny pattern that really helped simplify the construction. Much easier than the instructions included with the pattern. My mom did have to sew on the buttons as soon as she got to the house to help set up for the party, but don’t look too closely because I didn’t have the button holes centered!

Happy 1st Birthday!
I think our birthday boy had a blast at his Hole-in-ONE Party!
Share on Facebook
Pingback: A Hole-in-One Menu | Listfull Days
Pingback: Throwback Thursday: Happy Halloween! | Listfull Days