After dinner tonight, Hubby said, “I like polenta.”
Agreed. I don’t fix it nearly often enough. It’s delicious. And, easy. And, hearty. It’s really a great winter dish. When I think of polenta, I think of sophisticated grits. Polenta is generally made with yellow corn, whereas Southern grits are generally white corn, but they are basically the same thing.
I adapted this Williams-Sonoma recipe due to time. I really MEANT to go to the grocery store yesterday. And, when I knew it just wasn’t going to happen, I really MEANT to AT LEAST menu plan last night. That didn’t happen either.
I quickly threw together a menu during Munchkin’s nap, then managed to also shower (Thank The Lord!), then waited for him to wake up. (He always seems to choose the days that I need to run an errand after nap to sleep the longest!) After giving him some time to fully wake up, let the fur babies out, and put on shoes, it was after 5. Eek! I thought I was very efficient, but shopping for four dinners just takes time, especially when comparing food labels. (No fun, and an activity that usually leaves me frustrated and annoyed with the food industry. There are SO many things on my “look out” list, and it feels like a new item gets added every. single. day.) Before I knew it, Hubby was calling me to say he was on the way home from work. And, I still hadn’t checked out, yet! Yikes!
I game-planned on the way home where somehow I managed to get only green lights and NO after-work traffic. Hallelujah! Get Munchkin out of car seat. Leave car unlocked. Unlock house, turn off alarm, preheat oven, thaw Munchkin’s frozen snack that I forgot to take out of the freezer before leaving for the store. Let Munchkin run around with the fur babies outside (within eyesight) while I unload the car (in 3 stages). Lock car (to avoid waking up at 2 am wondering if I locked it!). Pull out only the veggies needed for dinner and get busy chopping!
Munchkin really wanted to play outside ALL DAY today, but it was freakin’ COLD! The sun barely came out. We played outside for a few minutes this afternoon before nap, but we did not get in our usual Vitamin D quota. Our backyard is not exactly baby toddler-proofed. Munchkin can now manage the step down from our kitchen door onto our breezeway and the proceeding steps down; one goes toward the courtyard that is enclosed by a picket fence, and the second goes toward our paver patio that leads to a set of steps flanked by a 3-foot retaining wall. With no railing or gate. It’s been on our list for YEARS, but we’ve never had a physical need for a railing. Aside from the fact that building code requires one, we just figured we would get around to it before placing the house on the market. Little did we know that we would actually WANT one prior to that. (I wonder how many baby gates I could rig together to create one long railing?) Poor Munchkin was heading towards the stairs just as I was picking up the chef’s knife! (Don’t worry – no one was harmed during dinner prep!) As I put the knife down and ran out to follow (i.e., distract) him, he headed towards the kids outdoor chairs we have set up around his sensory bin. Aha! I grabbed the chair and the munchkin and brought them both inside without so much as a “Maaaaom.” Success! He happily played with that chair for the next 15 minutes until Hubby got home. I’m always relieved when something so simple as bringing a chair into the kitchen avoids a before-dinner-hunger meltdown, or an anytime meltdown for that matter. Then, I begin to wonder if EVERY meltdown is so easily avoided?
Hubby walked in just before I put the veggies in the oven to roast, and then I realized just how long this recipe was going to take. Way too long to consider actually feeding Munchkin this dish for dinner. That’s when I realized that I could cut the time in half by leaving off the last half of the instructions. Luckily, I’ve made polenta often enough to know that it doesn’t have to bake in the oven. I actually have NEVER baked it. I’ve always served it warm off the stove, just how one would serve grits for Saturday morning breakfast.
Munchkin asked for seconds, and Hubby approved with the aforementioned statement. I think I pulled it off. 😉 You can be the judge. . .
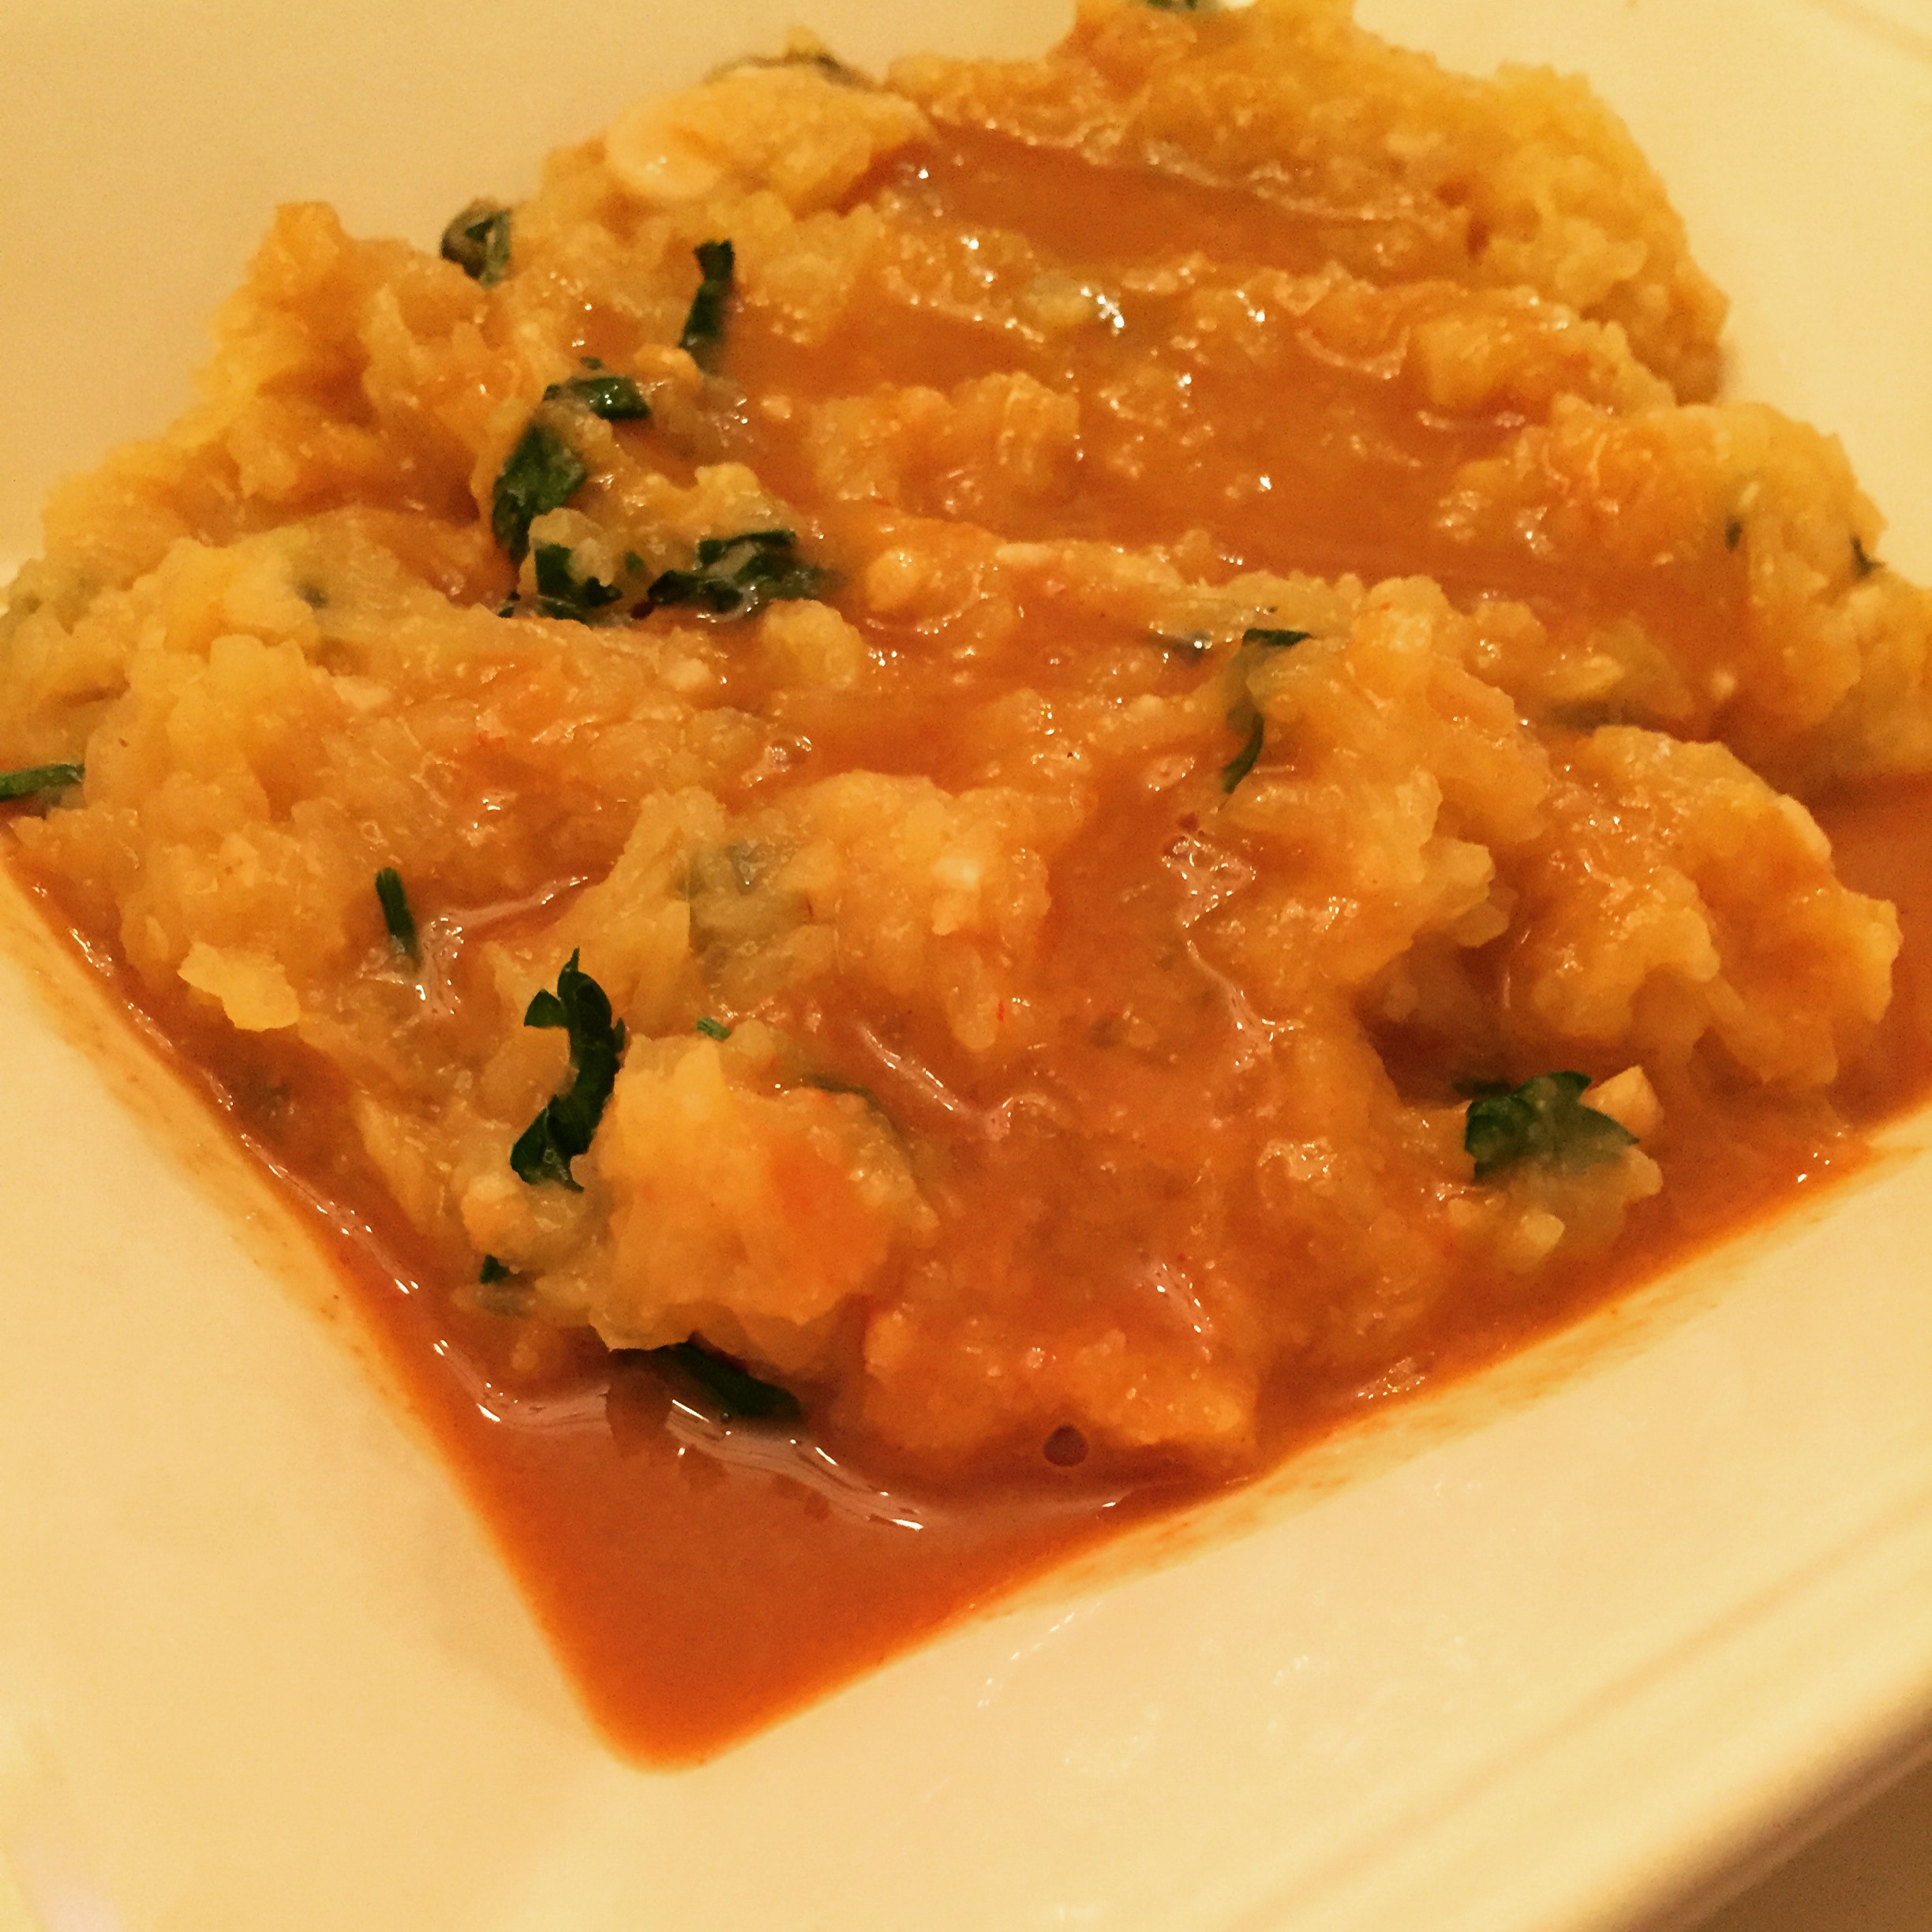
Polenta with Roasted Veggies
Adapted from Williams-Sonoma
Ingredients
3 TBS EVOO
1 small eggplant, cut into 3/4-inch pieces
2 small zucchini, cut into 3/4-inch pieces
2 small yellow summer squash, cut into 3/4-inch pieces
1/2 red onion, cut into 3/4-inch pieces
1 orange bell pepper, seeded and cut into 3/4-inch pieces
Salt and freshly ground pepper
1 cup stone-ground polenta (I purchase corn meal; Hodgson Mill is what I used tonight to be exact. As with any corn product, verify that it is non-GMO!)
2 TBS unsalted butter
1 cup (4 oz) grated Parmesan cheese (Buy a wedge and grate it yourself!)
2 cups (8 oz) shredded fontina cheese
Instructions
Preheat the oven to 450°F.
In a large bowl, combine the eggplant, zucchini, summer squash, red onion and bell pepper. Drizzle with the 3 tablespoons oil, season with salt and pepper, and toss to combine. Arrange in a single layer on a large baking sheet. Roast, tossing once, until the vegetables are caramelized, about 30 minutes.
Meanwhile, in a heavy saucepan, bring 4 cups water to a boil over high heat. Add a large pinch of salt. Reduce heat to medium. Stirring constantly, very slowly add the polenta. Cook, whisking constantly, until the polenta begins to thicken and all lumps are gone, about 5 minutes. Reduce the heat to low and continue to cook the polenta, stirring frequently, until the polenta is soft, about 25 minutes. Add the butter, Parmesan and fontina and stir until the cheeses melt.
Serve the polenta in a bowl topped with the roasted veggies. Add more cheese if desired 😉
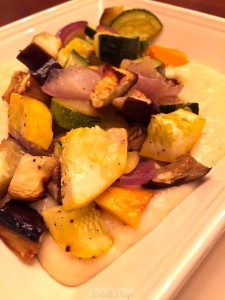
Bon Appétit!
Share on Facebook