Tonight’s recipe has been on our weekly rotation for the past couple of weeks. I’ve been experimenting with different kinds of pasta, and it’s just that good! The recipe developed when I went to the farmer’s market a few weeks ago and bought some fresh Gorgonzola ravioli in the fridge section. I was trying to come up with a sauce that would work well and decided that some simple butter would be delicious. For Christmas Eve, I made a cheese ball that called for sage sautéed in butter. It was amazing! I thought I could possibly make this into a sauce for my ravioli.
Turns out, I’m not the first person who has thought of this combination. I looked at many recipes for ravioli with butter and many of them included sage. Well, at least I knew it was going to be good! All of these other people wouldn’t be making it AND sharing it if it were terrible. Next, I thought about what I could add to make this dish a full meal. Butternut squash keeps popping up in winter recipes, so it seemed like a good choice.
Finally, with all of this sweet-and-savory thinking, I couldn’t get figs out of my head. I looked all over for fresh figs, but apparently, they’re not in season right now. Luckily, I still had the Costco bag of dried figs sitting in my pantry. Maybe they could work? You can certainly toss them in as is, which is what I did tonight, but if you want to soften them up a bit, pour some boiling water over them and let them sit while you prep the rest of the meal. I can’t wait to make this recipe with some fresh figs! The first time I spot them at the store, I will be buying some!
On a separate but still related note, Hubby and Munchkin went to Fresh Market the other night to get dinner fixings. Munchkin happened to pick out the best fig and olive crackers. Hubby picked out a soft goat cheese to go with them. Seriously – if you live near a Fresh Market, or happen to see these crackers in the store, buy them! It was such an amazing combination. Hubby gobbled them up, too, and he really isn’t a fan of olives. The figs are definitely the dominant flavor. Yum!
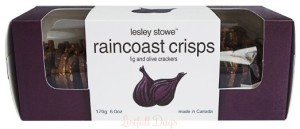
Raincoast Crisps
So, after buying the fresh ravioli at the farmer’s market, I was inspired again to try making my own pasta. My parents went on a big kick many years ago of making their pasta fresh. I am not exaggerating when I say it’s the best thing you’ve ever tasted. There is just nothing better than fresh pasta. It’s not really a difficult practice, but I will say there is an art to it. And, having the right tools definitely helps. I don’t have any pasta making tools. I’m putting them on my wish list now. 😉 I bought some new flour and planned to use the last of the eggs in the fridge. What could go wrong?!
Well, on a side note, I am a new owner of a Blendtec blender. Merry Christmas to me! Our old Breville was finally on its last leg. It was a good purchase many years ago, but all of the frozen smoothies were finally adding up, and every morning we were getting a perfume of smoking metal. Not a good thing. I decided on the Blendtec partly because of its versatility. You can make just about anything with it! So, why not use it to make dough? I put my eggs in first, and then added the flour. I pulsed. And, nothing happened. Just a blob of congealed flour in the blender. I tried a few tactics to get it to blend, but no luck. So, I brought out my KitchenAid mixer to see if that could salvage it. No luck again. First attempt at homemade pasta = FAIL! Luckily, I had some whole wheat pasta spirals in the pantry. So, instead of stuffing my homemade ravioli with blue cheese crumbles, I sprinkled them on top. Mmmmm! So good!
Tonight, I gave the pasta another go. I skipped the Blendtec and broke out my KitchenAid from the get-go. (I still need to experiment with the Blendtec, but I was more concerned with the pasta experiment tonight.) I combined 3 cups of white-wheat flour with 7 eggs. Success! I rolled it out, mixed up some mascarpone and blue cheese, and proceeded to make my ravioli. I don’t have a ravioli cutter, so I pressed the two sheets together with a fork. The dough was a little thicker than I would have liked, probably because I couldn’t get it very thin with my rolling pin. (I already felt like I was getting in my weight-lifting for the week!) And, because the ravioli ended up thicker and bigger than store-bought, I think I cooked them a little too long. WAH WAH! It can be so disappointing to take the time and make the mess for a cooking experiment to have it not turn out well. Hubby gobbled it up, but I’m not calling it a win just yet. I still want to experiment with homemade pasta, but I think I’ll be keeping a box in the pantry as a back up until I’ve had some more practice 😉
At any rate, this recipe would be delicious with fresh homemade pasta, or pasta from the farmer’s market fridge, or even your generic dried pasta in a box. Seriously, you will be loving every bite of the sage butter regardless!
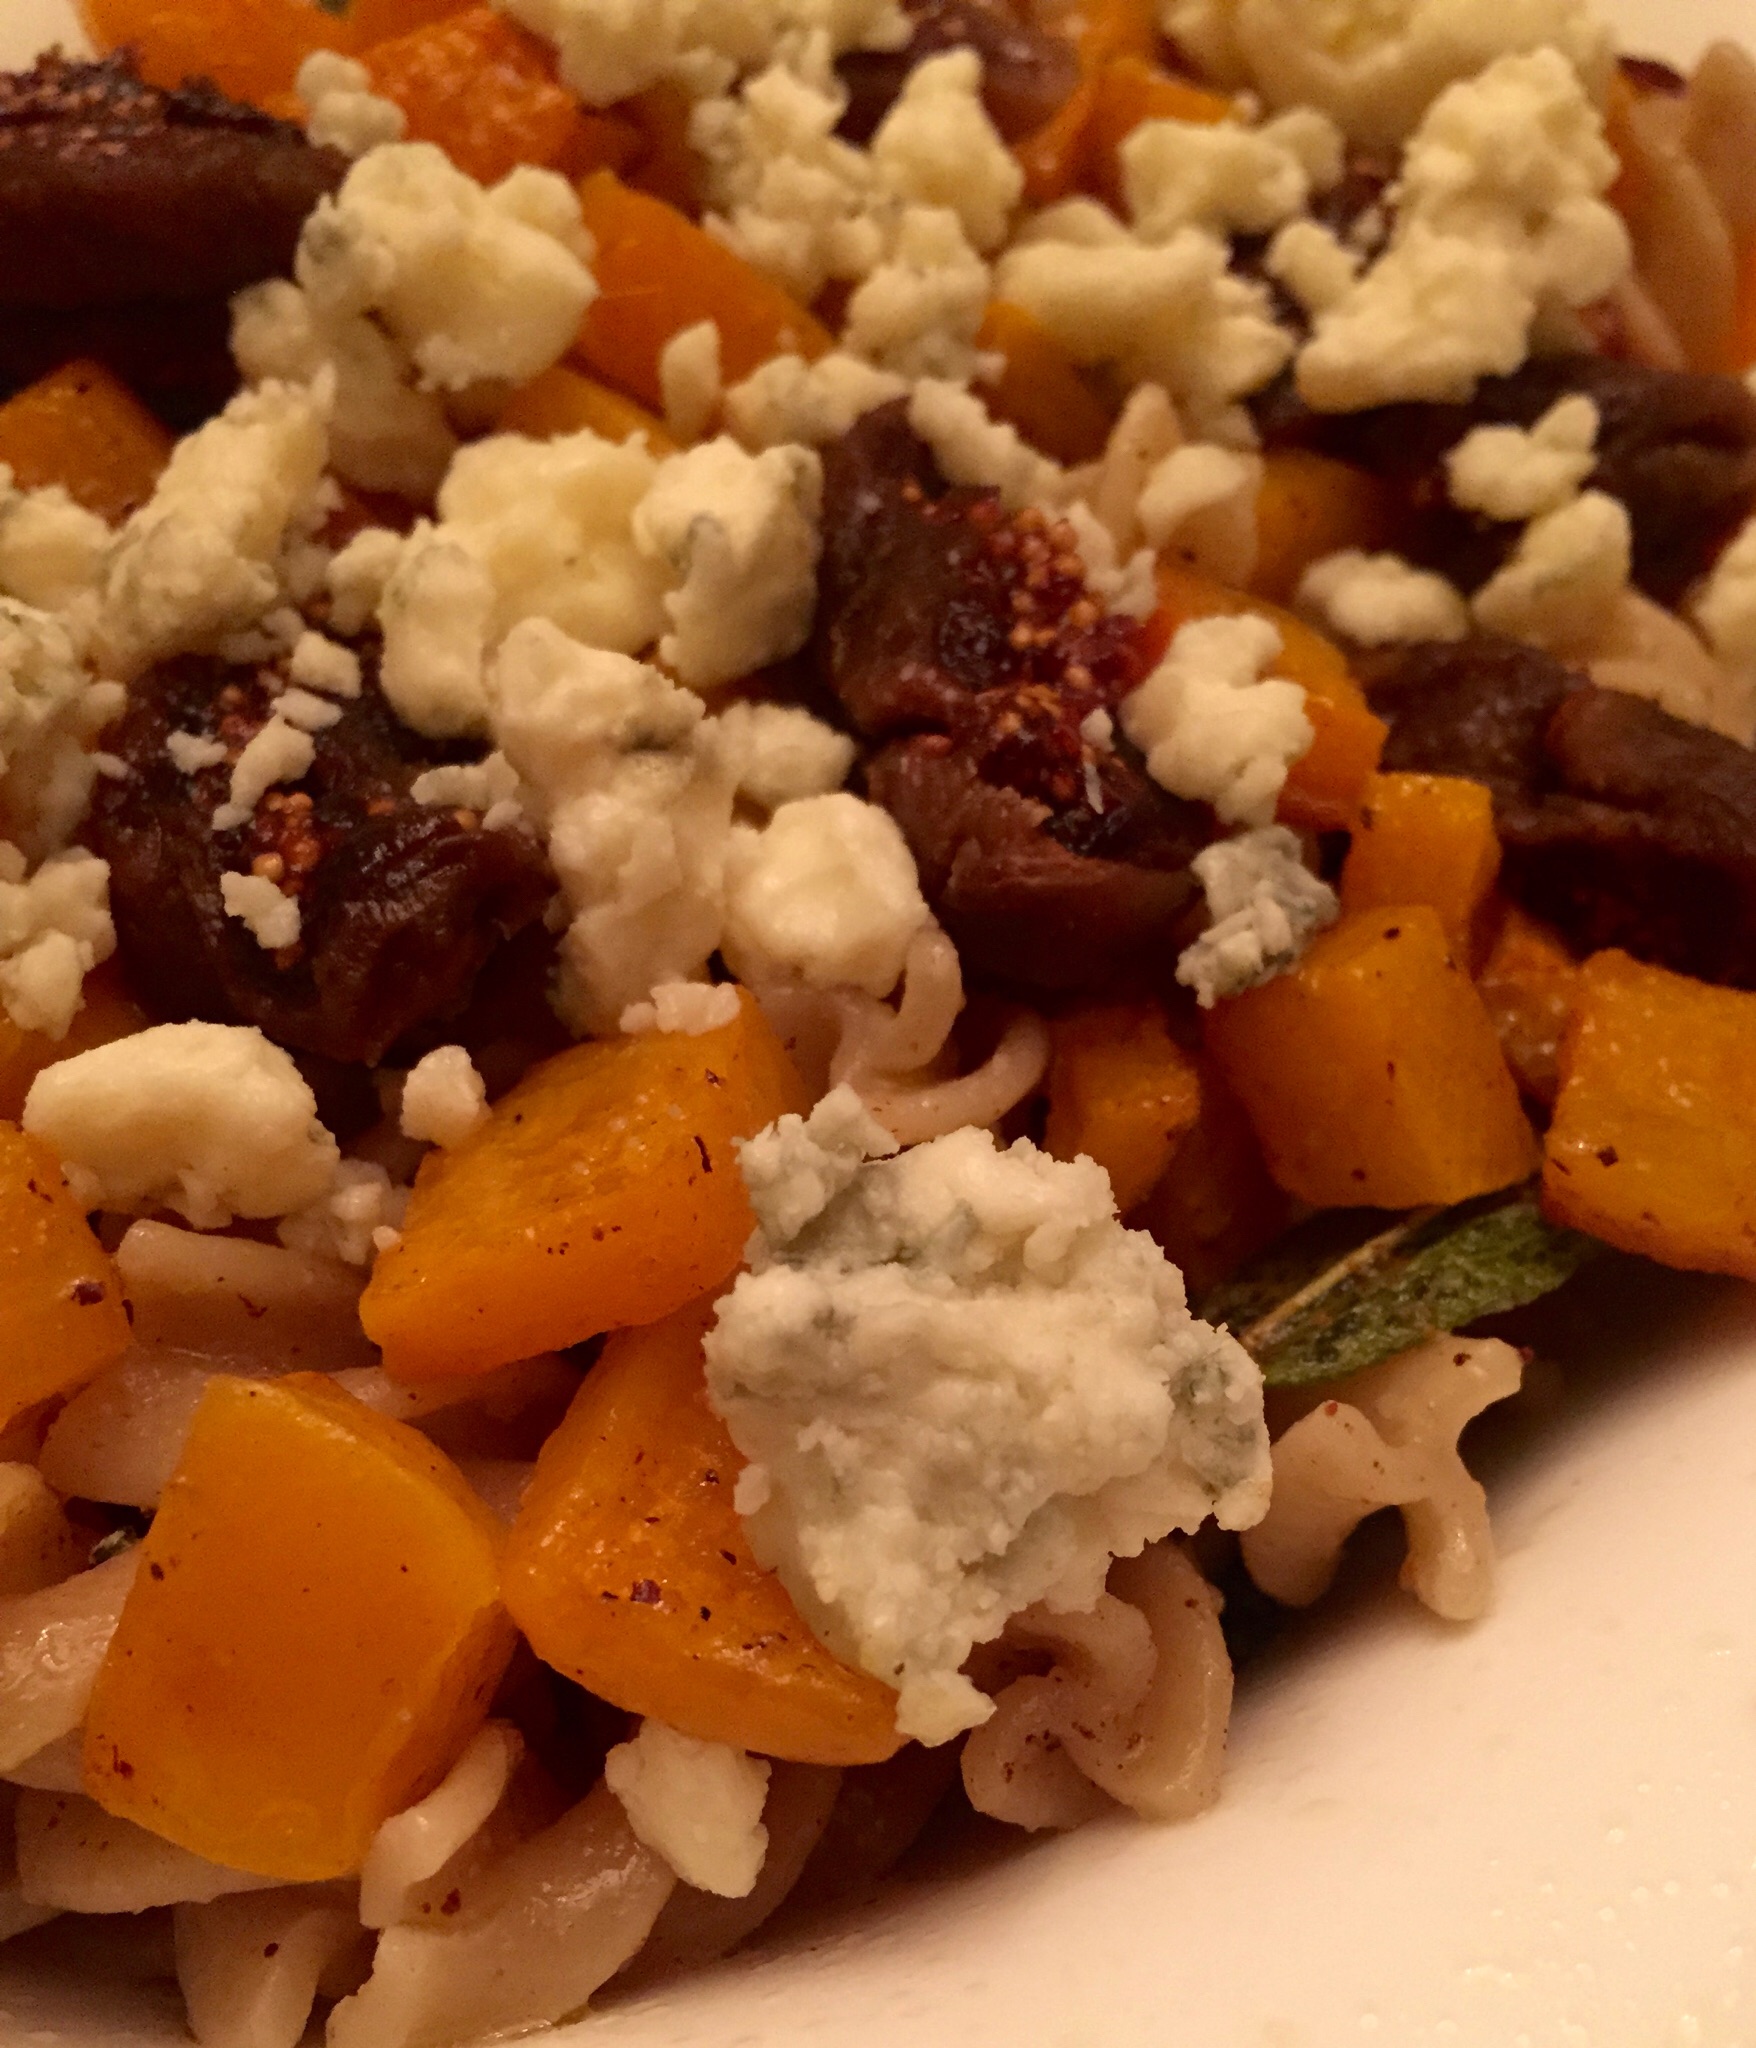
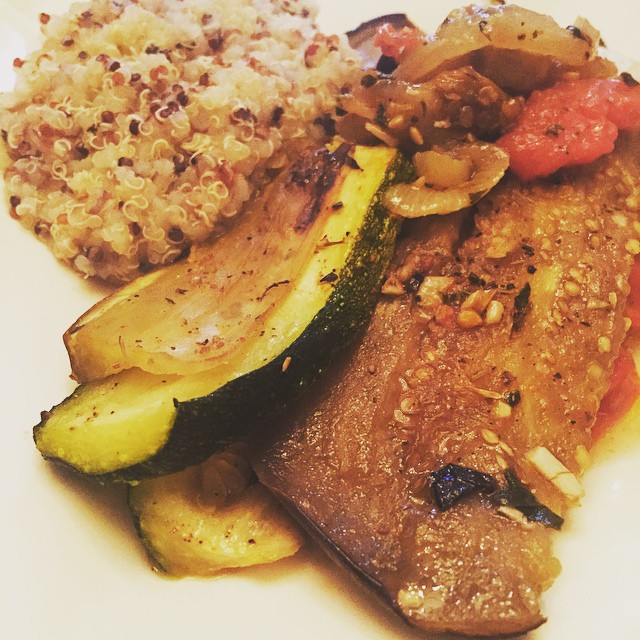
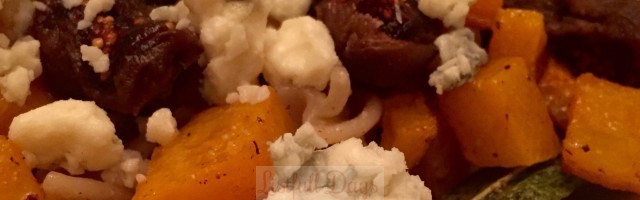
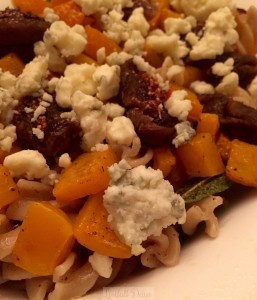
Sage Butter Pasta with Figs & Butternut Squash
Bon Appétit!
- 1 butternut squash
- 1 TBS EVOO
- Salt
- Pepper
- 1/2 tsp cinnamon
- 1/4 tsp freshly ground nutmeg
- 1 lb Pasta Your Choice (ravioli, spirals, etc.)
- 1 stick butter
- 1/4 cup sage leaves (about 4 stems)
- 1 handful fresh or dried figs, sliced
- 4 oz blue cheese crumbles
- First, prepare the butternut squash. Preheat the oven to 400°F. Peel and cut the butternut squash into 1/2 inch pieces. (For a shortcut, you can also buy the squash already cut, but you may want to cut them into smaller bite-size pieces.) Toss the butternut squash with 1 TBS EVOO, 1/2 tsp cinnamon, about 1/4 tsp freshly ground nutmeg, and salt and pepper to taste. Roast in the oven for about 30 minutes, until the butternut squash is tender.
- While the butternut squash is roasting, prepare the pasta according to the package directions.
- Finally, prepare the sage butter. Melt 1 stick of butter over low heat. When the butter is melted and starting to bubble, add the sage leaves. Allow to cook until the butter turns a soft brown color.
- After draining the pasta, drizzle with the sage butter and top with the roasted butternut squash, figs, and blue cheese crumbles.