Wednesdays can be tough. It isn’t called “hump day” for nothing! Middle of the week; last weekend is a distant memory; the coming weekend not quite close enough. (Although, I think I could give an explanation as to why each day of the week can be hard! 😯 ). For the past few weeks, I’ve been experimenting with one-pot meals, and I have to tell you that I’m hooked! So far, these have been easy prep AND easy cleanup. Can’t beat that!
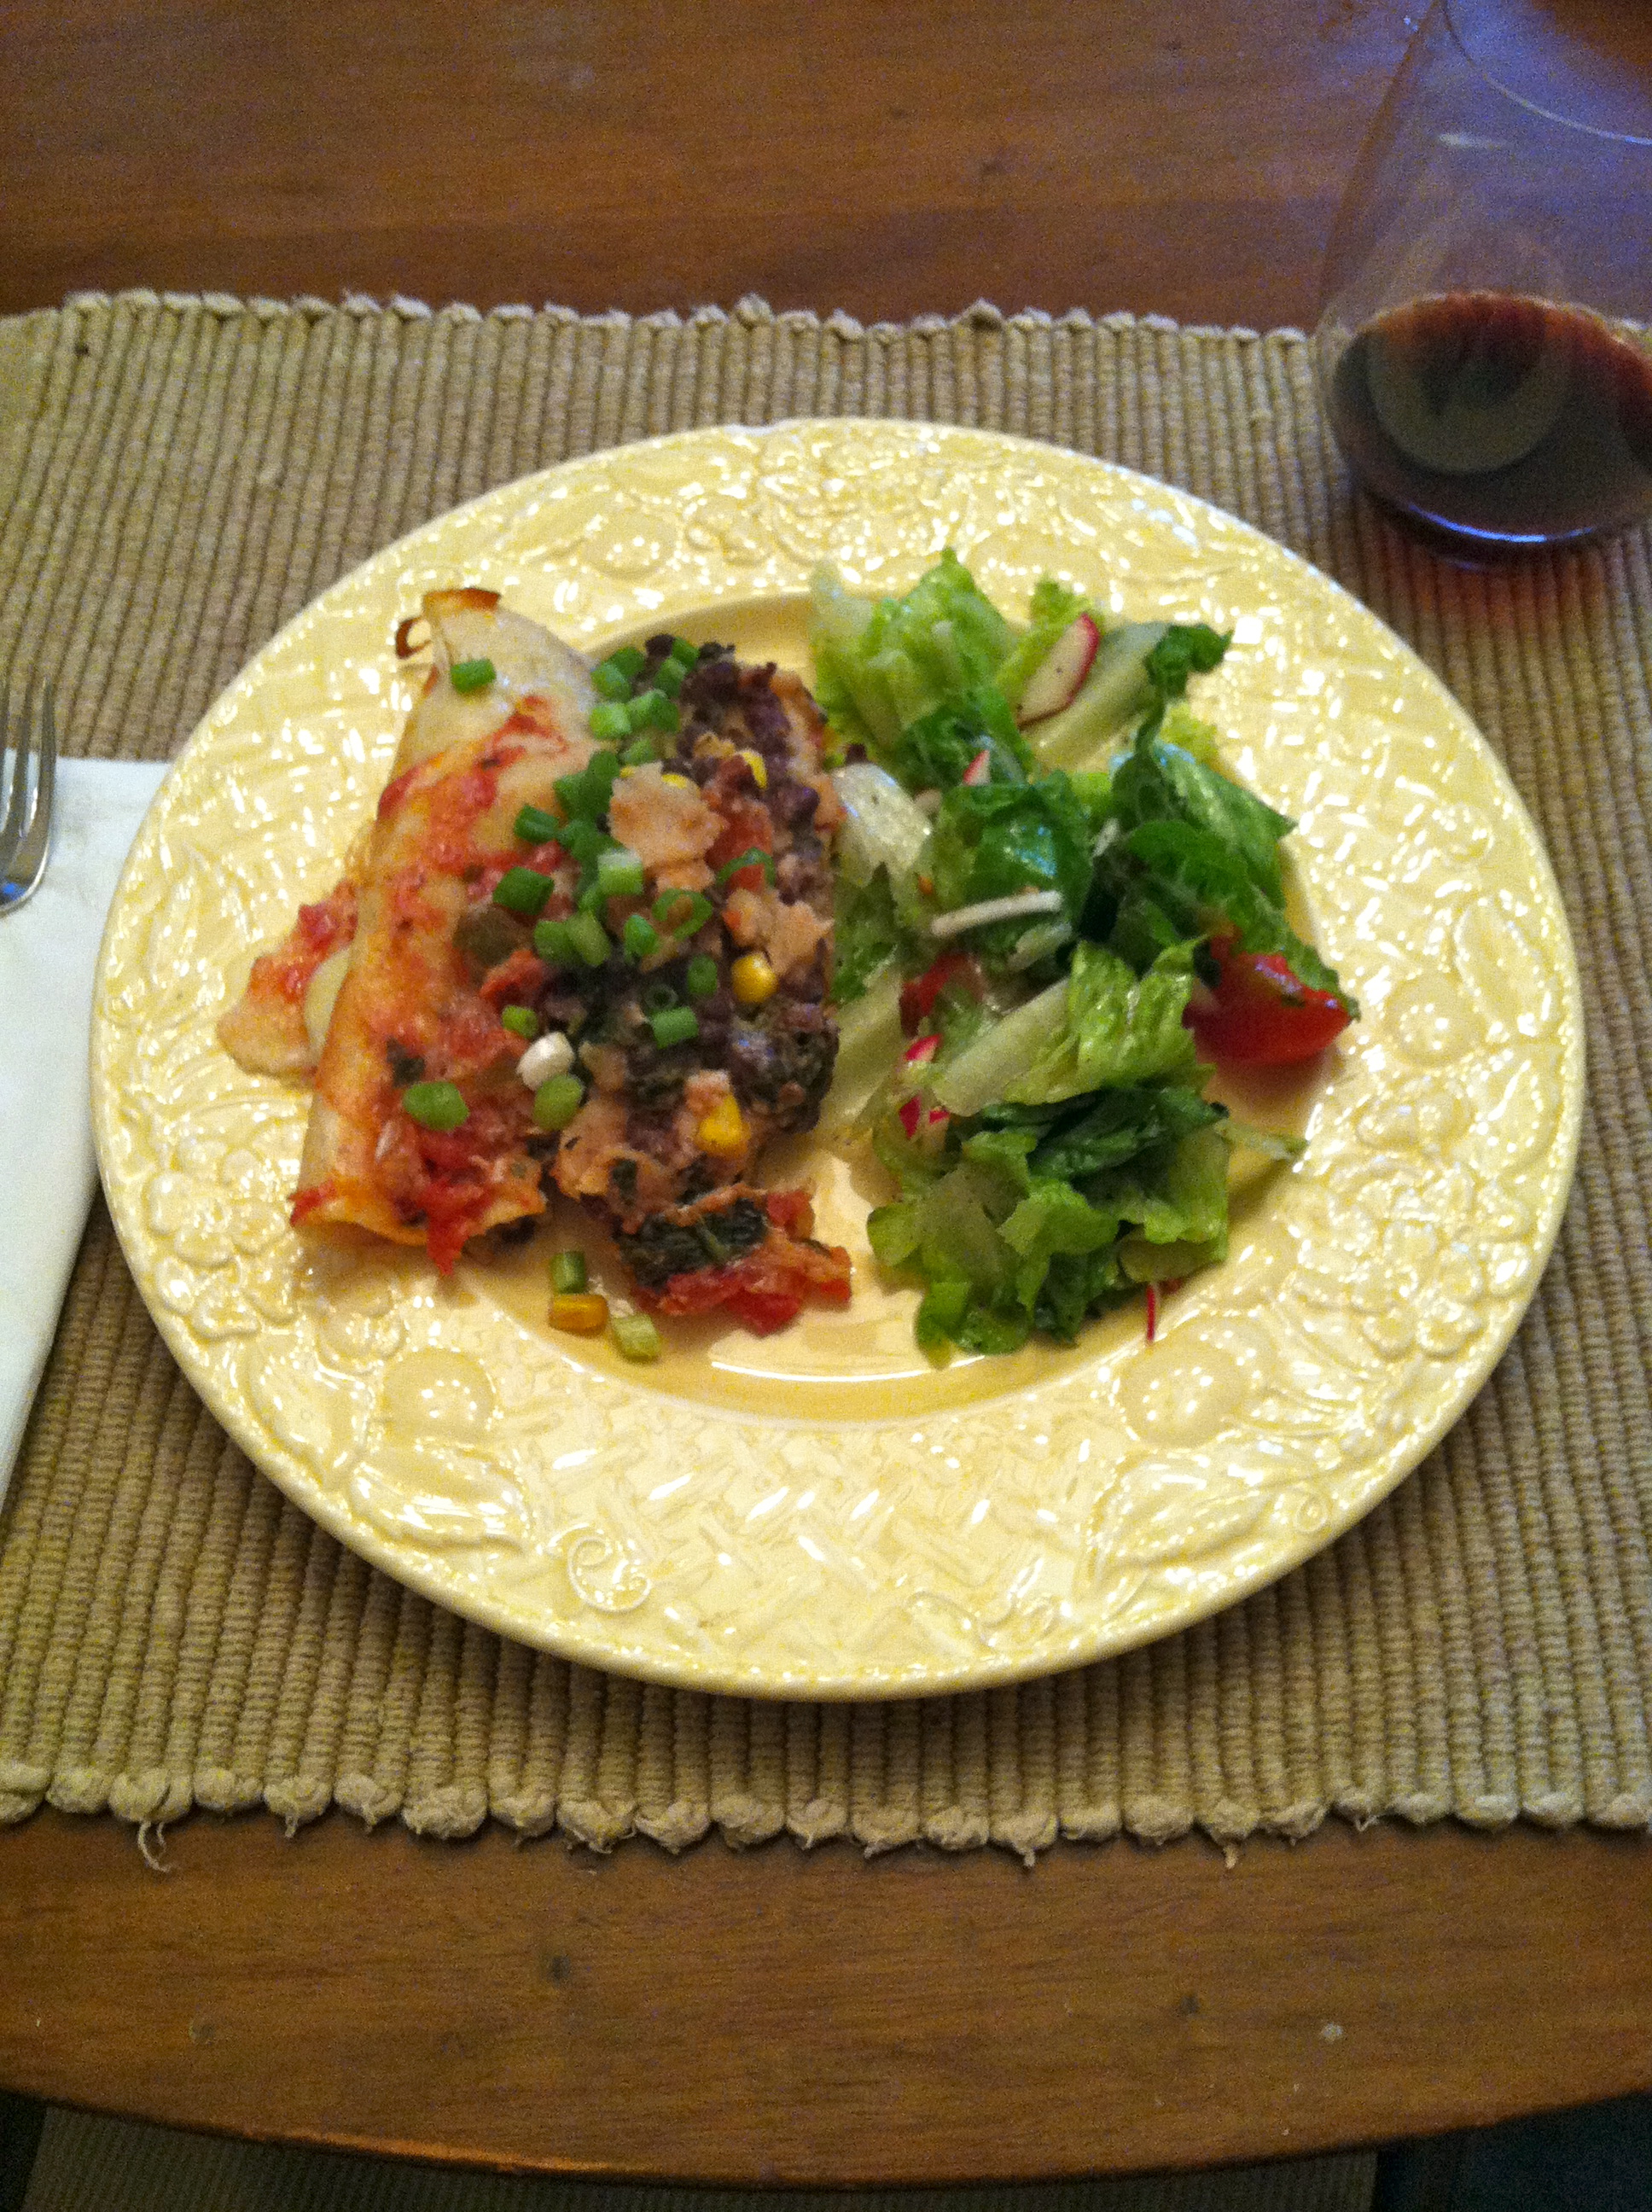
Tonight’s pick was no exception. I went in a new direction tonight with a Mexican dish, unlike the previous pastas (Meatless One Pot Pasta and One Pasta with Andouille, Tomatoes & Basil). It’s also a double whammy in that it qualifies as a one-pot wonder AND a Meatless Monday pick. I served it with some tortilla chips; a little shredded Monterey Jack or cheddar would have been a great addition. (You can also see that I served it on our fine china in honor of our *GASP* 9-year anniversary!) We all had seconds! If you happen to have leftovers (we barely scraped together a small Tupperware container), they would be delicious rolled up in a tortilla.
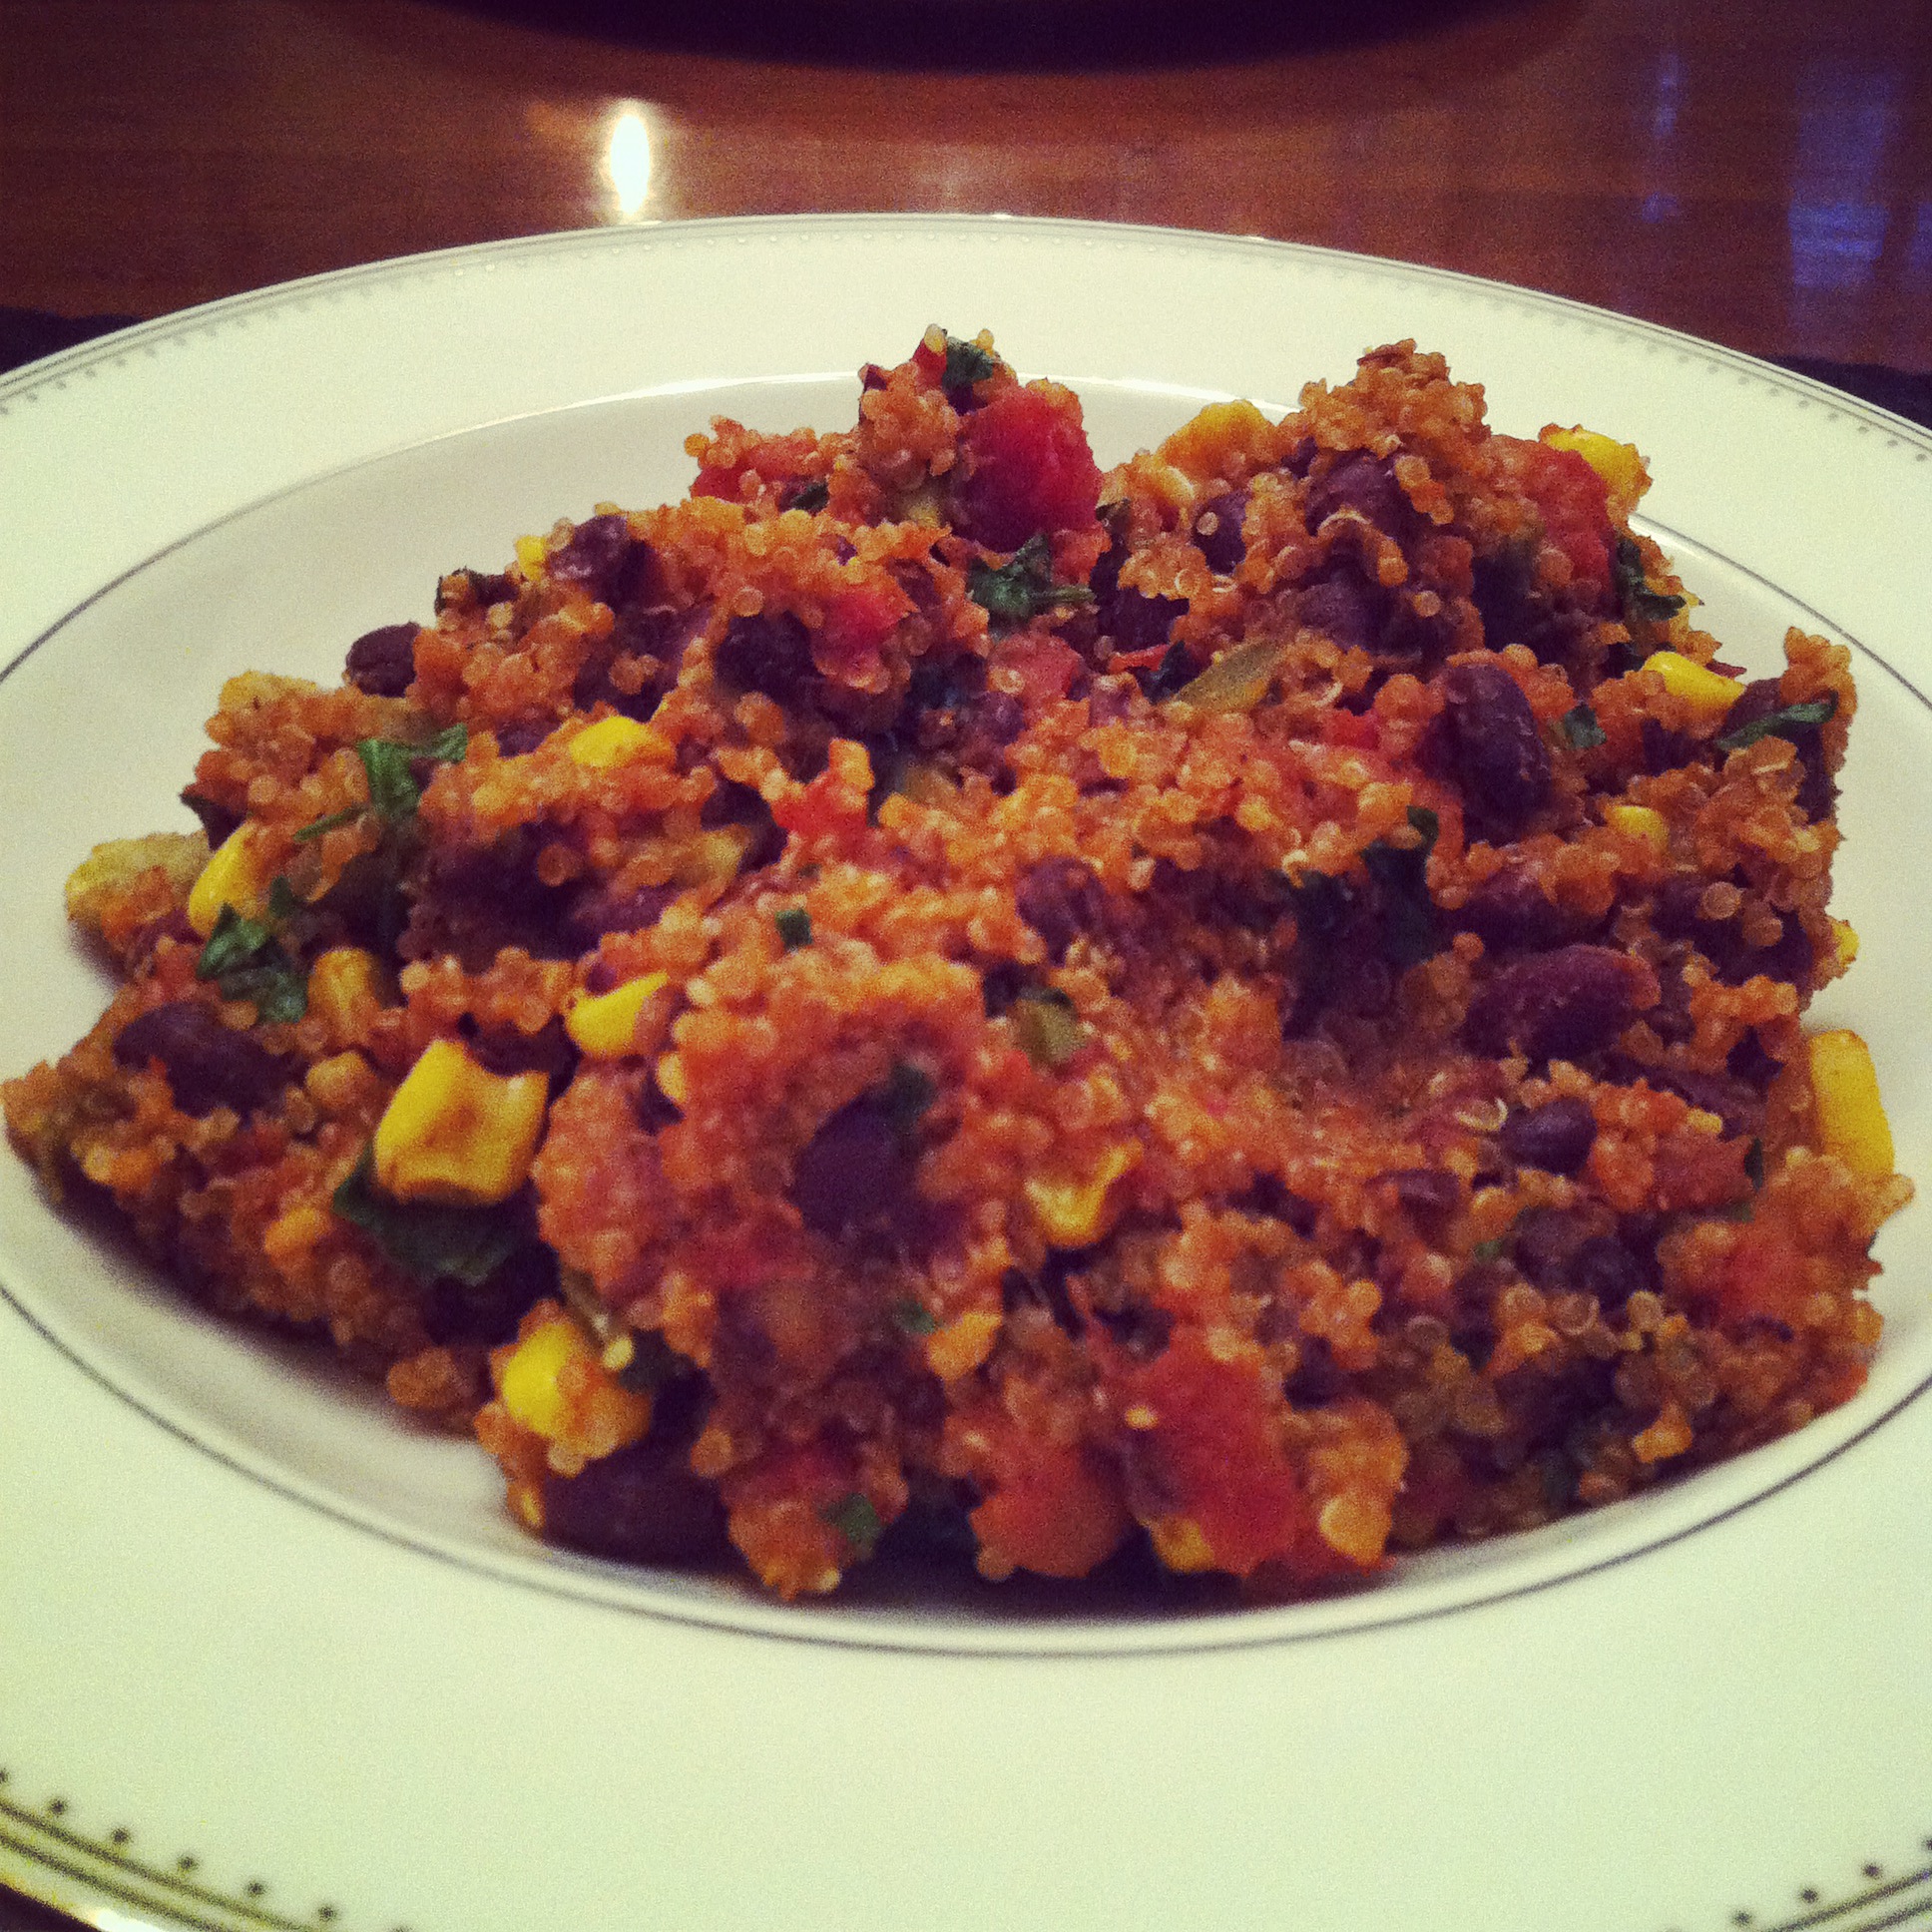
One Pan Mexican Quinoa
Damn Delicious via Pinterest
Ingredients
- 1 tablespoon olive oil
- 2 cloves garlic, minced
- 1 jalapenos, minced
- 1 cup quinoa
- 1 cup vegetable broth
- 1 (15-ounce) can black beans, drained and rinsed
- 1 (14.5 oz) can fire-roasted diced tomatoes
- 1 cup corn kernels (use frozen organic corn)
- 1 teaspoon chili powder
- 1/2 teaspoon cumin
- Kosher salt and freshly ground black pepper, to taste
- 1 avocado, halved, seeded, peeled and diced
- Juice of 1 lime
- 2 tablespoons chopped fresh cilantro leaves
Instructions
- Heat olive oil in a large skillet over medium high heat. Add garlic and jalapeno, and cook, stirring frequently, until fragrant, about 1 minute.
- Stir in quinoa, vegetable broth, beans, tomatoes, corn, chili powder and cumin; season with salt and pepper, to taste. Bring to a boil; cover, reduce heat and simmer until quinoa is cooked through, about 20 minutes. Stir in avocado, lime juice and cilantro.
- Serve immediately. Serve with tortilla chips, and top with a little shredded cheese.
One Pan Mexican Quinoa
Bon Appétit!
Share on Facebook